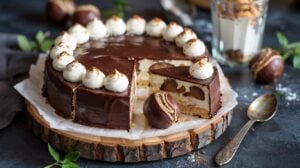
Craving a delicious frozen treat without the hassle of an ice cream maker? This collection of 20 no-churn ice cream recipes that freeze smooth offers a simple way to enjoy creamy, homemade ice cream anytime, made by folding whipped cream into sweetened condensed milk to create a churn-free base.
These options deliver rich flavors and satisfying textures using just a few common ingredients, such as heavy cream and sweetened condensed milk.
Inside, you'll find a variety of classic favorites and inventive twists, perfect for everything from casual family desserts to entertaining guests. Whether you prefer fruity, chocolatey, nutty, or even dairy-free options, these recipes cover a wide flavor spectrum.
Each one focuses on easy preparation methods that don't require special equipment, making them accessible for all skill levels.
These recipes come together because they emphasize straightforward techniques and reliable results. With minimal cleanup and no complicated steps, they allow you to create indulgent ice cream that stays smooth and creamy after freezing.
This makes them a practical choice for busy cooks and spontaneous treat makers alike.
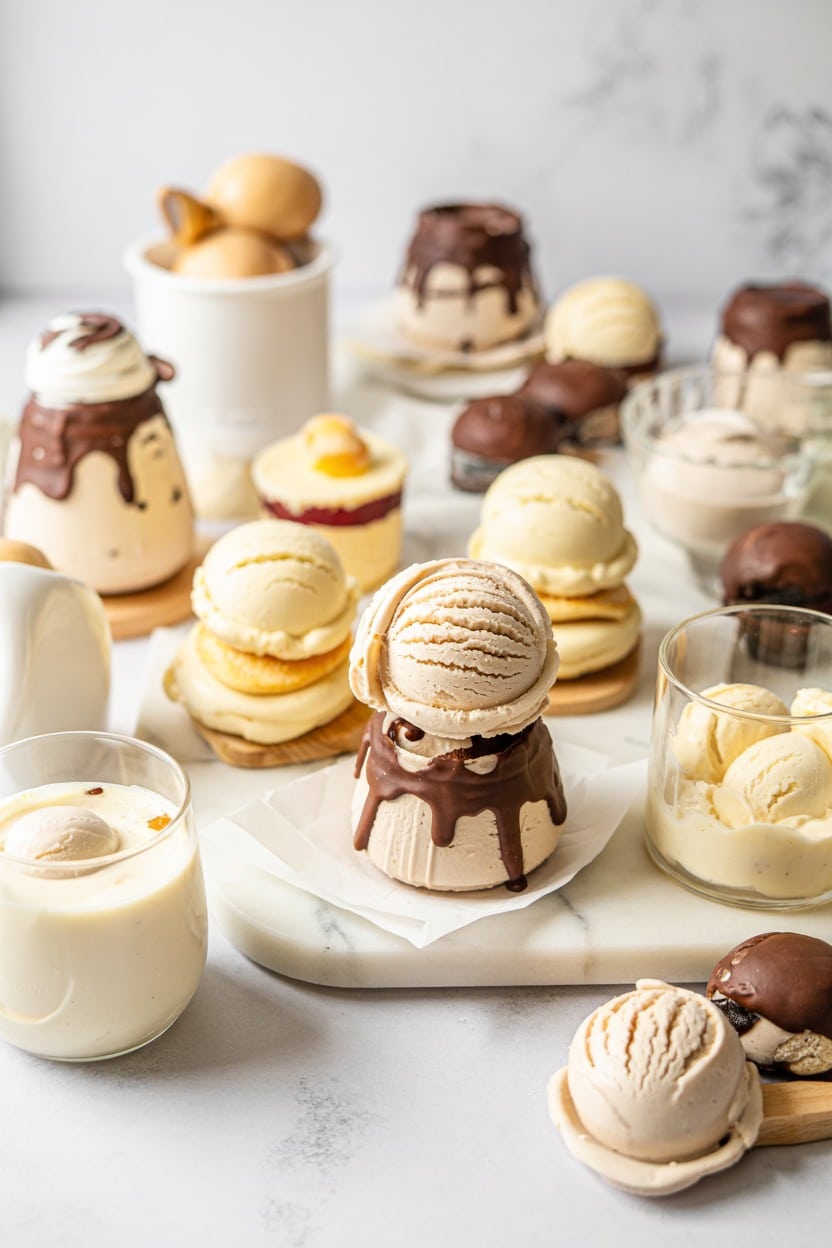
1. Classic Vanilla No-Churn Ice Cream
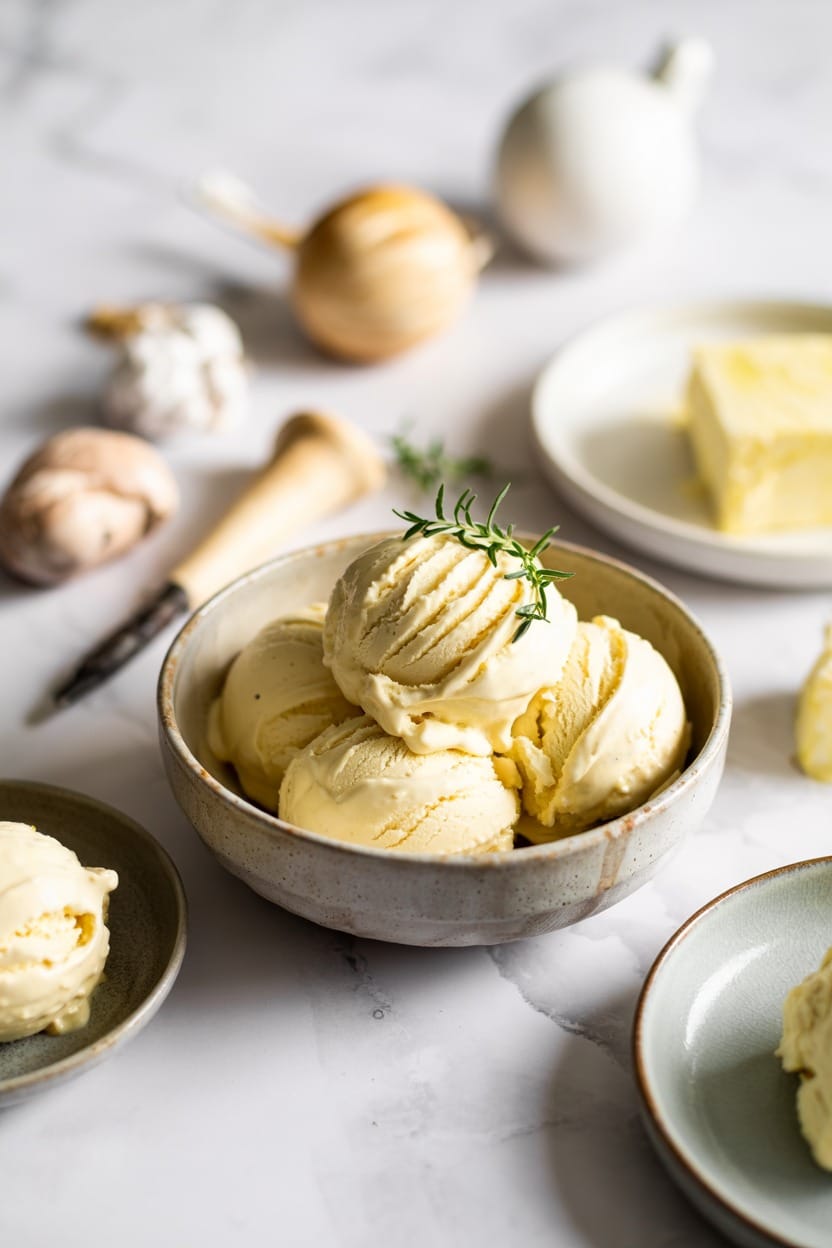
This vanilla no-churn ice cream brings together creamy richness and a smooth texture without needing an ice cream maker. It's a simple recipe that uses just a handful of ingredients, typically a 2:1 ratio of whipped cream to sweetened condensed milk, making it accessible for anyone who wants homemade ice cream without the fuss.
This combination creates a luscious treat you can prepare in advance and enjoy anytime; store in an airtight container in the freezer for up to 2 weeks, and pair it with easy side dishes for ice cream.
Why This Recipe Works
This no-churn vanilla ice cream balances ease and taste, making it a great choice for quick dessert planning. It delivers creamy texture and classic flavor without complicated steps or equipment.- Convenience - Requires no ice cream maker, just mixing and freezing.
- Flavor balance - Smooth, sweet vanilla enriched by creamy dairy components.
- Texture - Light and fluffy whipped cream blends into dense, creamy base.
- Appeal - A crowd-pleasing dessert suitable for all ages and occasions.
Ingredient Swap Ideas
Swapping some ingredients here can help adjust the recipe for dietary preferences or add new flavors without losing its core texture and appeal.- Heavy cream - Use full-fat coconut milk to make a dairy-free version while keeping creaminess, choosing canned full-fat coconut milk for a similar fat content.
- Vanilla extract - Substitute with vanilla bean paste or vanilla powder for a more intense vanilla aroma.
- Sweetened condensed milk - Try making your own with evaporated milk and sugar to control sweetness and additives.
- Add-ins - Incorporate mix-ins like chocolate chips, crushed cookies, or fresh berries before freezing for variation.
Ingredients
- 2 cups heavy cream, cold
- 1 (14-ounce) can sweetened condensed milk
- 2 teaspoons pure vanilla extract
Instructions
- In a large mixing bowl, whip the cold heavy cream using an electric mixer until stiff peaks form. Be careful not to overwhip.
- In a separate bowl, combine the sweetened condensed milk and vanilla extract until smooth.
- Gently fold the whipped cream into the condensed milk mixture using a spatula. Stir carefully to keep as much air in the mixture as possible.
- Pour the combined mixture into a freezer-safe container and smooth the top with a spatula. Cover tightly with a lid or plastic wrap.
- Freeze for at least 6 hours or overnight until firm. Let soften a few minutes before scooping and serving.
2. Chocolate Fudge Swirl No-Churn Ice Cream
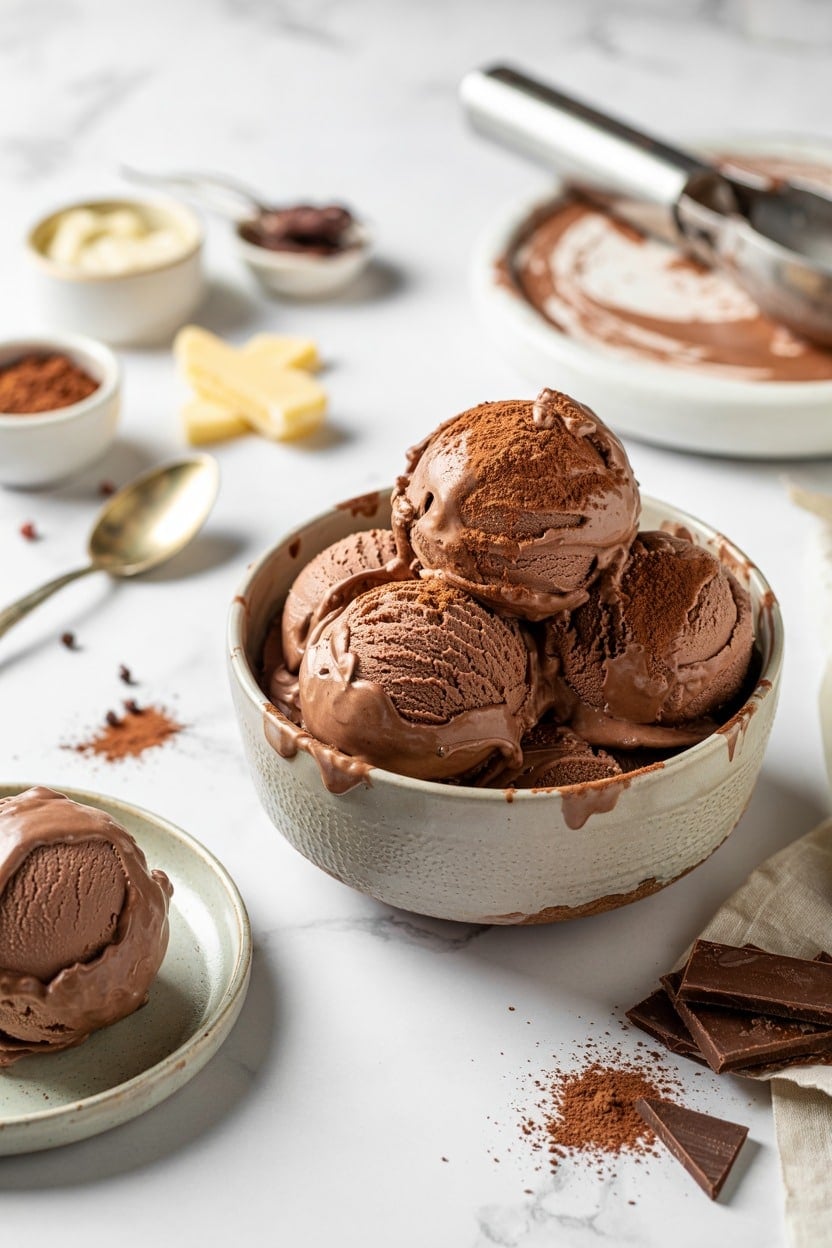
This no-churn chocolate fudge swirl ice cream offers a rich and creamy dessert that's easy to prepare at home without an ice cream maker, with fudge ribbons made from melted dark chocolate and cream, using 60-70% cocoa dark chocolate for balanced bitterness. Smooth vanilla ice cream base gets a generous fold of homemade fudge ribbons, creating indulgent swirls that bring deep, chocolatey flavor and a satisfying texture.
It's a great option when you want a flavorful frozen treat with minimal fuss, and pairs well with air-fryer chocolate bark for quick sweets.
If you're swapping chocolate, try chocolate alternatives for baking to match sweetness and texture.
Why This Recipe Works
This ice cream is a straightforward way to enjoy a luscious chocolate treat that’s both creamy and rich. It combines ease of preparation with crowd-pleasing flavor that fits casual occasions or family desserts.- Convenience - Requires no ice cream machine, just simple mixing and freezing.
- Flavor balance - Combines creamy vanilla base with rich, bittersweet fudge ribbons.
- Texture - Smooth ice cream with thick fudge swirls for added interest.
- Appeal - Kid-friendly and sophisticated enough for any dessert moment.
Ingredient Swap Ideas
Swapping ingredients here lets you customize the recipe to fit dietary preferences and available ingredients without losing the main character of the dessert.- Sweetened condensed milk - Use coconut condensed milk for a dairy-free option.
- Heavy cream - Swap with full-fat coconut cream to keep it dairy-free and rich.
- Vanilla extract - Try almond extract for a nutty variation.
- Chocolate - Substitute bittersweet chocolate with milk chocolate for a sweeter fudge.
Ingredients
- 2 cups heavy cream - Chilled, for whipping the ice cream base.
- 1 (14-ounce) can sweetened condensed milk - Adds sweetness and creaminess.
- 1 teaspoon vanilla extract - For classic vanilla flavor.
- 4 ounces bittersweet chocolate - Chopped, for making the fudge swirl.
- ¼ cup unsalted butter - Helps create a smooth fudge texture.
- ½ cup light corn syrup - Keeps fudge pliable and swirlable.
Instructions
- Prepare the fudge swirl by combining the chopped chocolate, butter, and corn syrup in a small saucepan over low heat. Stir constantly until the mixture is smooth and melted. Remove from heat and let it cool slightly until thick but still pourable.
- In a large bowl, whip the heavy cream with an electric mixer on medium-high speed until stiff peaks form. Be careful not to overwhip.
- Gently fold the sweetened condensed milk and vanilla extract into the whipped cream until fully combined, creating a smooth ice cream base.
- Pour half of the ice cream base into a freezer-safe container. Drizzle half of the fudge over it in ribbons. Spread the remaining ice cream on top, then swirl the remaining fudge over the surface, using a knife or skewer to create a marbled effect.
- Cover the container with a lid or plastic wrap and freeze for at least 6 hours or overnight until firm. Allow to sit at room temperature for a few minutes before scooping and serving.
3. Strawberry Cheesecake No-Churn Ice Cream
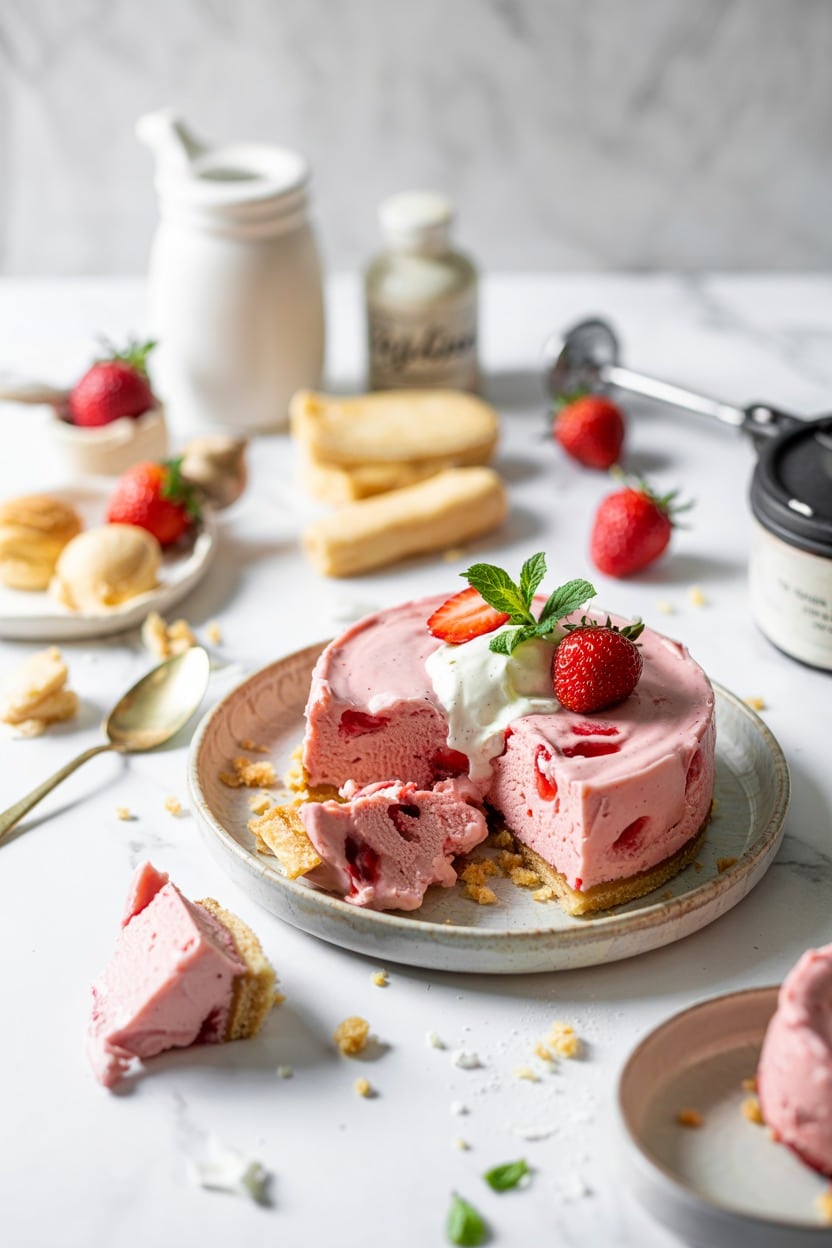
This strawberry cheesecake no-churn ice cream combines fresh strawberry puree with creamy cheese for a refreshing and tangy dessert you can make at home without an ice cream maker, often folded with softened cream cheese for a distinctly tangy cheesecake flavor, and pairs well with cheesecake side dishes for entertaining.
You'll only need a few ingredients, and the no-churn method means minimal fuss while still serving up a dessert that's perfect for warm days or any time you want something cool and fruity.
Why This Recipe Works
This recipe stands out for its easy preparation and vibrant flavor combination that feels both fresh and indulgent. It delivers classic cheesecake flavor in a refreshing frozen form that everyone will enjoy.- Convenience - No ice cream maker required, and minimal mixing steps make this great for busy days.
- Flavor balance - The tangy cream cheese cuts through the sweetness of ripe strawberries, creating a pleasant contrast.
- Texture - Smooth and creamy with some occasional strawberry bits for a nice bite.
- Appeal - Family-friendly and eye-catching, suitable for gatherings or everyday treats.
Ingredient Swap Ideas
Adjusting ingredients is helpful if you want to fit dietary preferences or use what you have on hand. Some swaps keep the texture and flavor intact while offering variety.- Use Greek yogurt instead of cream cheese for a lighter, tangier base.
- Substitute fresh strawberries with frozen berries of your choice, thawed and drained.
- Replace sweetened condensed milk with coconut condensed milk to make it dairy-free.
- Swap heavy cream for canned full-fat coconut milk for a dairy-free and vegan-friendly version.
Ingredients
- 2 cups fresh strawberries - hulled and roughly chopped.
- 1 cup cream cheese - softened to room temperature for easy mixing.
- 1 cup heavy cream - chilled for better whipping results.
- ¾ cup sweetened condensed milk - adds sweetness and creamy texture.
- 1 teaspoon vanilla extract - enhances the overall flavor.
- 2 tablespoons granulated sugar - to sweeten the strawberry puree.
Instructions
- Begin by placing the chopped strawberries and sugar in a blender or food processor. Blend until smooth, then set aside to let the flavors meld.
- In a large mixing bowl, beat the cream cheese with an electric mixer until light and fluffy. Add the sweetened condensed milk and vanilla extract, mixing well to combine.
- In a separate bowl, whip the heavy cream until stiff peaks form. Gently fold the whipped cream into the cream cheese mixture until fully incorporated.
- Fold the strawberry puree into the cream cheese and cream mixture, stirring just enough to swirl but not fully blend for a marbled effect.
- Pour the mixture into a freezer-safe container, cover, and freeze for at least 6 hours or overnight until firm. Scoop and serve cold.
4. Salted Caramel No-Churn Ice Cream
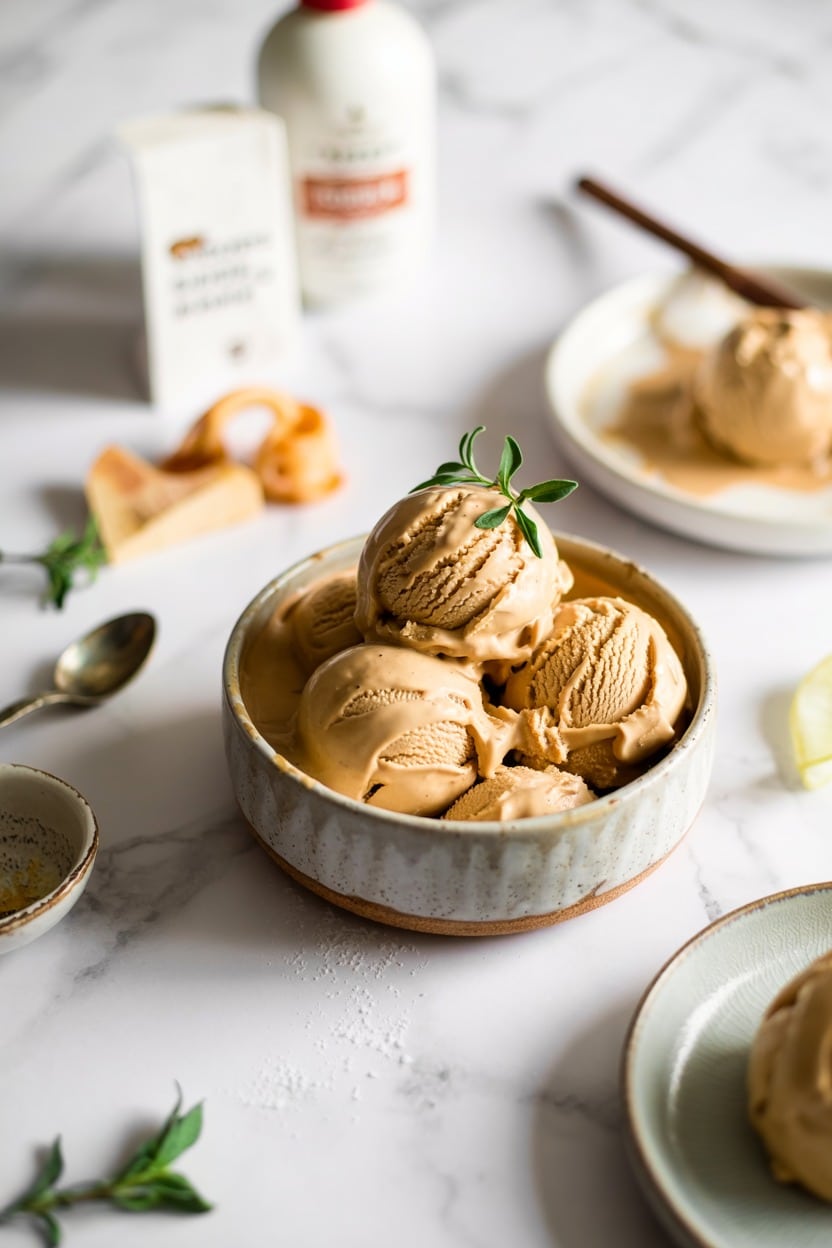
This Salted Caramel No-Churn Ice Cream brings a wonderful blend of sweet and salty flavors with a luxuriously smooth texture. The rich caramel sauce swirled throughout adds depth and warmth, making it an indulgent treat that doesn't require an ice cream maker.
It's a simple recipe perfect for busy cooks who want a homemade dessert without complicated steps or long freezing times. The no-churn method keeps the process straightforward while delivering creamy, scoopable results every time.
Why This Recipe Works
This ice cream recipe combines ease and richness, producing a satisfying dessert with minimal fuss. The balance of sweet caramel and a hint of salt enhances the flavor, making it appealing for many tastes.- Convenience - Requires no ice cream maker and comes together quickly with just a few ingredients.
- Flavor balance - Combines creamy sweetness with a subtle salted caramel twist.
- Texture - Smooth and creamy with a luscious ripple of caramel sauce throughout.
- Serving ease - Ready to serve from the freezer without needing to soften extensively.
Ingredient Swap Ideas
Swapping ingredients can customize this recipe for dietary preferences or ingredient availability while preserving its core flavor. Here are some easy substitutions to try.- Heavy cream - Use full-fat coconut milk for a dairy-free version with a rich texture.
- Sweetened condensed milk - Substitute with a homemade sweetener blend of evaporated milk and sugar if preferred.
- Caramel sauce - Replace with store-bought caramel or make a vegan caramel sauce using coconut cream and coconut sugar.
- Flaky sea salt - Use regular table salt sparingly if unavailable, but reduce quantity to keep the balance delicate.
Ingredients
- 2 cups heavy cream, cold
- 1 (14-ounce) can sweetened condensed milk
- 1 cup salted caramel sauce, divided
- ½ teaspoon flaky sea salt
Instructions
- In a large bowl, whip the cold heavy cream using a hand mixer or stand mixer until stiff peaks form. Set aside.
- In a separate bowl, stir together the sweetened condensed milk and ½ cup of the salted caramel sauce until combined.
- Gently fold the whipped cream into the caramel mixture in two additions, mixing carefully to keep the texture light and airy.
- Pour half of the ice cream mixture into a freezer-safe container. Drizzle half of the remaining caramel sauce over the layer and sprinkle with a pinch of flaky sea salt.
- Add the remaining ice cream mixture on top, then swirl with the remaining caramel sauce and another pinch of sea salt. Use a knife or skewer to create a marbled effect.
- Cover with a lid or plastic wrap and freeze for at least 6 hours or overnight until firm. Serve chilled straight from the freezer.
5. Mint Chocolate Chip No-Churn Ice Cream
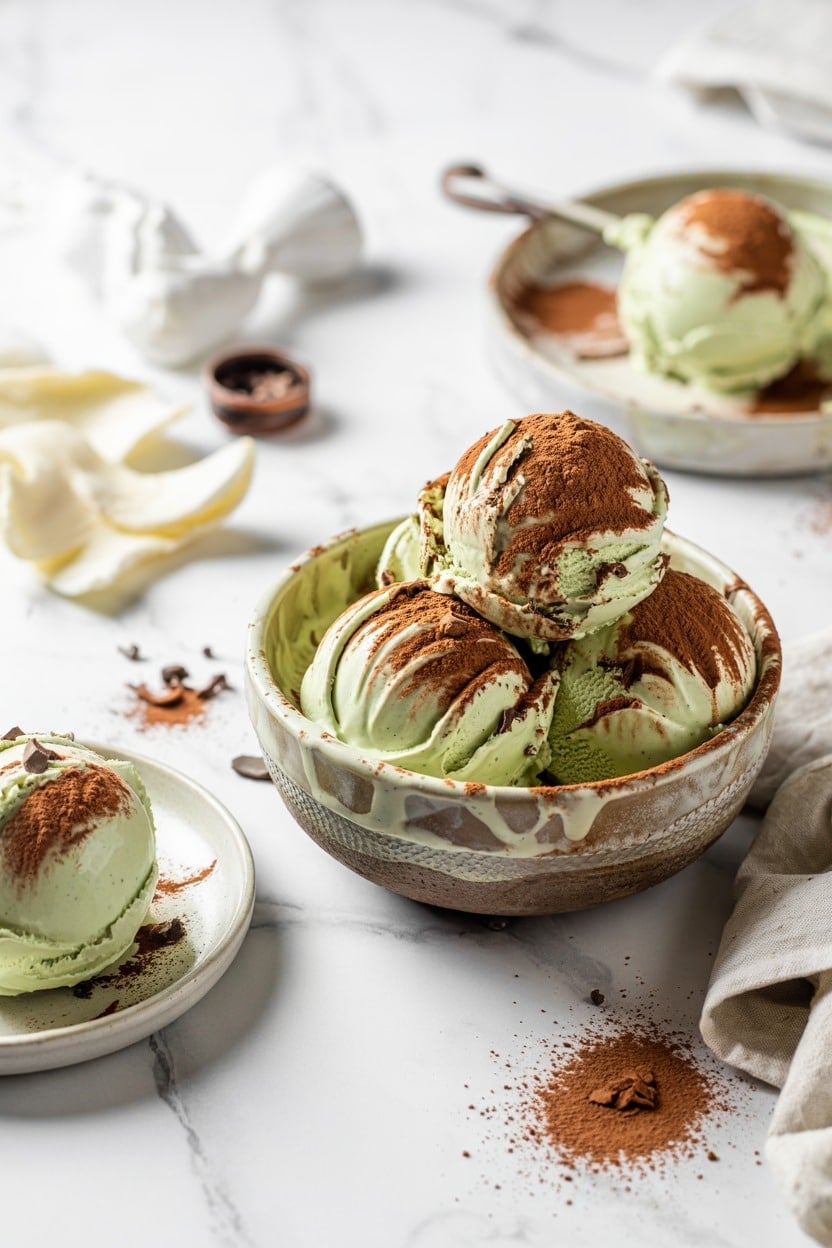
This mint chocolate chip ice cream is a refreshing treat that stands out for its bright flavor and creamy texture. It's a cool way to enjoy the classic mint and chocolate combination on a hot day, without needing an ice cream maker.
The recipe is straightforward, using just a few ingredients. You can whip it up in minutes, then let the freezer do its work while you get on with other things.
It's a great choice for a quick dessert or a casual get-together.
Why This Recipe Works
This no-churn ice cream recipe keeps things simple while delivering a smooth, minty flavor balanced by crunchy chocolate chips. Its ease and taste make it a reliable option for family-friendly desserts.- Convenience - No ice cream maker needed, making prep quick and simple.
- Flavor balance - Refreshing mint flavor paired with sweet, melty chocolate chips.
- Texture - Creamy base with crunchy chocolate pieces for added interest.
- Family-friendly - A cool, sweet treat that appeals to kids and adults alike.
Ingredient Swap Ideas
Adjusting ingredients helps tailor the ice cream to specific diets or flavor preferences without sacrificing the core mint chocolate chip experience.- Use coconut cream instead of heavy cream to create a dairy-free version with a rich texture.
- Swap chocolate chips for dark chocolate chunks if you want a less sweet, more intense chocolate flavor.
- Replace peppermint extract with spearmint extract for a milder, fresher mint taste.
- Add crushed mint candies or peppermint bark for a festive twist and extra crunch.
Ingredients
- 2 cups heavy cream - Chilled, for a creamy and rich base.
- 1 (14-ounce) can sweetened condensed milk - Adds sweetness and smooth texture without churning.
- 1 teaspoon peppermint extract - Provides classic mint flavor.
- 1 cup mini chocolate chips - For minty chocolate bursts throughout the ice cream.
- A few drops green food coloring (optional) - To give the ice cream a traditional minty green color.
Instructions
- In a large bowl, whip the heavy cream using an electric mixer until stiff peaks form. This creates the fluffy base for the ice cream.
- Gently fold in the sweetened condensed milk and peppermint extract, mixing carefully to keep the whipped cream light and airy. Add green food coloring if using, and stir to combine evenly.
- Fold in the mini chocolate chips, distributing them throughout the mixture evenly.
- Pour the mixture into a loaf pan or airtight container, smoothing the top. Cover with plastic wrap or a lid to prevent ice crystals from forming.
- Freeze the ice cream for at least 6 hours or overnight until firm. Scoop and serve chilled for a refreshing treat.
6. Peanut Butter Cup No-Churn Ice Cream
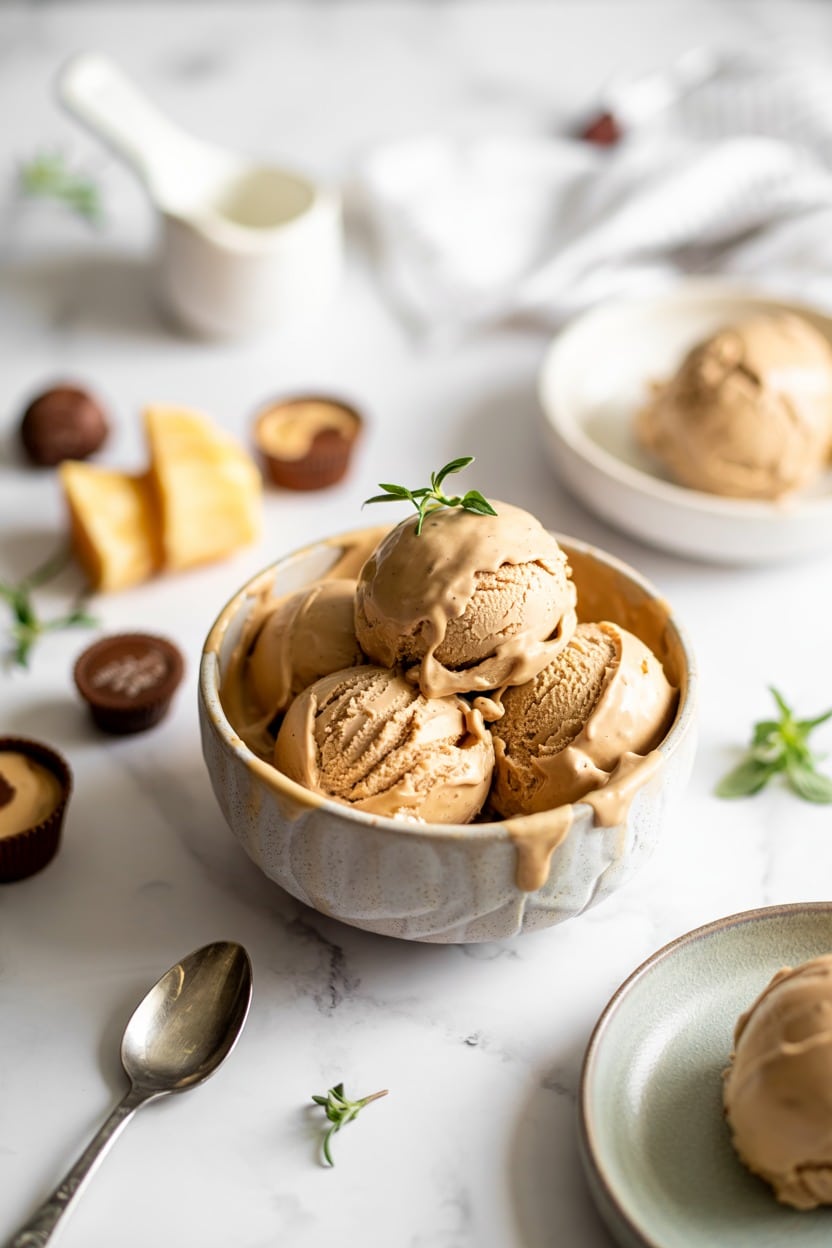
This peanut butter cup no-churn ice cream is a simple way to satisfy your sweet tooth without needing an ice cream maker. It features a rich, creamy peanut butter flavor that's perfectly complemented by pieces of peanut butter cups mixed throughout, adding a delightful texture to every bite.
Making this ice cream is straightforward and requires minimal ingredients, making it a great option for busy days or last-minute treats. The no-churn method means you can enjoy homemade ice cream with very little fuss and plenty of rewarding flavor.
Why This Recipe Works
This no-churn ice cream is a quick and convenient way to enjoy a creamy dessert packed with familiar flavors. It balances richness and sweetness with a satisfying texture, making it a reliable go-to treat.- Convenience - Requires no ice cream maker and only a few simple ingredients.
- Flavor balance - Creamy peanut butter base with sweet, chocolaty peanut butter cup chunks.
- Texture - Soft ice cream paired with crunchy peanut butter cup pieces.
- Appeal - Great for family-friendly gatherings or an easy homemade snack.
Ingredient Swap Ideas
If you want to tailor this recipe to your preferences or dietary needs, there are a few ingredient swaps that work well without compromising the taste or texture.- Peanut butter - Substitute with almond butter or sunflower seed butter for a different nut butter flavor or nut-free option.
- Sweetened condensed milk - Use coconut condensed milk to make a dairy-free version.
- Peanut butter cups - Replace with chopped chocolate chips or other nutty candy pieces for variety.
- Heavy cream - Swap with full-fat coconut cream to keep it creamy while making it dairy-free.
Ingredients
- 1 ½ cups heavy whipping cream - Chilled for whipping to soft peaks.
- 1 cup creamy peanut butter - Provides rich peanut flavor and smooth texture.
- 1 (14-ounce) can sweetened condensed milk - Adds sweetness and creaminess without churning.
- 1 teaspoon vanilla extract - Enhances the overall flavor.
- 1 cup peanut butter cups - Roughly chopped for texture and extra bursts of peanut butter and chocolate.
Instructions
- In a large mixing bowl, whip the cold heavy cream with an electric mixer until soft peaks form. This should take about 3 to 4 minutes on medium speed.
- In a separate bowl, combine the creamy peanut butter, sweetened condensed milk, and vanilla extract. Mix until smooth and well incorporated.
- Gently fold the whipped cream into the peanut butter mixture, using a spatula to keep the mixture light and fluffy without deflating it.
- Add the chopped peanut butter cups and fold them evenly into the ice cream base.
- Pour the mixture into a loaf pan or airtight container and smooth the top with a spatula. Cover tightly with plastic wrap or a lid, then freeze for at least 6 hours, or until firm.
7. Matcha Green Tea No-Churn Ice Cream
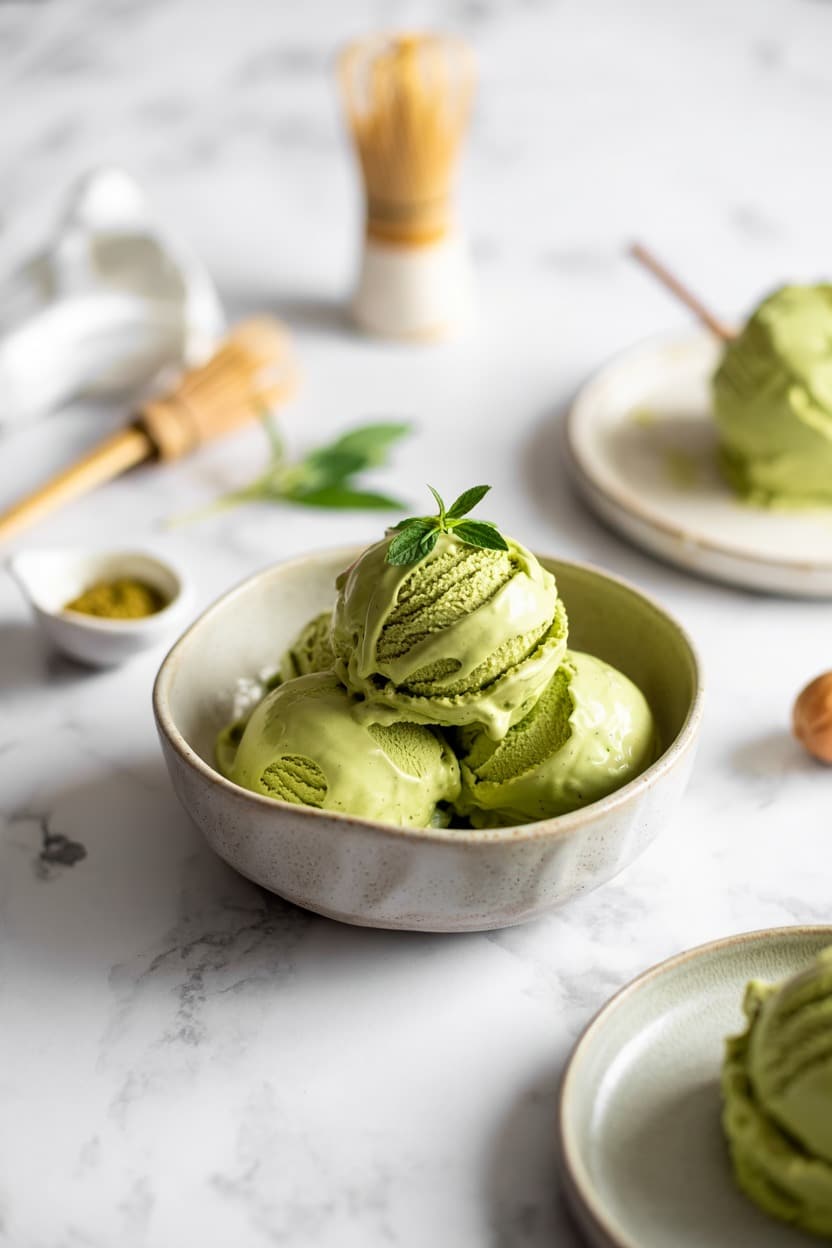
This Matcha Green Tea No-Churn Ice Cream offers a fresh and vibrant twist on traditional ice cream. It combines the earthy bitterness of matcha powder with creamy sweetness, creating a refreshing treat without the need for an ice cream maker.
The smooth texture melts softly, making it an inviting dessert for any time you crave a cool, flavorful option. It's simple to prepare and allows you to enjoy the bright green tea flavor with minimal fuss.
Why This Recipe Works
This recipe delivers a balanced and easy-to-make frozen dessert with unique matcha flavor, perfect for busy cooks seeking something different yet uncomplicated.- Convenience - No ice cream maker required, just a few ingredients and a freezer.
- Flavor balance - The slightly bitter matcha powder blends well with creamy sweetness for a smooth taste.
- Texture - Silky, rich, and creamy texture without ice crystals.
- Appeal - Refreshing and visually striking green color attracts both adults and kids.
Ingredient Swap Ideas
Swapping some ingredients can adjust the recipe for dietary preferences or to experiment with flavors while preserving its smooth, creamy character.- Heavy cream - Replace with canned coconut milk for a dairy-free or vegan-friendly version that still whips well.
- Sweetened condensed milk - Use maple syrup or agave nectar combined with evaporated milk for a less sweet or vegan option.
- Matcha powder - Substitute with other powdered green teas or powdered spirulina for a different green hue and flavor.
- Vanilla extract - Omit or replace with almond extract if preferred, to shift the flavor slightly.
Ingredients
- 2 cups heavy cream, cold
- 1 (14-ounce) can sweetened condensed milk
- 2 tablespoons matcha green tea powder
- 1 teaspoon vanilla extract
Instructions
- In a large mixing bowl, combine the sweetened condensed milk, matcha powder, and vanilla extract. Whisk thoroughly until the matcha dissolves evenly and the mixture is smooth.
- Using a stand mixer or hand mixer, whip the cold heavy cream on medium-high speed until stiff peaks form. This usually takes about 3 to 5 minutes.
- Gently fold the whipped cream into the matcha mixture in three additions. Use a spatula to mix carefully, preserving as much air as possible for a light texture.
- Transfer the combined mixture into a freezer-safe container. Smooth the top with a spatula, cover tightly with a lid or plastic wrap.
- Freeze for at least 6 hours or overnight until firm. Let the ice cream sit at room temperature for 5 minutes before scooping to soften slightly.
8. Coconut Cream Pie No-Churn Ice Cream
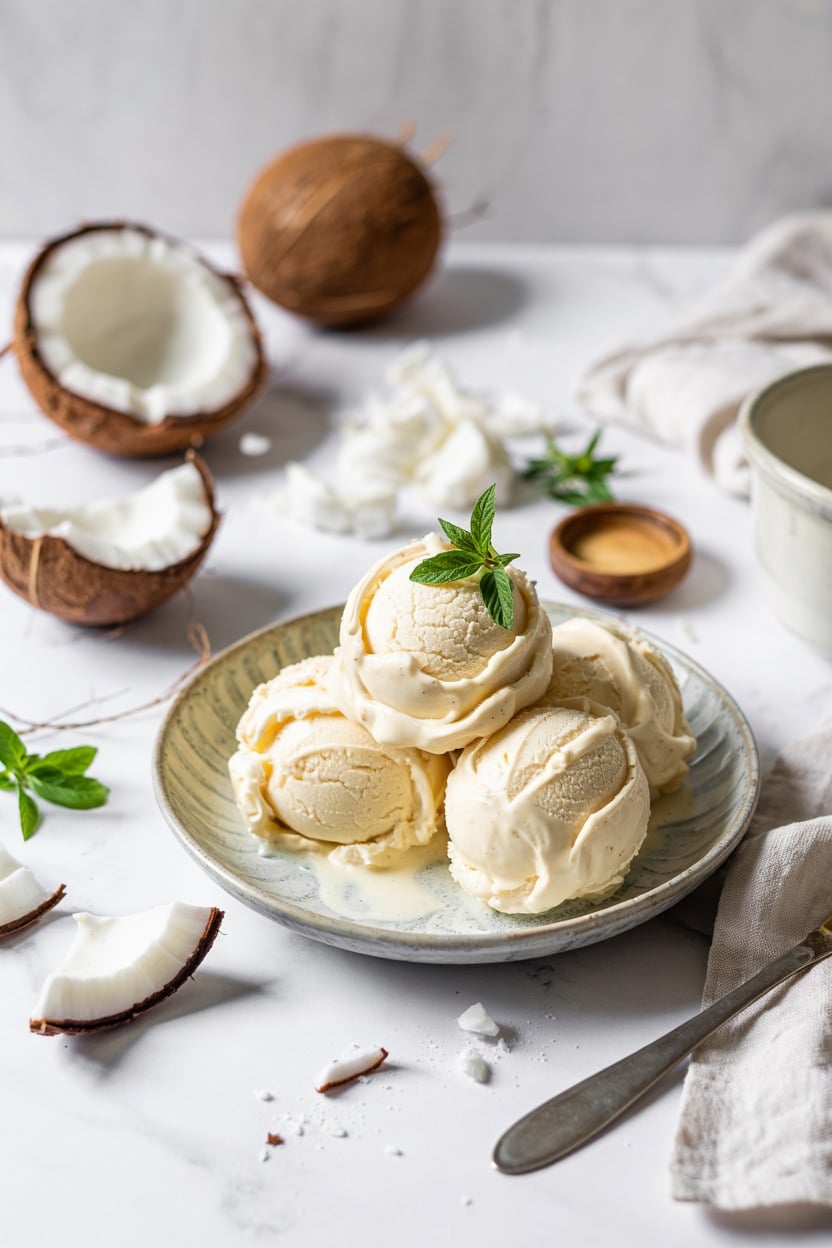
This no-churn ice cream captures the rich, tropical essence of coconut cream pie in a refreshing frozen treat. It combines creamy coconut milk with shredded coconut flakes for texture, creating a dessert that's indulgent yet surprisingly simple to prepare.
The recipe skips the traditional ice cream maker, making it accessible for anyone ready to enjoy a cool, homemade dessert. The balance of smooth coconut cream and the crunch of toasted coconut makes it particularly satisfying on warm days or as a sweet finale to any meal.
Why This Recipe Works
This no-churn ice cream lets you enjoy a coconut cream pie flavor with minimal preparation and fuss. It delivers a creamy texture with a subtle coconut sweetness that appeals to a broad audience.- Convenience - Requires no ice cream maker and minimal hands-on time.
- Flavor balance - Combines rich coconut cream with toasted coconut flakes for a delightful taste contrast.
- Texture - Smooth and creamy with intermittent crunchy coconut bits that add interest.
- Appeal - Perfect for family desserts or casual gatherings, pleasing coconut lovers and novices alike.
Ingredient Swap Ideas
Adjusting ingredients can help cater this recipe to different dietary preferences or ingredient availability without losing its essence.- Coconut milk - Use full-fat canned coconut milk for a richer base or light coconut milk for fewer calories.
- Sweetener - Replace granulated sugar with maple syrup or honey for a natural sweetness variation.
- Coconut flakes - Swap shredded flakes for flaked almonds or chopped macadamia nuts to diversify texture.
- Dairy substitution - If you prefer a creamier ice cream, fold in whipped cream or use coconut cream instead of coconut milk.
Ingredients
- 2 cups canned full-fat coconut milk - chilled, providing a rich and creamy base.
- 1 cup heavy whipping cream - chilled, for smooth texture and creaminess.
- ¾ cup granulated sugar - to sweeten the mixture evenly.
- 1 teaspoon vanilla extract - for warmth and added complexity.
- 1 cup shredded sweetened coconut flakes - divided, half toasted for crunch and half mixed in for flavor.
- ¼ teaspoon salt - enhances the sweetness and balances flavors.
Instructions
- Combine the chilled coconut milk, heavy cream, granulated sugar, vanilla extract, and salt in a large mixing bowl. Whisk together until the sugar is mostly dissolved and the mixture is smooth.
- Toast half of the shredded coconut flakes in a dry skillet over medium heat, stirring frequently, until golden brown and fragrant. Remove from heat and let cool.
- Gently fold the toasted coconut flakes and the remaining raw coconut flakes into the coconut mixture. Mix to distribute evenly.
- Pour the mixture into a loaf pan or freezer-safe container. Cover tightly with plastic wrap or a lid and freeze for at least 6 hours, or until firm enough to scoop.
- Before serving, let the ice cream sit at room temperature for a few minutes to soften slightly. Scoop into bowls and enjoy a refreshing taste of coconut cream pie in every bite.
9. Banana Nut No-Churn Ice Cream
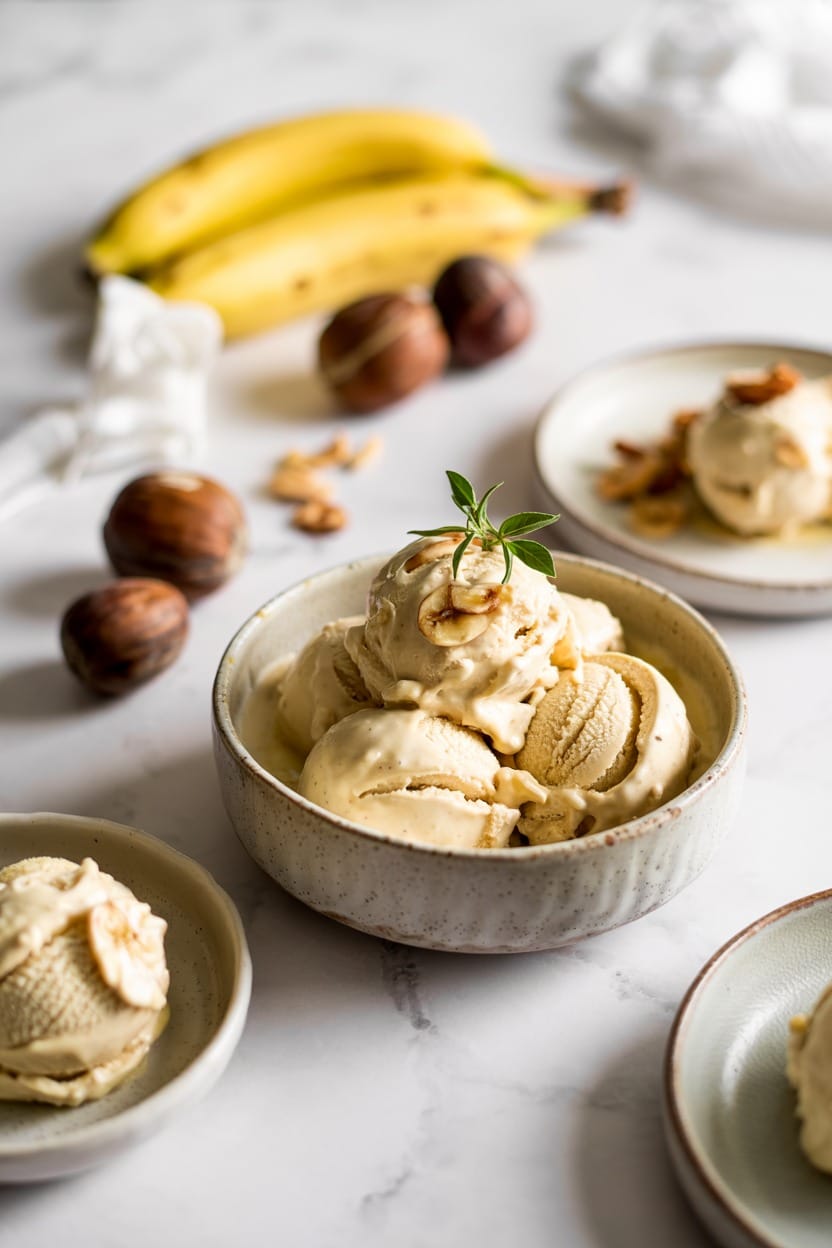
This Banana Nut No-Churn Ice Cream is a simple, satisfying treat that you can make without an ice cream machine. It combines the natural sweetness of ripe bananas with the crunch of toasted nuts for a creamy yet textured dessert.
The recipe is straightforward and requires just a few ingredients. You'll appreciate how the banana flavor shines through, making it a healthier alternative to conventional ice creams while still feeling indulgent.
Why This Recipe Works
This no-churn ice cream balances ease and rich flavor. It’s a great option when you want homemade ice cream without complicated equipment or long wait times.- Convenience - No ice cream maker needed and minimal ingredients.
- Flavor balance - Naturally sweet bananas paired with toasty walnuts or pecans add depth.
- Texture - Smooth, creamy ice cream interrupted by crunchy nuts for interest.
- Family-friendly - Appeals to kids and adults alike with familiar flavors.
Ingredient Swap Ideas
Swapping ingredients can help tailor this ice cream to your dietary needs or preferences. It’s flexible enough to keep the core banana and nut concept while changing textures or flavors.- Bananas - Use frozen mango or avocado chunks for a different fruit base.
- Nuts - Substitute walnuts with pecans, almonds, or hazelnuts for varied crunch and flavor.
- Sweetener - Add a spoonful of honey or maple syrup if your bananas aren't ripe enough for sweetness.
- Dairy - Replace evaporated milk with full-fat coconut milk for a dairy-free version.
Ingredients
- 3 ripe bananas - peeled, sliced, and frozen for best flavor and texture.
- 1 cup evaporated milk - helps create a creamy base without heavy cream.
- ⅓ cup powdered sugar - adds a touch of sweetness while blending smoothly.
- 1 teaspoon vanilla extract - enhances the natural banana flavor.
- ½ cup walnuts or pecans - toasted and chopped for crunch.
Instructions
- Place the frozen banana slices in a food processor or high-speed blender. Blend until smooth and creamy, scraping down the sides as needed.
- Add evaporated milk, powdered sugar, and vanilla extract to the blender. Blend again until all ingredients are fully combined and the mixture is smooth.
- Gently fold in the chopped toasted nuts, reserving a small amount to sprinkle on top later if desired.
- Transfer the mixture to a freezer-safe container, smoothing the top with a spatula. Cover and freeze for at least 4 hours, or until firm enough to scoop.
- Before serving, let the ice cream sit at room temperature for 5 minutes to soften slightly. Scoop into bowls and garnish with the reserved nuts.
10. Cookies and Cream No-Churn Ice Cream
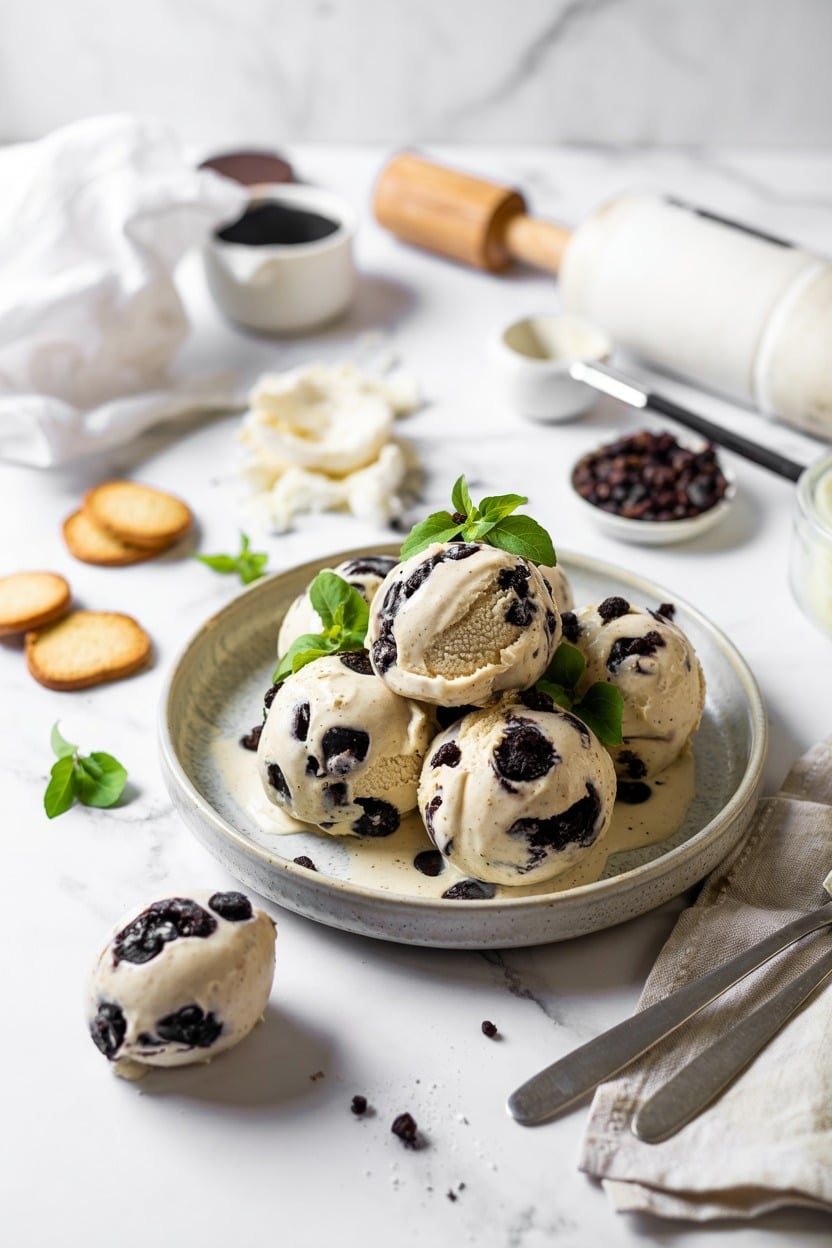
This no-churn ice cream combines the classic flavor of cookies and cream with a creamy, smooth texture that you can make right at home. It's a simple recipe that doesn't require an ice cream maker, making it accessible for busy cooks who still want a sweet treat.
The crushed cookies add the perfect bit of crunch and sweetness, balancing the rich, velvety base. This ice cream brings together familiar flavors in a way that feels both nostalgic and fresh.
Why This Recipe Works
This recipe offers a straightforward way to enjoy homemade ice cream with minimal prep and no special equipment. The classic cookies and cream flavor is widely loved and brings a satisfying crunch to every bite.- Convenience - Requires no ice cream maker and only a few ingredients.
- Flavor balance - Combines creamy vanilla base with crunchy, chocolatey cookie pieces.
- Texture - Smooth and creamy ice cream interspersed with crisp cookie bits.
- Family-friendly - Appeals to both kids and adults, perfect for gatherings or after-dinner treats.
Ingredient Swap Ideas
Changing a few ingredients can make this no-churn ice cream suitable for different dietary needs or flavor preferences. Swapping ingredients allows you to customize the recipe without losing the core experience.- Whipped topping - Use a dairy-free whipped topping to make this vegan-friendly.
- Cookies - Substitute Oreo-style cookies with gluten-free or allergen-friendly cookie brands.
- Sweetened condensed milk - Try using a sugar-free or low-sugar variety for reduced sweetness.
- Vanilla extract - Swap with almond or mint extract for a different twist on flavor.
Ingredients
- 2 cups heavy whipping cream chilled
- 1 (14-ounce) can sweetened condensed milk
- 1 teaspoon vanilla extract
- 15-20 chocolate sandwich cookies crushed roughly
Instructions
- In a large bowl, whip the heavy cream using an electric mixer until stiff peaks form. This should take about 3 to 5 minutes on medium-high speed.
- In a separate bowl, combine the sweetened condensed milk and vanilla extract, mixing until smooth.
- Gently fold the whipped cream into the condensed milk mixture until fully incorporated, being careful not to deflate the cream.
- Fold in the crushed cookies until evenly distributed throughout the mixture.
- Transfer the mixture to a freezer-safe container, smoothing the top with a spatula. Cover and freeze for at least 6 hours or overnight until firm.
11. Blueberry Lavender No-Churn Ice Cream
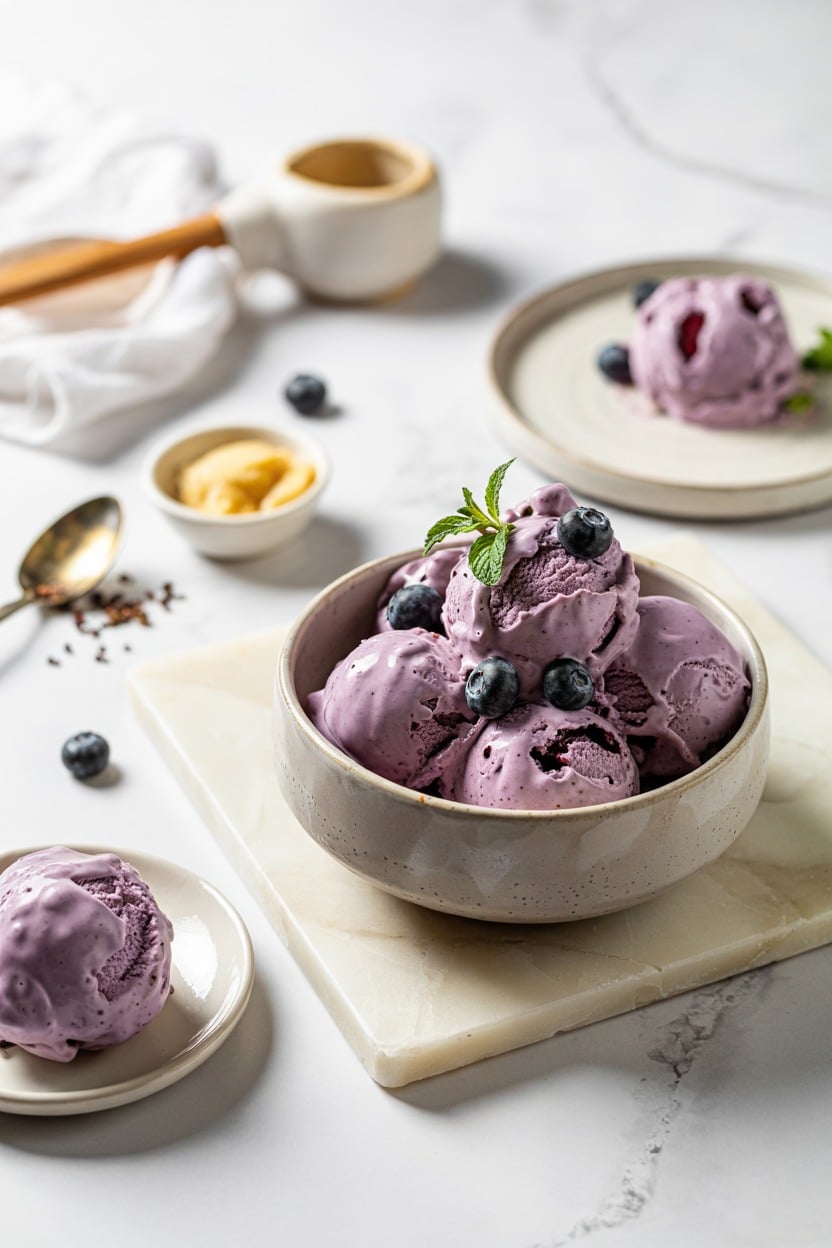
This blueberry lavender no-churn ice cream brings a delicate floral note together with fruity brightness from fresh blueberries. It's a refreshing treat that doesn't require an ice cream maker, making it accessible for any home cook.
The creamy texture complements the subtle lavender flavor perfectly, creating a dessert that feels special yet is easy to prepare.
The vibrant purple-blue color from the blueberries adds a lovely visual appeal. This ice cream works well for a cozy evening dessert or a light addition to a summer gathering.
With minimal steps and simple ingredients, it's a great option when you want to impress without fuss.
Why This Recipe Works
This recipe blends simple techniques with complex flavors to create a no-churn ice cream that’s creamy and fragrant. It’s approachable for cooks of all skill levels and yields a sophisticated dessert with minimal effort.- Convenience - Requires no ice cream maker and comes together quickly with straightforward mixing.
- Flavor balance - Combines fresh blueberry tartness with subtle lavender for a well-rounded taste.
- Texture - Achieves a smooth, creamy mouthfeel similar to churned ice cream through whipped cream and sweetened condensed milk.
- Appeal - Offers a visually stunning dessert that's both refreshing and elegant for sharing.
Ingredient Swap Ideas
Swapping ingredients can help customize this recipe for dietary preferences or flavor variations while keeping the essence intact.- Dairy alternative - Use coconut cream instead of heavy cream to make it dairy-free.
- Sweetener variation - Replace sweetened condensed milk with a homemade blend of coconut milk and maple syrup for a natural sweetener option.
- Flavor twist - Substitute lavender with lemon zest or vanilla extract for a different aromatic profile.
- Berry swap - Use blackberries or raspberries if blueberries are not available or to add a different berry note.
Ingredients
- 2 cups fresh blueberries - Rinsed and drained, for a vibrant fruit base.
- 1 tablespoon dried culinary lavender buds - Provides a subtle floral aroma and flavor.
- 1 cup heavy cream - Chilled, to be whipped for creaminess.
- 1 (14-ounce) can sweetened condensed milk - Adds sweetness and body without churning.
- 1 teaspoon vanilla extract - Enhances flavor depth.
- 1 tablespoon lemon juice - Balances sweetness with a fresh tang.
- Pinch of salt - Enhances overall taste.
Instructions
- Combine the blueberries and lavender buds in a small saucepan with ¼ cup water. Simmer gently over low heat for about 10 minutes, stirring occasionally, until blueberries break down and release juices. Remove from heat and let steep for 15 minutes to infuse lavender flavor.
- Strain the blueberry mixture through a fine mesh sieve, pressing to extract as much liquid as possible. Discard solids and set the blueberry-lavender syrup aside to cool completely.
- In a large bowl, whip the heavy cream with an electric mixer until stiff peaks form. In a separate bowl, whisk together the sweetened condensed milk, vanilla extract, lemon juice, salt, and cooled blueberry-lavender syrup until smooth.
- Gently fold the whipped cream into the condensed milk mixture until fully combined and light. Pour the mixture into a loaf pan or airtight container and smooth the surface.
- Cover tightly and freeze for at least 6 hours or overnight until firm. Remove from the freezer a few minutes before serving to soften slightly for scooping.
12. Chocolate Hazelnut No-Churn Ice Cream
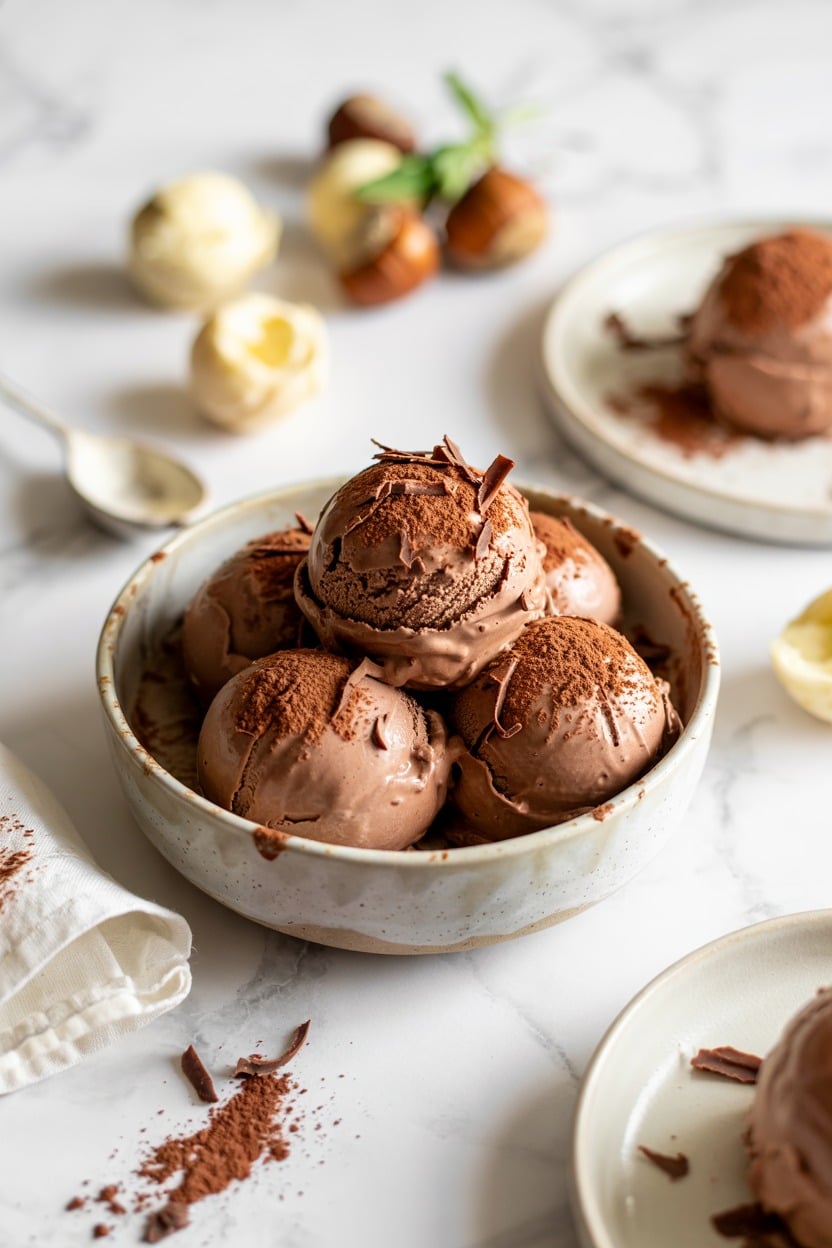
This Chocolate Hazelnut No-Churn Ice Cream brings together rich chocolate and the nutty warmth of hazelnuts in a silky, creamy frozen treat. It's incredibly easy to make since it skips the ice cream maker.
The flavor is deeply chocolatey with a subtle hazelnut undertone reminiscent of nostalgic chocolate spreads, making it a hit with anyone who enjoys a classic chocolate and nut pairing. With only a few ingredients, you can have a smooth, indulgent dessert ready to enjoy in just a few hours.
Why This Recipe Works
This recipe gives you a straightforward way to create a creamy, flavorful ice cream without special equipment. The combo of chocolate and hazelnut offers rich taste with a smooth texture.- Convenience - No need for an ice cream maker; simply whip and freeze.
- Flavor balance - Combines deep chocolate with the subtle crunch and warmth of hazelnuts.
- Texture - Creamy and smooth with occasional nutty bits for contrast.
- Family-friendly - A crowd-pleasing flavor that appeals to kids and adults alike.
Ingredient Swap Ideas
Swapping ingredients here can help meet different dietary needs or adjust flavors without losing the essence of the recipe.- Hazelnuts - Replace with toasted almonds or pecans if hazelnuts aren't available or preferred.
- Sweetened condensed milk - Use a sugar-free or coconut-based version for a lower-sugar or dairy-free option.
- Dark chocolate - Swap with milk chocolate for a sweeter, less intense chocolate flavor.
- Heavy cream - Use full-fat coconut cream to make the recipe vegan-friendly and dairy-free.
Ingredients
- 2 cups heavy cream - Cold, for whipping to soft peaks.
- 1 (14-ounce) can sweetened condensed milk - Provides sweetness and creamy texture.
- 1 cup hazelnuts - Toasted and chopped roughly for mixing and garnish.
- 1 cup good-quality dark chocolate chips or chopped dark chocolate - Melted and slightly cooled.
- 1 teaspoon vanilla extract - Adds aromatic depth to the ice cream base.
- Pinch of salt - Enhances the chocolate flavor.
Instructions
- Toast the hazelnuts in a dry skillet over medium heat for 5 to 7 minutes, stirring frequently until fragrant and golden. Let cool, then chop coarsely. Set aside a small handful for topping.
- In a large bowl, whip the cold heavy cream with an electric mixer until it holds soft peaks. Be careful not to overwhip.
- Gently fold the sweetened condensed milk, vanilla extract, and pinch of salt into the whipped cream using a spatula. Mix just until combined.
- Stir in the melted dark chocolate until swirled throughout the mixture. Reserve half of the chopped hazelnuts to fold in, then sprinkle the rest over the top when transferring to your container.
- Transfer the mixture into a freezer-safe container and smooth the top. Sprinkle the reserved hazelnuts over the surface. Cover and freeze for at least 6 hours or overnight until firm.
13. Lemon Blueberry No-Churn Ice Cream
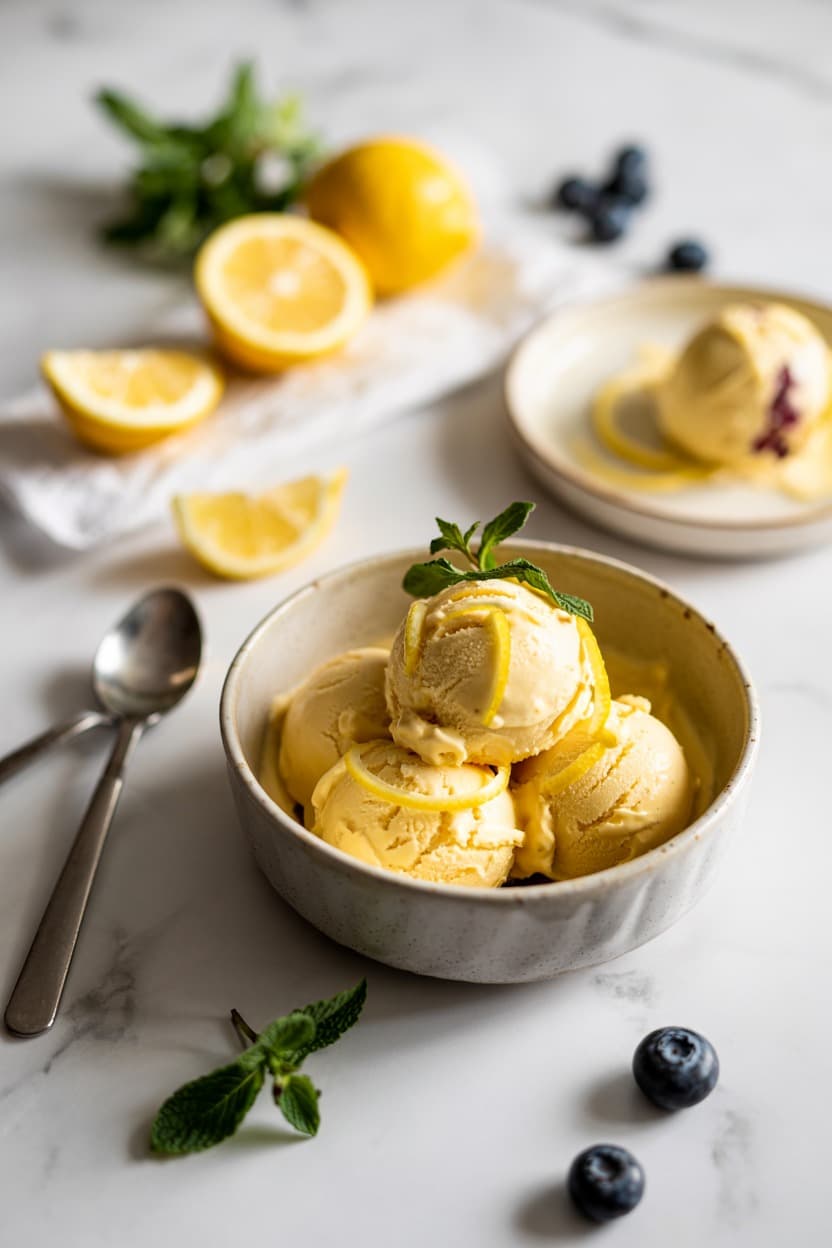
This Lemon Blueberry No-Churn Ice Cream brings together bright citrus flavors with bursts of juicy blueberries for a refreshing treat. It's a simple way to enjoy homemade ice cream without needing an ice cream maker.
The creamy texture combined with the tangy lemon and sweet blueberries makes this a delightful dessert for warm days or any time you want a cool, fruity snack.
Why This Recipe Works
This recipe offers a straightforward approach to making fresh, vibrant ice cream with minimal fuss and delicious results.- Convenience - No ice cream maker required, just mix and freeze.
- Flavor balance - The tartness of lemon pairs beautifully with sweet blueberries for a lively taste.
- Texture - Creamy base with soft bursts of blueberry creates a pleasant mouthfeel.
- Appeal - Light and fresh, ideal for family occasions or a simple homemade dessert.
Ingredient Swap Ideas
Swapping ingredients here lets you tailor the ice cream to your dietary choices or flavor preferences without losing the idea behind the recipe.- Use full-fat coconut milk instead of heavy cream for a dairy-free alternative.
- Replace fresh blueberries with frozen raspberries or blackberries for a different berry twist.
- Substitute lemon juice with lime juice for a slightly different citrus flavor.
- Use honey or maple syrup instead of granulated sugar for natural sweetness.
Ingredients
- 2 cups heavy whipping cream - Provides the creamy base needed for rich texture.
- 1 (14-ounce) can sweetened condensed milk - Adds sweetness and helps achieve no-churn creaminess.
- ⅓ cup fresh lemon juice - Brings a bright, tangy citrus flavor.
- 1 tablespoon lemon zest - Enhances the lemon flavor with aromatic oils.
- 1 cup fresh blueberries - Adds bursts of juicy sweetness throughout the ice cream.
- 1 teaspoon vanilla extract - Complements the lemon and blueberry with a mild sweetness.
Instructions
- In a large mixing bowl, whip the heavy cream with an electric mixer until stiff peaks form. This creates the fluffy base for the ice cream.
- In a separate bowl, gently fold together the sweetened condensed milk, lemon juice, lemon zest, and vanilla extract until fully combined.
- Carefully fold the whipped cream into the condensed milk mixture, stirring slowly to maintain the airy texture.
- Gently fold in the fresh blueberries to distribute them evenly without breaking them up too much.
- Pour the mixture into a loaf pan or airtight container, smooth the top, and cover with plastic wrap. Freeze for at least 6 hours or overnight until firm enough to scoop.
14. Pumpkin Spice No-Churn Ice Cream
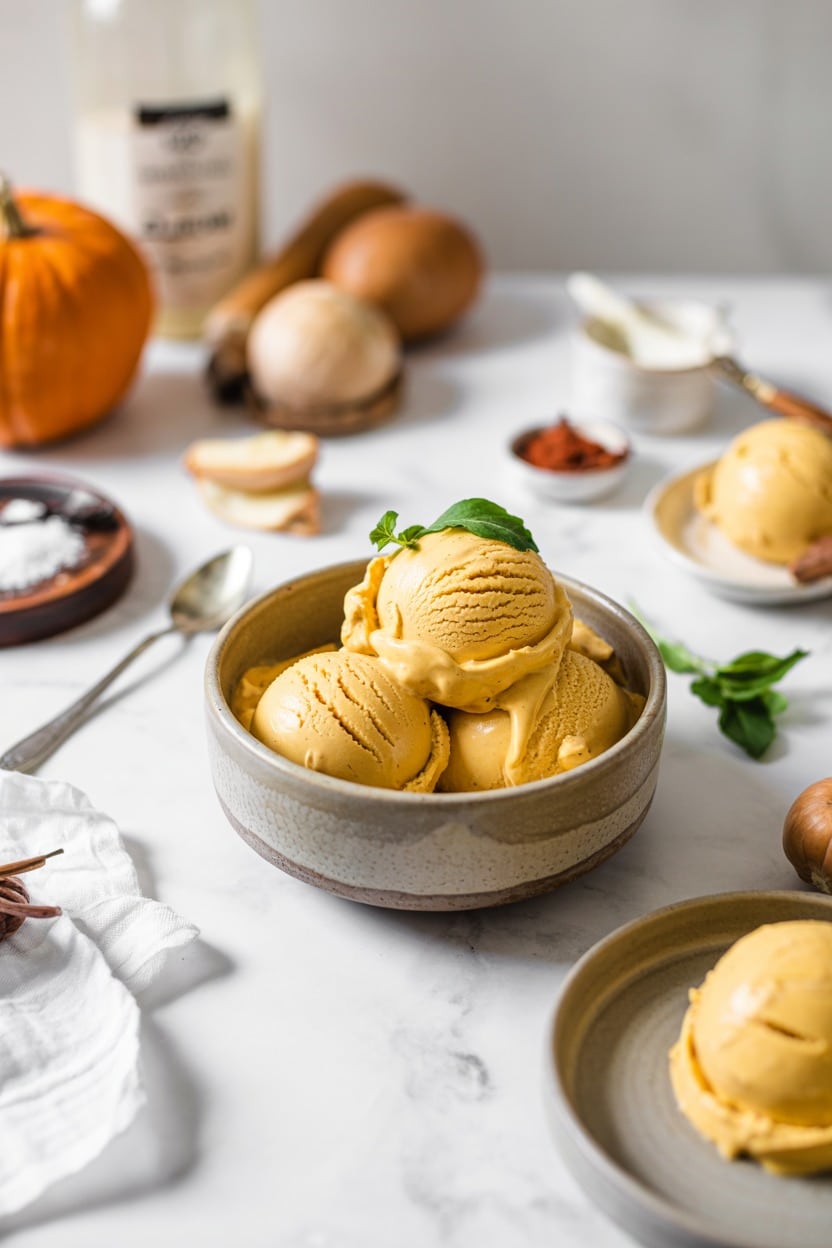
This Pumpkin Spice No-Churn Ice Cream brings the warm and cozy flavors of autumn into a smooth, creamy frozen treat without needing an ice cream maker. The blend of pumpkin puree with cinnamon, nutmeg, and cloves creates that classic pumpkin spice profile you look forward to during the season.
The texture is rich and velvety, yet light enough to enjoy as a refreshing dessert. It's a fuss-free recipe that fits easily into a busy day and lets you enjoy homemade ice cream with minimal preparation.
Why This Recipe Works
This no-churn ice cream is a convenient way to enjoy seasonal flavors without complicated steps. The combination of spices and pumpkin puree offers a comforting taste that feels familiar and satisfying.- Convenience - No ice cream maker needed, simply mix and freeze.
- Flavor balance - Warm spices complement the natural pumpkin sweetness flawlessly.
- Texture - Creamy and smooth with a tender bite that's rich without heaviness.
- Family-friendly - A crowd-pleaser that's suitable for all ages and occasions.
Ingredient Swap Ideas
You can customize this recipe by swapping ingredients to suit preferences or dietary needs without losing its classic pumpkin spice essence.- Dairy-free option - Replace sweetened condensed milk with a coconut milk-based condensed milk alternative.
- Pumpkin puree substitute - Use butternut squash puree for a slightly different but still seasonal flavor.
- Sweetener swap - Substitute brown sugar with maple syrup for a natural, rich sweetness.
- Spice adjustment - Add a pinch of ginger or allspice if you prefer a spicier profile.
Ingredients
- 1 ¾ cups heavy cream - Chilled, for whipping to soft peaks.
- 1 14-ounce can sweetened condensed milk - Provides sweetness and creaminess.
- 1 cup pumpkin puree - Use canned or homemade pureed pumpkin.
- 1 ½ teaspoons ground cinnamon - Essential for pumpkin spice flavor.
- ½ teaspoon ground nutmeg - Adds warmth and depth.
- ¼ teaspoon ground cloves - Gives a slight aromatic bite.
- ½ teaspoon vanilla extract - Enhances overall flavor.
- Pinch of salt - Balances sweetness and spices.
Instructions
- In a large mixing bowl, whip the heavy cream using a hand mixer or stand mixer until soft peaks form. Set aside.
- In a separate bowl, combine the sweetened condensed milk, pumpkin puree, cinnamon, nutmeg, cloves, vanilla extract, and salt. Stir well until all ingredients are evenly incorporated.
- Gently fold the whipped cream into the pumpkin mixture in three parts, mixing carefully to keep the airy texture intact.
- Transfer the mixture to a freezer-safe container, smoothing out the top with a spatula. Cover tightly with a lid or plastic wrap.
- Freeze for at least 6 hours or overnight until firm. Scoop and serve chilled, optionally garnished with a sprinkle of cinnamon or crushed gingersnap cookies for extra flavor.
15. Mocha Espresso No-Churn Ice Cream
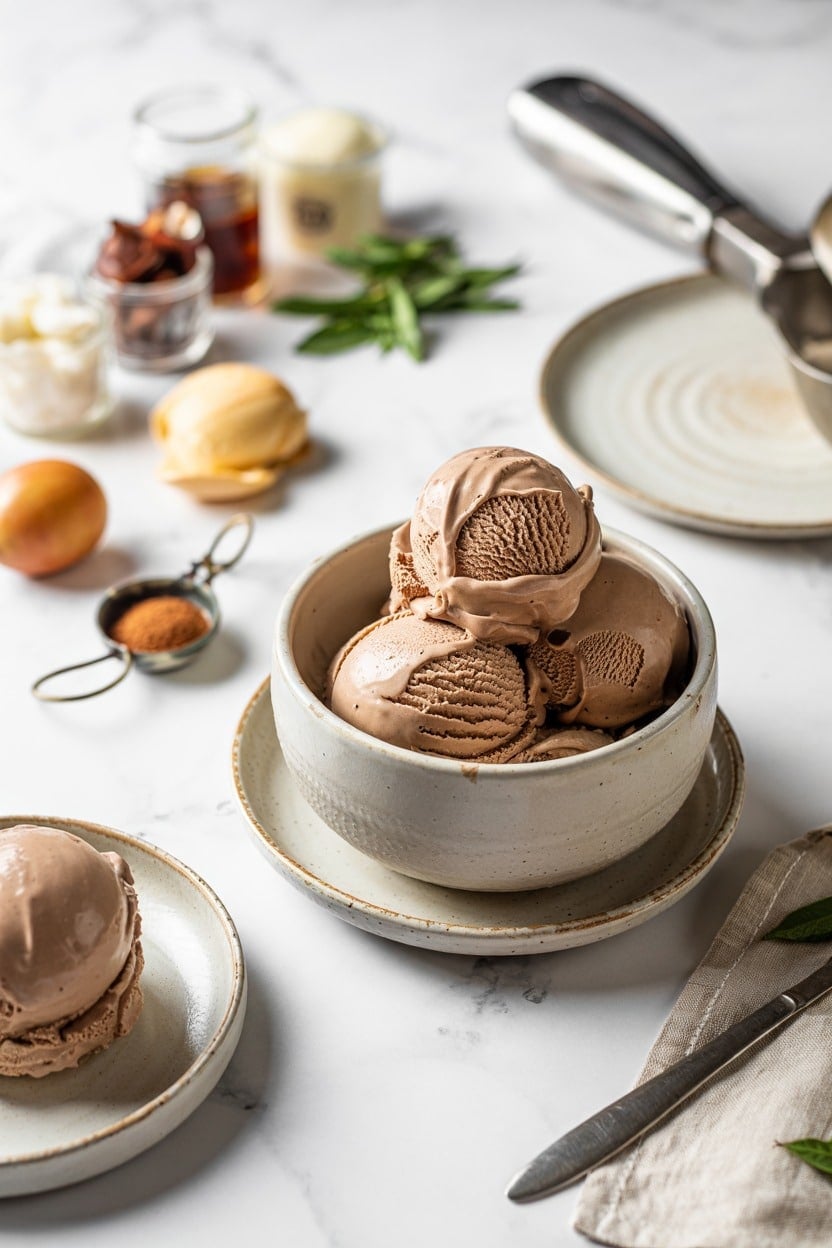
This no-churn mocha espresso ice cream brings together rich coffee flavor and smooth chocolate in a creamy, frozen treat. It's an easy recipe that lets you enjoy a café-inspired dessert without needing an ice cream maker or complicated steps.
The subtle espresso kick balances perfectly with sweet cocoa, creating a refreshing pick-me-up that's great for any time of day. We can prepare this ahead and keep it ready for when a cool, bold dessert feels just right.
Why This Recipe Works
This ice cream shines for how simple it is and the depth of flavor it delivers without fuss.- Convenience - No ice cream maker required; just a few ingredients and a freezer.
- Flavor balance - The blend of espresso and chocolate offers a smooth, not overpowering taste.
- Texture - Creamy and fluffy with a nicely frozen consistency.
- Appeal - A great choice for coffee enthusiasts and chocolate fans alike, suitable for casual or special moments.
Ingredient Swap Ideas
Adjusting ingredients here can help fit diets or personal preferences without losing the espresso mocha essence.- Dairy alternative - Use full-fat coconut cream instead of heavy cream for a dairy-free version.
- Sweetener - Substitute granulated sugar with maple syrup or honey to vary sweetness and add subtle flavor notes.
- Coffee - Replace espresso powder with finely ground instant coffee if preferred, keeping the intensity.
- Chocolate - Swap cocoa powder for melted dark chocolate chips for a richer chocolate taste.
Ingredients
- 1 ½ cups heavy cream - Chilled for whipping into stiff peaks.
- 1 (14-ounce) can sweetened condensed milk - Adds sweetness and creamy texture.
- 2 tablespoons espresso powder - Gives a strong coffee flavor.
- 3 tablespoons unsweetened cocoa powder - Brings chocolate depth to the ice cream.
- 1 teaspoon vanilla extract - Enhances overall flavor.
- Pinch of salt - Balances sweetness and elevates the mocha profile.
Instructions
- In a large bowl, whip the chilled heavy cream using an electric mixer until stiff peaks form. This creates a light base for the ice cream.
- In a separate bowl, combine sweetened condensed milk, espresso powder, cocoa powder, vanilla extract, and a pinch of salt. Mix well until fully blended and smooth.
- Gently fold the whipped cream into the coffee-chocolate mixture. Use a spatula to combine without deflating the whipped cream, maintaining a fluffy texture.
- Transfer the mixture to a freezer-safe container and smooth the top. Cover tightly with a lid or plastic wrap.
- Freeze for at least 6 hours or overnight until firm. Before serving, let the ice cream sit at room temperature for a few minutes to soften slightly for easy scooping.
16. Vegan Chocolate Avocado No-Churn Ice Cream
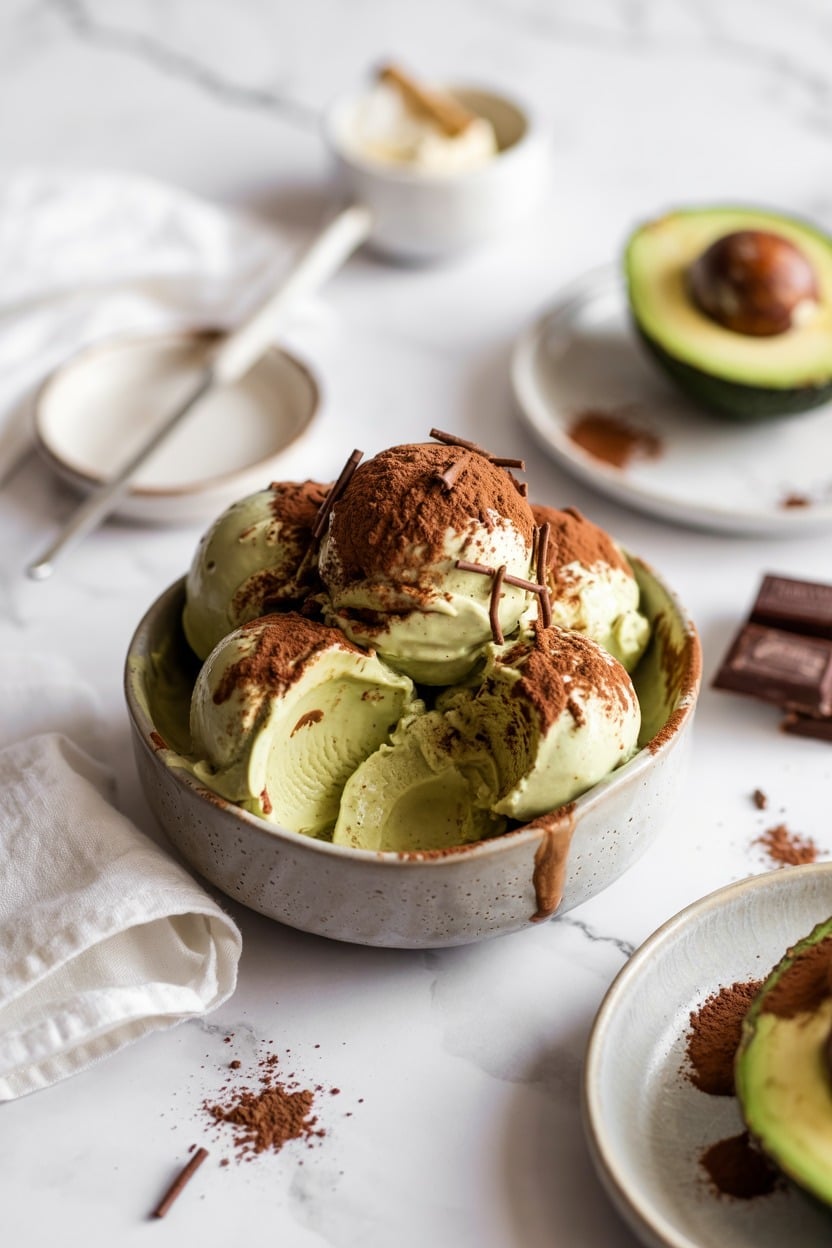
This vegan chocolate avocado no-churn ice cream combines the richness of ripe avocados with deep cocoa flavor to create a creamy, dairy-free dessert that feels indulgent without the heaviness. It's straightforward to prepare and skips the need for an ice cream maker, making it a great option for a quick, wholesome treat.
The avocado adds a smooth texture and subtle earthiness that pairs beautifully with the chocolate, while natural sweeteners keep it balanced. This recipe is perfect for those looking to enjoy a luscious frozen dessert that's both nourishing and satisfying.
Why This Recipe Works
This ice cream is a simple, nourishing way to enjoy a chocolate treat without dairy or complicated equipment. It brings fresh, natural ingredients together for a smooth texture and rich flavor.- Convenience - No ice cream maker needed, with just a few simple steps and ingredients.
- Flavor balance - The mild avocado complements the cocoa's chocolate richness without overpowering it.
- Texture - Creamy and smooth with a soft scoopable consistency straight from the freezer.
- Health appeal - Loaded with healthy fats and free from dairy, perfect for vegan or plant-based diets.
Ingredient Swap Ideas
Adjusting a few ingredients can help you tailor this ice cream to your preferences or dietary needs without losing its core taste and texture.- Avocado - Use frozen banana instead for a sweeter base, though it will be less creamy and more icy.
- Maple syrup - Substitute with agave nectar or honey if not strictly vegan, keeping the sweetness level similar.
- Cocoa powder - Swap for raw cacao powder for a more intense chocolate flavor and added antioxidants.
- Vanilla extract - Replace with almond or peppermint extract for a different flavor twist.
Ingredients
- 2 large ripe avocados peeled, pitted, and roughly chopped
- ½ cup unsweetened cocoa powder for rich chocolate flavor
- ½ cup full-fat canned coconut milk adds creaminess without dairy
- ⅓ cup pure maple syrup for natural sweetness
- 1 teaspoon vanilla extract enhances overall flavor
- ¼ teaspoon salt balances the sweetness and deepens chocolate notes
Instructions
- Place the chopped avocados, cocoa powder, coconut milk, maple syrup, vanilla extract, and salt in a high-speed blender or food processor.
- Blend until the mixture is completely smooth and creamy, stopping to scrape down the sides as needed.
- Transfer the mixture to a freezer-safe container and smooth the top with a spatula.
- Freeze for at least 4 hours or until firm enough to scoop but still soft enough to serve easily.
- When ready to serve, let the ice cream sit at room temperature for 5-10 minutes to soften slightly for easier scooping.
17. Caramelized Banana No-Churn Ice Cream
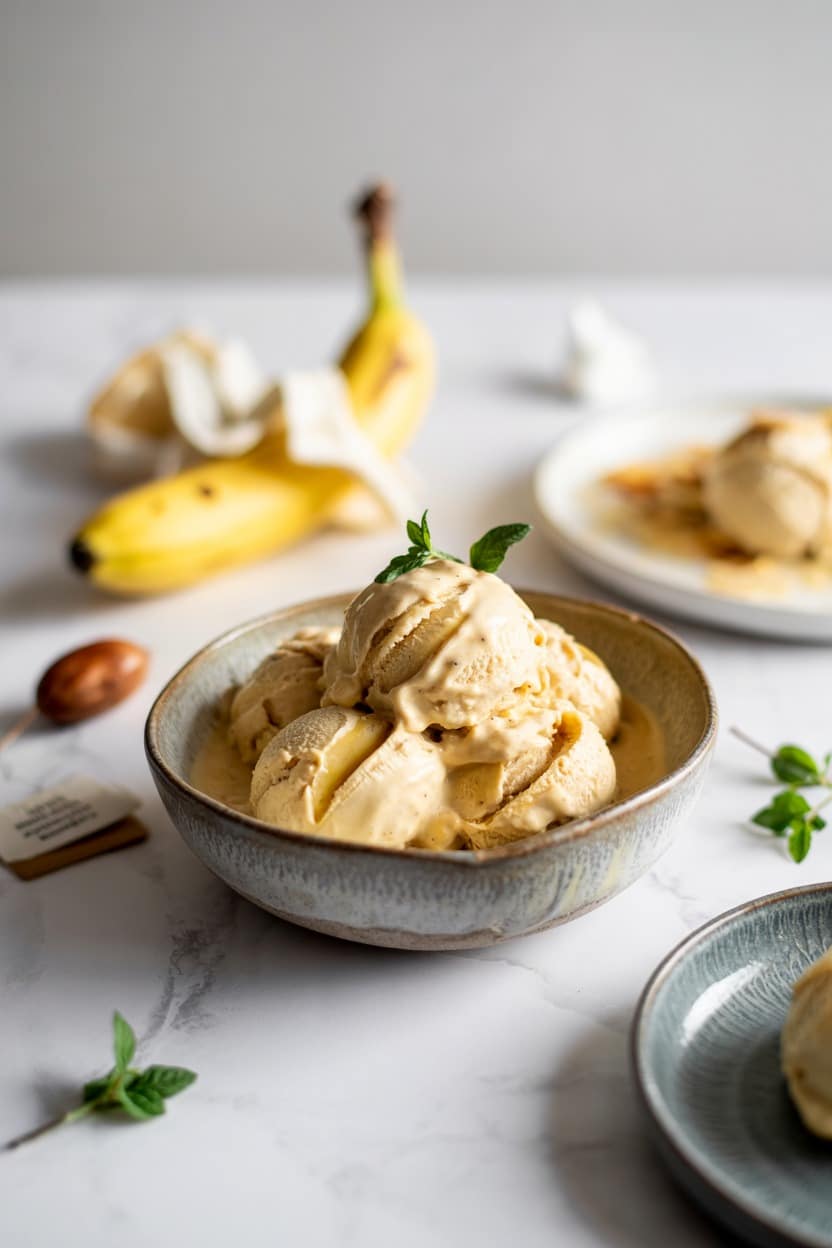
This ice cream is a simple treat that brings the rich sweetness of caramelized bananas into every creamy bite. Without needing an ice cream maker, it's designed for ease, making it a great option for a quick dessert that feels indulgent but stays straightforward.
The caramelized bananas add depth with their soft, caramel notes, contrasting beautifully against the smooth texture of the ice cream base. It's a refreshing way to enjoy bananas with a hint of caramel's warmth, perfect for warmer days or any time you want a satisfying frozen dessert.
Why This Recipe Works
This recipe balances rich, creamy texture with the natural sweetness of bananas, creating a dessert that’s both comforting and special. It’s practical for home cooks who want something delicious without complicated equipment or long prep times.- Convenience - Requires no ice cream maker; simple folding method for mixing.
- Flavor balance - Sweet caramelized bananas pair perfectly with creamy ice cream.
- Texture - Smooth base with tender banana chunks adding contrast.
- Family-friendly - Appealing to all ages with natural fruit sweetness and creamy richness.
Ingredient Swap Ideas
Swapping ingredients lets you customize the ice cream to fit dietary preferences or what you have on hand, keeping the core flavor intact. Here are some easy alternatives to consider for this recipe.- Sweetened condensed milk - Use coconut condensed milk for a dairy-free version with a subtle coconut taste.
- Heavy cream - Substitute with full-fat coconut cream to make a vegan or lactose-free ice cream.
- Bananas - Try ripe plantains for a slightly firmer texture and deeper caramel notes.
- Brown sugar - Replace with coconut sugar for a less refined option with a hint of molasses flavor.
Ingredients
- 3 large ripe bananas peeled and sliced into ½-inch chunks
- 3 tablespoons unsalted butter for caramelizing the bananas
- ¼ cup brown sugar packed, for caramelizing
- 2 cups heavy cream cold and ready to whip
- 1 (14-ounce) can sweetened condensed milk chilled
- 1 teaspoon vanilla extract for subtle flavor enhancement
- Pinch of salt to balance sweetness
Instructions
- Caramelize the bananas by melting butter in a nonstick skillet over medium heat. Add brown sugar and stir until melted and bubbling, then add banana chunks. Cook for 3-4 minutes, gently stirring until bananas soften and turn golden. Remove from heat and let cool completely.
- Whip the heavy cream in a large mixing bowl until stiff peaks form. This gives the ice cream its creamy texture.
- Fold in the sweetened condensed milk, vanilla extract, and salt carefully into the whipped cream, combining until smooth and uniform.
- Gently fold in the cooled caramelized bananas, making sure the banana pieces are evenly distributed but not mashed.
- Transfer the mixture into a freezer-safe container, smoothing the top with a spatula. Cover and freeze for at least 6 hours or overnight until firm.
18. Pistachio No-Churn Ice Cream
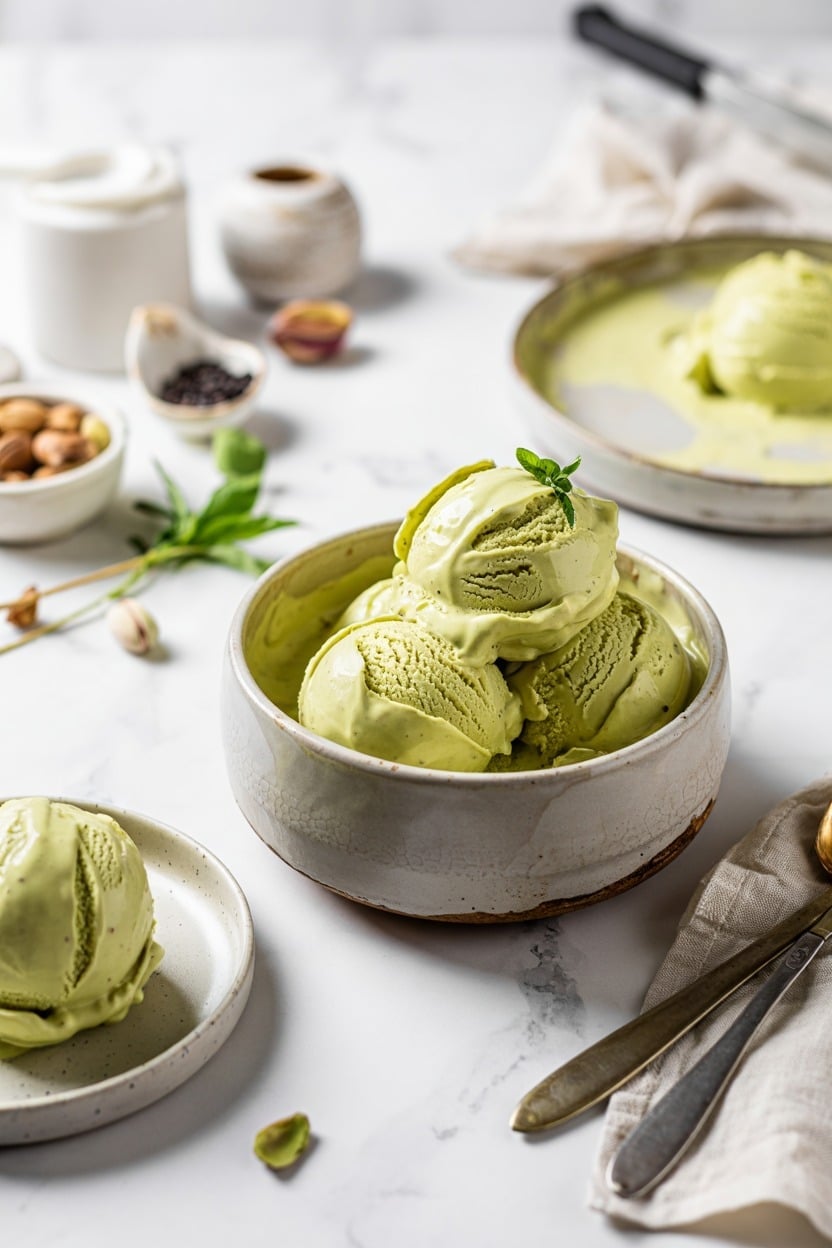
Pistachio No-Churn Ice Cream is a smooth and creamy treat you can make without an ice cream maker. The nutty flavor of pistachios combined with a rich, velvety texture makes it a refreshing dessert that feels homemade but is surprisingly simple to prepare.
This ice cream offers a great balance of sweet creaminess and crunchy bits from chopped pistachios, providing an enjoyable contrast in every bite. It's an ideal dessert for busy days when you want something special with no fuss.
Why This Recipe Works
This no-churn ice cream recipe is quick to prepare and offers a creamy texture with a delightful crunch, making it a delicious and accessible way to enjoy pistachios in a cold dessert.- Convenience - Requires no ice cream maker and minimal prep time.
- Flavor balance - Combines the natural nuttiness of pistachios with the sweetness of cream and condensed milk.
- Texture - Creamy base with chopped pistachios for a satisfying crunch.
- Appeal - Bright green color and nutty taste make it visually appealing and family-friendly.
Ingredient Swap Ideas
Swapping ingredients can help you customize this ice cream for different preferences or dietary needs without losing its core flavor and texture.- Heavy cream - Use coconut cream instead for a dairy-free alternative that still whips well.
- Sweetened condensed milk - Try a vegan condensed milk made from coconut or almond milk to keep it plant-based.
- Pistachios - Substitute with toasted almonds or cashews for a different nut flavor and texture.
- Vanilla extract - Add almond extract for a complementary nutty aroma.
Ingredients
- 2 cups heavy cream - Cold, for whipping into stiff peaks.
- 1 can (14 ounces) sweetened condensed milk - Adds sweetness and creamy richness.
- 1 teaspoon vanilla extract - Enhances flavor depth and richness.
- ½ cup shelled pistachios - Roughly chopped, to mix into the ice cream for texture and flavor.
- Optional: a few drops of green food coloring - To enhance the pistachio color if desired.
Instructions
- In a large mixing bowl, whip the heavy cream using an electric mixer until stiff peaks form. This creates the creamy base for the ice cream.
- In a separate bowl, combine the sweetened condensed milk and vanilla extract until well mixed. If using food coloring, add a few drops here for a vibrant green.
- Gently fold the condensed milk mixture into the whipped cream, mixing carefully to keep the airiness intact.
- Stir in the chopped pistachios, distributing them evenly throughout the mixture.
- Transfer the mixture to a freezer-safe container, smoothing the top. Cover and freeze for at least 6 hours or overnight until firm.
19. Maple Walnut No-Churn Ice Cream
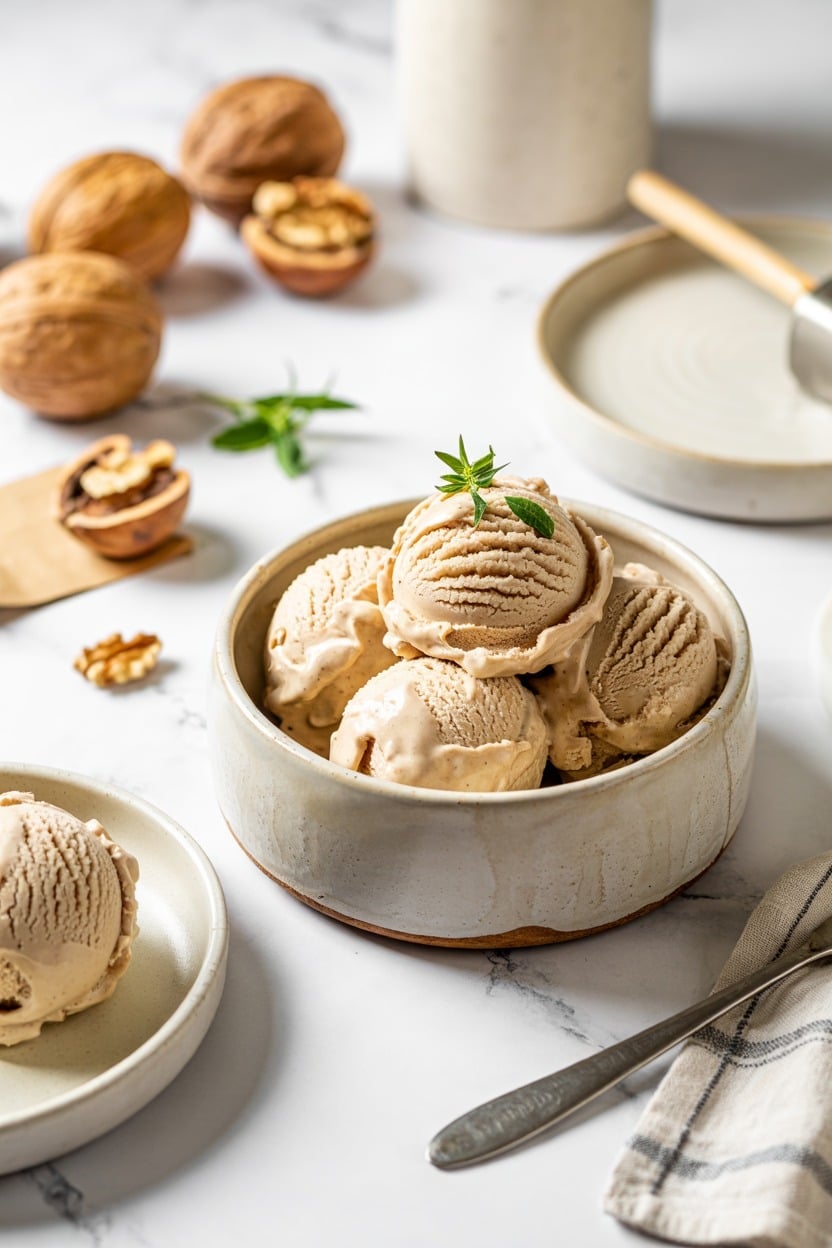
This no-churn ice cream recipe brings together the rich sweetness of natural maple syrup and the satisfying crunch of toasted walnuts. It's a creamy treat that's easy to make without any special equipment or long freezing times involved with traditional ice cream makers.
You'll enjoy a smooth texture with bursts of nutty flavor throughout, making this a refreshing dessert option for warmer days or any time you want a simple homemade indulgence.
Why This Recipe Works
This recipe delivers a hassle-free approach to homemade ice cream that’s full of flavor and texture variety.- Convenience - No ice cream maker needed, simply mix and freeze.
- Flavor balance - The natural sweetness of maple contrasts with the toasted walnuts.
- Texture - Creamy base with crunchy nuts creates a pleasant mouthfeel.
- Appeal - A wholesome, crowd-pleasing dessert suitable for family treats or gatherings.
Ingredient Swap Ideas
Adapting this recipe can help meet dietary preferences or ingredient availability without losing its core appeal.- Maple syrup - Use honey or agave syrup if you prefer a different natural sweetener.
- Heavy cream - Substitute with full-fat coconut milk for a dairy-free option.
- Walnuts - Try pecans or almonds toasted for a different nutty twist.
- Sweetened condensed milk - Use a vegan condensed milk alternative if avoiding dairy.
Ingredients
- 2 cups heavy cream - Cold, to create a thick, creamy base.
- 1 (14-ounce) can sweetened condensed milk - Adds sweetness and creaminess without churning.
- ½ cup pure maple syrup - Provides natural sweetness and distinct flavor.
- 1 cup toasted walnuts - Roughly chopped for even crunch throughout the ice cream.
- 1 teaspoon vanilla extract - Enhances the overall flavor profile.
Instructions
- In a large mixing bowl, whip the heavy cream using an electric mixer on medium-high speed until stiff peaks form.
- In a separate bowl, combine the sweetened condensed milk, maple syrup, and vanilla extract. Stir well until fully blended.
- Gently fold the whipped cream into the maple mixture, being careful not to deflate the air whipped into the cream.
- Fold in the toasted walnuts until evenly distributed throughout the mixture.
- Transfer the ice cream mix to a lidded container or loaf pan, smoothing the top. Freeze for at least 6 hours or overnight until firm.
20. Raspberry Ripple No-Churn Ice Cream
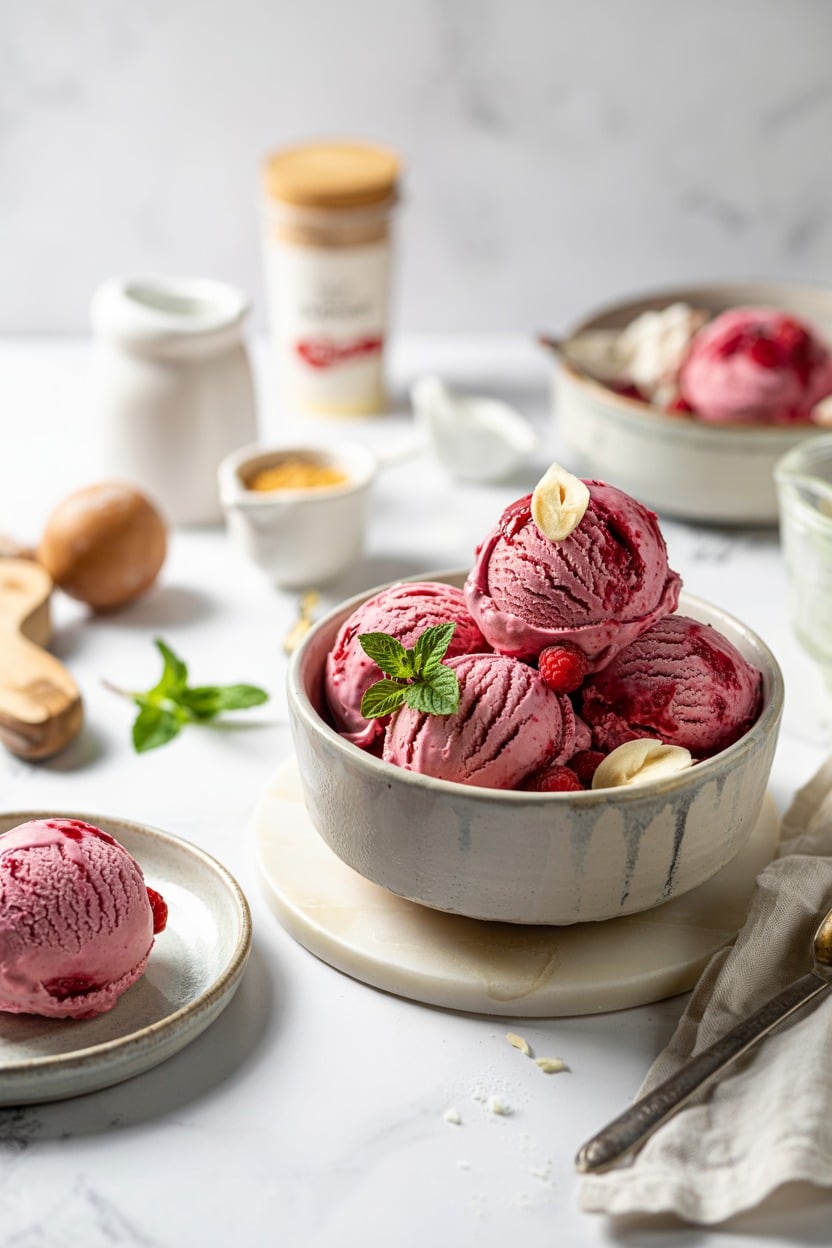
Raspberry Ripple No-Churn Ice Cream is a refreshing, fruity treat that comes together without needing an ice cream maker. The creamy vanilla base contrasts beautifully with vibrant swirls of homemade raspberry sauce, creating an eye-catching look and a burst of natural berry flavor in every bite.
This recipe is straightforward and chill-friendly, perfect for a quick dessert fix or a lovely finish to any meal. The balance between the smooth ice cream and the tart raspberry ribbons makes this a crowd-pleaser for all ages.
Why This Recipe Works
This no-churn ice cream offers a simple way to enjoy a homemade frozen dessert with minimal fuss and bright flavors that feel fresh and satisfying.- Convenience - No ice cream maker is needed, and quick chilling gets it ready to serve.
- Flavor balance - The creamy vanilla pairs perfectly with the tangy, fruity raspberry swirls.
- Texture - Smooth and soft base with pleasant bits of sauce adding an enjoyable contrast.
- Appeal - Visually attractive with colorful swirls, ideal for family or casual entertaining.
Ingredient Swap Ideas
Adapting this recipe can make it suitable for different dietary preferences or flavor variations without losing the essence of the dessert.- Dairy-free alternative - Use coconut cream instead of heavy cream to keep it rich and smooth without dairy.
- Fruit variations - Swap raspberries for strawberries or blueberries in the sauce for a different twist.
- Sweetener adjustments - Replace granulated sugar with honey or maple syrup to suit natural sweetener preferences.
- Flavor infusions - Add a splash of vanilla bean paste or lemon zest to the ice cream base for extra aroma.
Ingredients
- 2 cups heavy cream - Chilled, for whipping into a soft peak.
- 1 (14-ounce) can sweetened condensed milk - Provides creamy sweetness and texture.
- 1 teaspoon vanilla extract - Adds classic vanilla flavor to the ice cream base.
- 1 cup fresh or frozen raspberries - For the raspberry ripple sauce.
- ¼ cup granulated sugar - Sweetens the raspberry sauce evenly.
- 1 tablespoon lemon juice - Enhances the brightness of the raspberry sauce.
Instructions
- In a medium bowl, whip the heavy cream using an electric mixer until soft peaks form. Set aside.
- In a separate large bowl, combine the sweetened condensed milk and vanilla extract. Gently fold the whipped cream into this mixture until fully incorporated and smooth.
- Prepare the raspberry sauce by combining raspberries, sugar, and lemon juice in a small saucepan over medium heat. Cook, stirring occasionally, for about 5 minutes until the raspberries break down and the mixture thickens slightly. Remove from heat and strain through a fine mesh to remove seeds if desired. Let cool completely.
- Pour half of the ice cream base into a freezer-safe container. Spoon half of the cooled raspberry sauce over the ice cream and gently swirl with a knife or skewer. Repeat the layering with the remaining ice cream base and raspberry sauce, creating a ripple effect.
- Cover the container tightly and freeze for at least 6 hours or overnight until firm. Scoop and serve chilled, enjoying the creamy texture and fruity swirls. fully intact within the article.
No-churn ice creams freeze into a creamy texture quickly and can be kept in airtight containers for up to two weeks without major texture loss. Find quick moist mug cake recipes for single-serving desserts at quick moist mug cake recipes, or explore more easy no-churn ice cream recipes for additional flavor ideas.

Andrew Gray is a seasoned food writer and blogger with a wealth of experience in the restaurant and catering industries. With a passion for all things delicious, Andrew has honed his culinary expertise through his work as a personal chef and caterer.
His love for food led him to venture into food writing, where he has contributed to various online publications, sharing his knowledge and insights on the culinary world. As the proud owner of CooksCrafter.com, Andrew covers a wide range of topics, including recipes, restaurant reviews, product recommendations, and culinary tips.
Through his website, he aims to inspire and educate fellow food enthusiasts, offering a comprehensive resource for all things food-related.