Busy weekends call for simple dessert solutions that save time without sacrificing taste, specifically make-ahead desserts-dishes prepared hours or days ahead and stored in the refrigerator or freezer until serving, typically refrigerated at about 40°F or frozen at 0°F for safe storage. This curated collection of 13 make-ahead desserts fits the bill perfectly, offering treats that can be prepared in advance and enjoyed whenever you're ready.
The selection includes a variety of styles-from no-bake cheesecakes and fudgy brownies to fresh fruit parfaits and cozy baked crisps. Each recipe balances straightforward preparation with familiar flavors that appeal to a wide range of tastes, making them ideal for family gatherings or casual entertaining.
These recipes work well together because they require minimal hands-on time and can be stored easily in the fridge or freezer. This combination of ease and flavor means you can focus on relaxing and spending time with loved ones, while having delicious desserts ready to enjoy.
1. Classic No-Bake Cheesecake
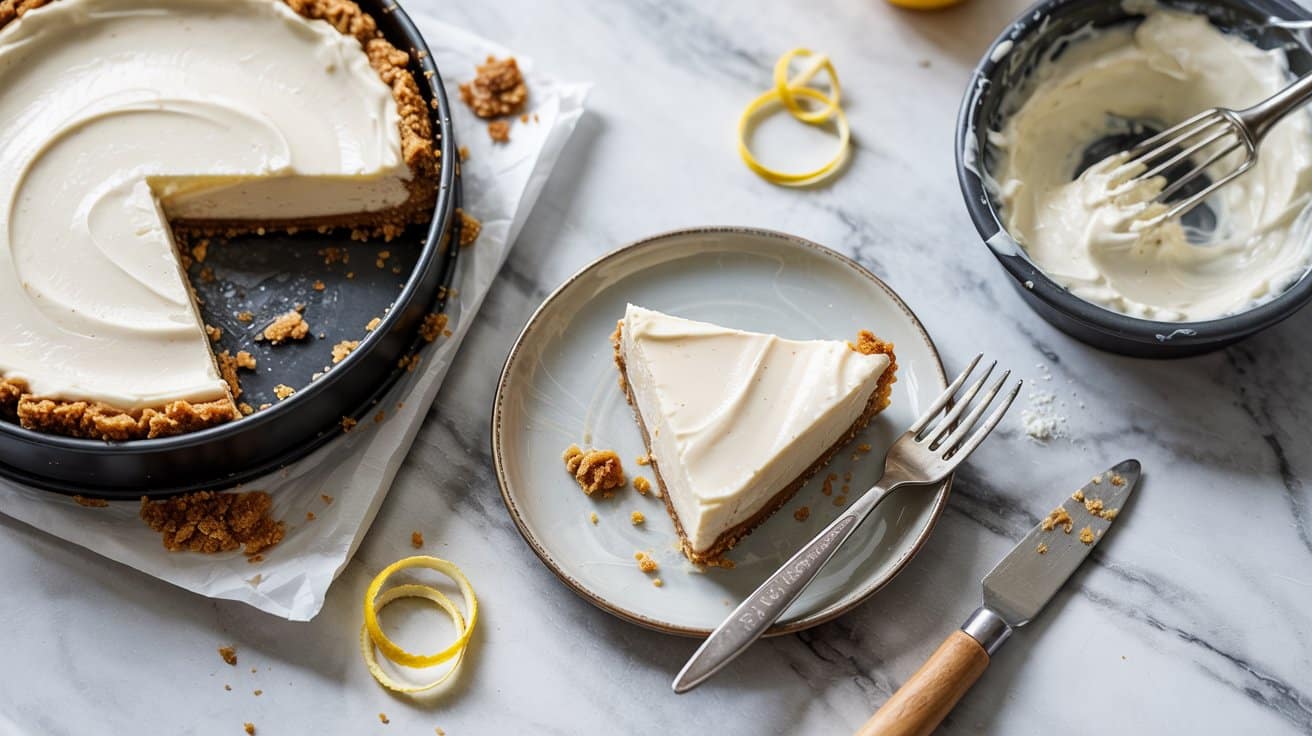
It features a creamy, tangy filling that sits atop a crumbly graham cracker crust (using about 1½ cups graham cracker crumbs mixed with 6 tablespoons melted butter for the crust), making it a great choice for warmer days or when you want a dessert ready in advance and easy to pair with cheesecake side dishes for summer gatherings.
Since it doesn't require baking, it's ideal for those who want to skip heating up their oven but still enjoy a traditional cheesecake flavor, similar to other no-bake cheesecake recipes for summertime.
Why This Recipe Works
This no-bake cheesecake offers an approachable way to enjoy a creamy dessert without complicated steps or long oven times (it typically needs about 4 hours of chilling in the refrigerator to set). It brings family and friends together easily with its classic flavor and simple presentation.
- Convenience - Requires no baking and can be prepared ahead, making it easy to plan for events or manage time on busy days.
- Flavor balance - Combines creamy cream cheese and tangy lemon juice for a refreshing but rich taste, and it pairs especially well with light glazes found in honey-based desserts for summer.
- Texture - Smooth, silky filling contrasts nicely with the crisp, buttery graham cracker crust.
- Appeal - Classic and widely loved dessert that suits casual family dinners or special occasions.
Ingredient Swap Ideas
Customizing this cheesecake can help accommodate dietary preferences or adjust the flavor while keeping the core experience intact. Ingredient swaps are straightforward and won't affect the overall texture dramatically.
- Graham cracker crust - Use gluten-free graham crackers or crushed digestive biscuits as an alternative if you need a gluten-free crust.
- Cream cheese - Substitute with mascarpone or Neufchâtel cheese for a different creaminess level or reduced fat option.
- Sweetener - Swap granulated sugar for honey, maple syrup, or a natural sugar alternative to adjust sweetness and flavor notes, or explore small-batch cupcake ideas for two for portion-based sweet options.
- Acid component - Replace lemon juice with lime juice or a splash of apple cider vinegar to add a subtle twist on tanginess.
Ingredients
- 1 ½ cups graham cracker crumbs
- ⅓ cup unsalted butter melted
- 16 ounces cream cheese softened
- 1 cup powdered sugar
- 1 teaspoon vanilla extract
- 2 tablespoons fresh lemon juice
- 1 cup heavy whipping cream chilled
Instructions
- Mix the graham cracker crumbs and melted butter in a medium bowl until well combined. Press the mixture firmly into the bottom of a 9-inch springform pan to create an even crust layer.
- In a large mixing bowl, beat the softened cream cheese until smooth. Add the powdered sugar, vanilla extract, and lemon juice, then continue to mix until the filling is creamy and uniform.
- In a separate chilled bowl, whip the heavy cream until stiff peaks form. Gently fold the whipped cream into the cream cheese mixture until fully incorporated without deflating the whipped cream.
- Pour the filling over the crust in the springform pan, smoothing the top with a spatula. Cover the cheesecake with plastic wrap and refrigerate for at least 4 hours, or overnight, to let it set completely.
- When ready to serve, carefully remove the sides of the springform pan. Slice the cheesecake with a clean, sharp knife for clean edges and enjoy as is or topped with fresh fruit or fruit compote.
2. Chocolate Brownies
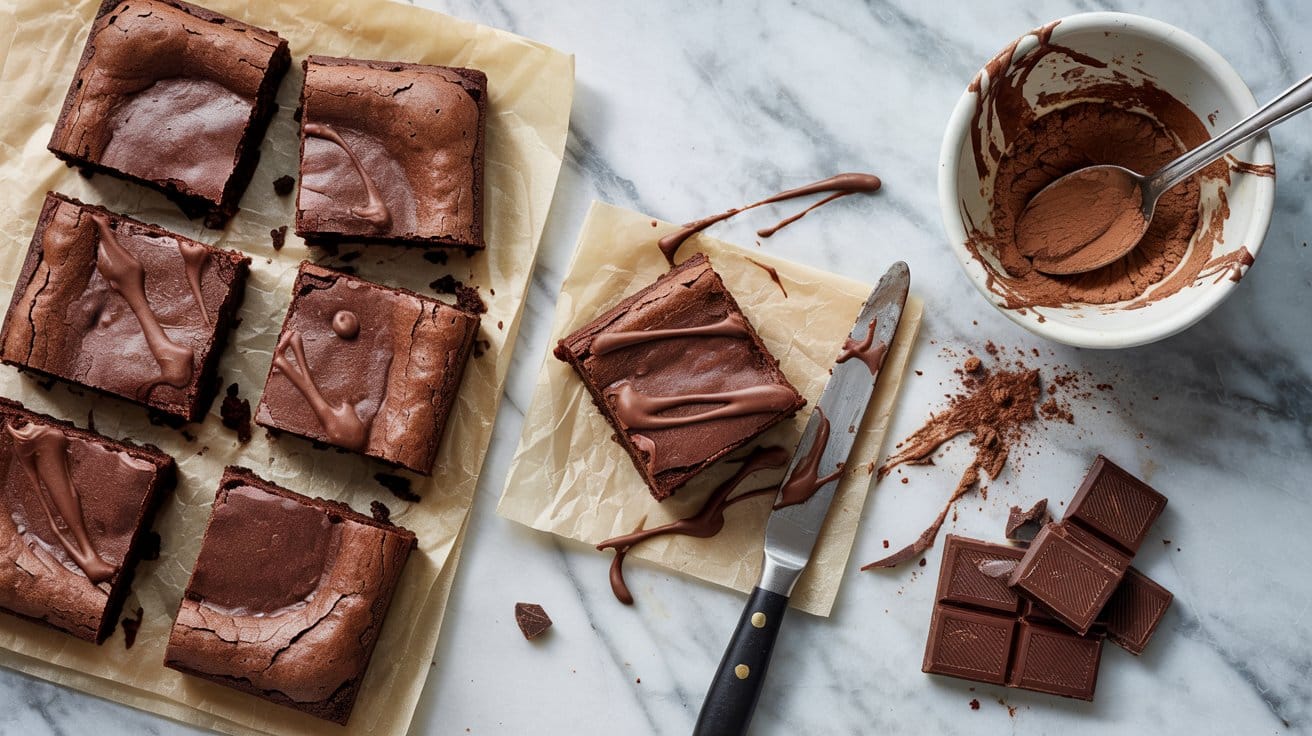
Chocolate brownies are a classic treat that bring rich, fudgy goodness to any dessert table, often made with a mix of cocoa and melted bittersweet chocolate for depth. These brownies have a dense, moist texture that keeps you coming back for more, especially as their flavor deepens if you bake them ahead and enjoy the next day (store in an airtight container overnight to help flavors meld and preserve moisture).
The recipe is straightforward and perfect for busy home cooks who want a reliable, homemade sweet without fuss, and can be paired with crunchy treats like air-fryer chocolate bark for snacking, or try chocolate chip alternatives for richer bakes.
Why This Recipe Works
This chocolate brownie recipe offers a reliable way to make a dense and fudgy dessert that stays moist even after a day or two.
- Convenience - Simple ingredients and easy steps make this an accessible bake for all skill levels.
- Flavor balance - Rich chocolate goes well with just the right touch of sweetness.
- Texture - Dense and fudgy with a slightly crisp top for contrast.
- Make-ahead friendly - Brownies improve in flavor and texture after resting overnight.
Ingredient Swap Ideas
Swapping ingredients can help adjust this brownie recipe for various diets or tastes without losing the essential rich chocolate profile.
- Butter - Use coconut oil or a plant-based margarine for a dairy-free version.
- All-purpose flour - Substitute with gluten-free flour blends to make these brownies gluten-free.
- Eggs - Replace with flax eggs or applesauce to create an egg-free, vegan-friendly version.
- Sugar - Swap granulated sugar for coconut sugar or a natural sweetener like maple syrup in moderation.
Ingredients
- 1 cup (2 sticks) unsalted butter melted and slightly cooled
- 2 cups granulated sugar
- 4 large eggs
- 1 teaspoon vanilla extract
- 1 cup all-purpose flour
- ¾ cup unsweetened cocoa powder
- ½ teaspoon baking powder
- ¼ teaspoon salt
- 1 cup semi-sweet chocolate chips (optional)
Instructions
- Preheat the oven to 350°F (175°C). Lightly grease a 9x13-inch baking pan or line it with parchment paper for easy removal.
- In a large bowl, whisk together the melted butter and granulated sugar until smooth and well combined.
- Add in the eggs one at a time, mixing thoroughly after each addition, then stir in vanilla extract.
- Sift together the flour, cocoa powder, baking powder, and salt in a separate bowl. Gradually fold the dry ingredients into the wet mixture until just combined. Avoid overmixing to keep the brownies tender.
- Stir in the chocolate chips if using. Spread the batter evenly into the prepared pan. Bake for 30 to 35 minutes, or until a toothpick inserted near the center comes out with a few moist crumbs.
- Let the brownies cool completely in the pan before slicing. Store loosely covered for up to 3 days to allow flavors to develop.
Enjoy a slice on its own or paired with a scoop of vanilla ice cream for a comforting dessert.
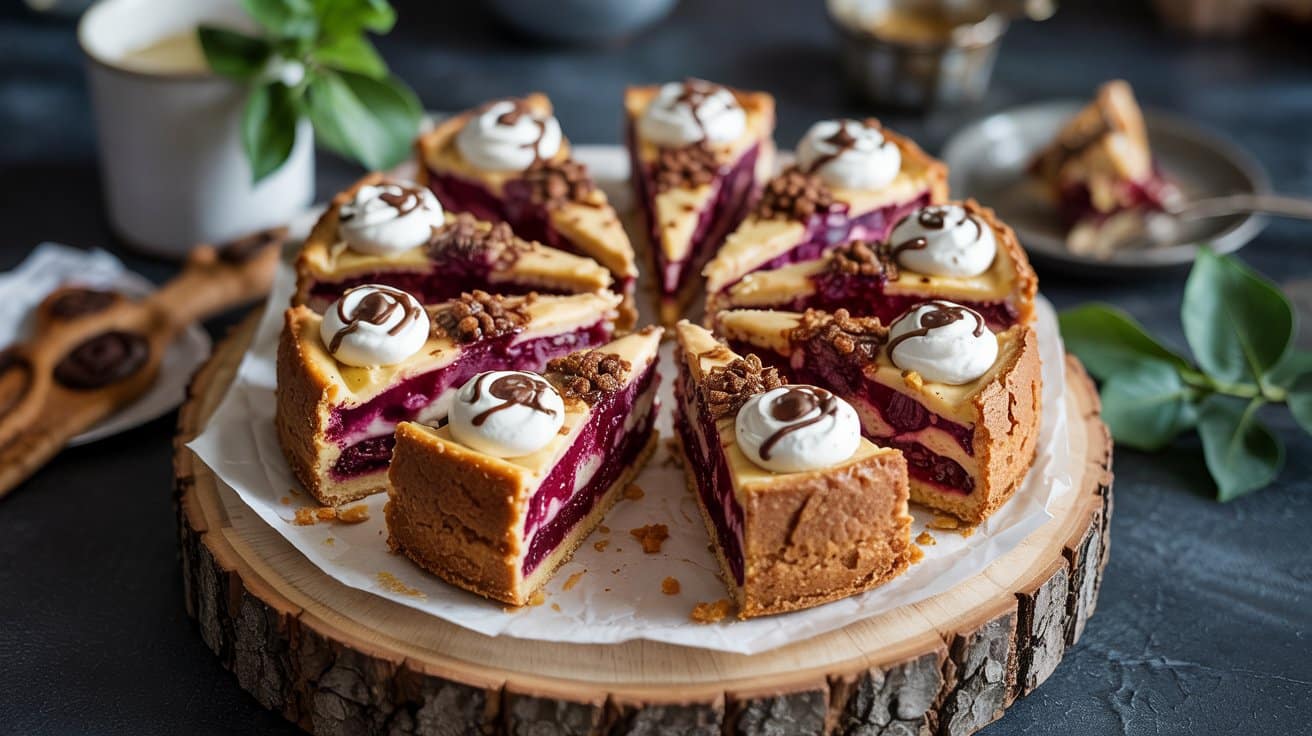
3. Lemon Blueberry Trifle
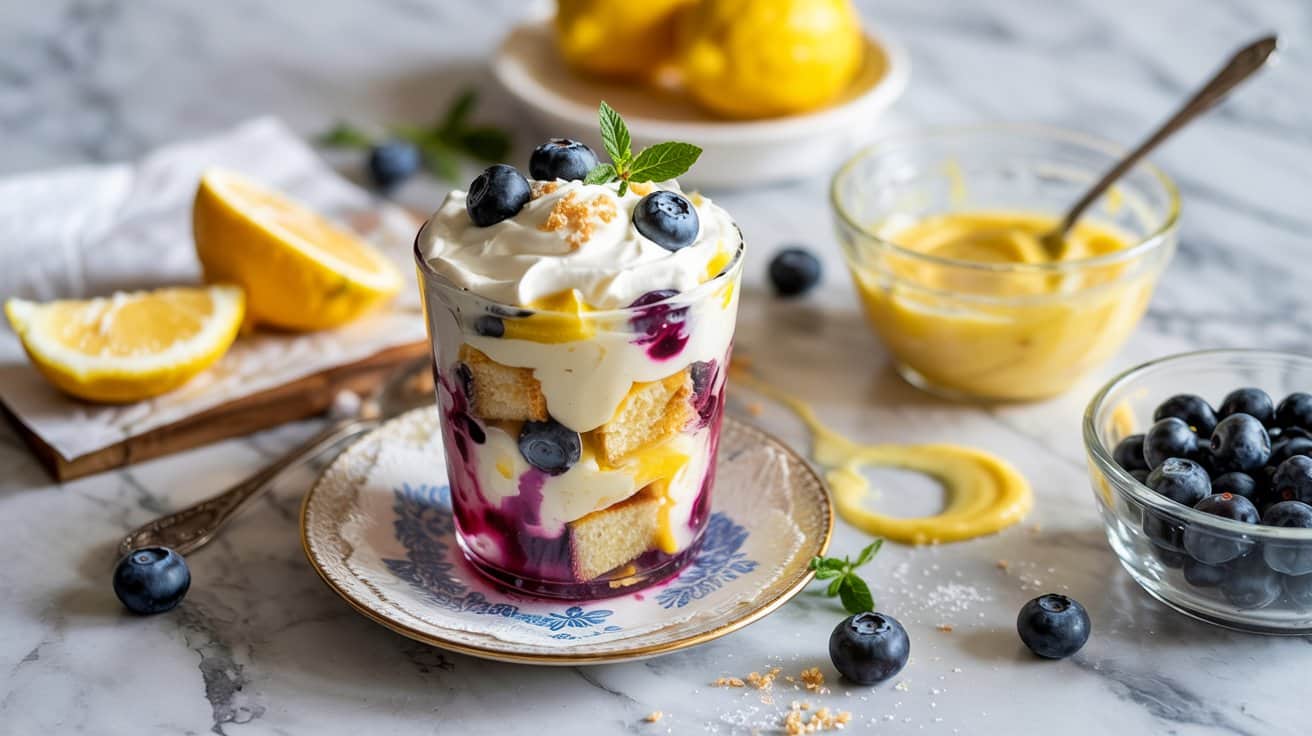
Layers of zesty lemon cake, smooth custard, juicy blueberries, and fluffy whipped cream come together in a beautiful and uplifting combination, and can be made with lemon juice alternatives for desserts if needed.
Because it's best assembled a day ahead, the flavors have time to meld, making it even better after resting. This trifle offers both a lovely presentation and flavors that feel light yet satisfying, which is great for any gathering or a sweet treat after dinner.
Why This Recipe Works
This trifle balances tartness and creaminess with a mixture of textures that keep each spoonful interesting. It's a reliable recipe that comes together quickly, and preparing it ahead means less stress on the day you serve it.
- Convenience - Can be assembled a day ahead, making it easy to prepare in advance.
- Flavor balance - Combines tangy lemon and sweet blueberries with rich custard and cream.
- Texture - Alternates soft cake, creamy custard, fresh fruit, and airy whipped cream.
- Appeal - Visually layered and bright, perfect for family occasions or entertaining guests.
Ingredient Swap Ideas
Adapting this trifle helps it fit your preferences or dietary needs without changing what makes the recipe special. Here are some simple swaps you can try.
- Cake - Use pound cake or angel food cake instead of lemon cake for a different texture.
- Fruit - Substitute raspberries or strawberries for the blueberries if you prefer.
- Custard - Swap homemade custard with store-bought vanilla pudding for a quicker version.
- Whipped cream - Use coconut whipped cream to make it dairy-free and vegan-friendly.
Ingredients
- Lemon cake - 1 prepared lemon cake, cut into 1-inch cubes (store-bought or homemade)
- Vanilla custard - 2 cups prepared vanilla custard, cooled
- Fresh blueberries - 2 cups washed and dried blueberries
- Whipped cream - 1 ½ cups heavy cream, whipped until soft peaks form
- Lemon zest - 1 tablespoon freshly grated lemon zest for garnish (optional)
- Powdered sugar - 1 tablespoon for dusting (optional)
Instructions
- Place a layer of lemon cake cubes evenly in the bottom of a large clear trifle dish or glass bowl. Make sure the cake is spread out evenly to create a solid base.
- Spoon half of the cooled vanilla custard over the cake layer and spread gently to cover. Then sprinkle with half of the fresh blueberries.
- Add another layer of lemon cake cubes on top, followed by the remaining custard and another layer of blueberries.
- Top the trifle with whipped cream, spreading it evenly to cover all the layers. For a final touch, sprinkle lemon zest on top and dust lightly with powdered sugar if desired.
- Cover the trifle with plastic wrap and refrigerate for at least 4 hours, preferably overnight. This allows the flavors to meld and the cake to soak up the custard. Serve chilled directly from the dish.
4. Overnight Chia Seed Pudding
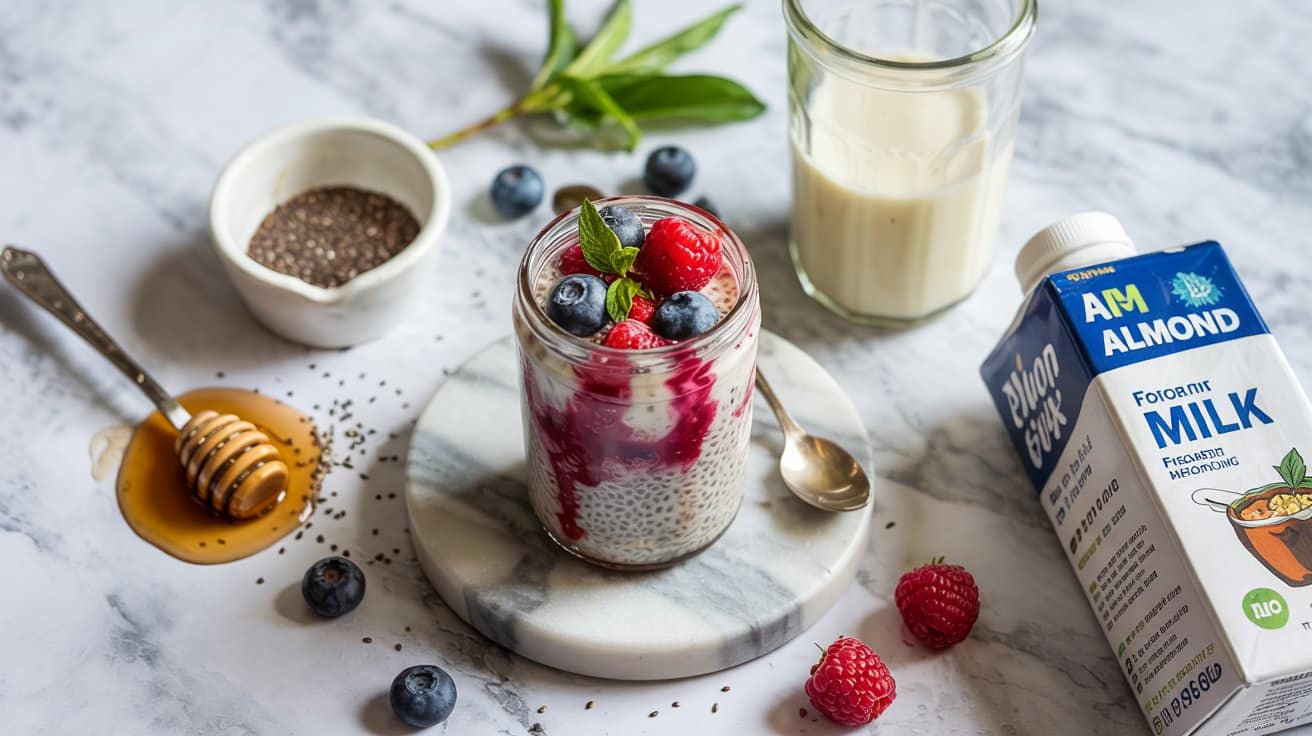
Overnight chia seed pudding is a simple and nutritious breakfast or snack that you can prepare ahead of time. The pudding has a smooth, creamy texture with a slight crunch from the chia seeds, making it both satisfying and refreshing.
You can customize it easily with your favorite fruits, nuts, or spices to fit your taste and dietary preferences. It's a hands-off recipe that saves time in the morning while offering a healthy start to your day.
Why This Recipe Works
This recipe combines easy preparation with nutrient-rich ingredients, making it an excellent choice for busy mornings or on-the-go snacks. Overnight chia seed pudding offers a creamy texture balanced by a subtle nutty flavor.
- Convenience - Prepare the pudding the night before for quick, grab-and-go meals.
- Customizable - Easily adjust toppings and mix-ins to suit your preferences or dietary needs.
- Nutrient-dense - Packed with fiber, protein, omega-3 fatty acids, and antioxidants.
- Kid-friendly - Mild flavor and soft texture appeal to all ages.
Ingredient Swap Ideas
Swapping ingredients can help tailor this pudding to different diets or taste preferences without losing its satisfying texture and flavor. Here are a few ideas to keep it simple and wholesome:
- Milk alternatives - Use almond, oat, or soy milk instead of dairy for a plant-based option.
- Sweeteners - Replace honey with maple syrup or agave nectar to keep it vegan-friendly.
- Flavor add-ins - Mix in vanilla extract or cocoa powder for variety without extra sugar.
- Toppings - Use any fresh or dried fruit, nuts, or seeds for texture and flavor changes.
Ingredients
- ¼ cup chia seeds
- 1 cup milk
- 1 tablespoon sweetener
- ½ teaspoon vanilla extract
- Pinch of salt
- Toppings of choice
Instructions
- In a medium bowl or jar, combine chia seeds, milk, sweetener, vanilla extract, and salt. Stir or whisk well to mix evenly and prevent clumps.
- Let the mixture sit for about 5 minutes, then stir again to break up any seeds that have started to thicken.
- Cover the container tightly and place it in the refrigerator overnight, or for at least 4 hours. The seeds will absorb the liquid and create a creamy pudding.
- Before serving, stir the pudding to redistribute any settled seeds and check the consistency. If it's too thick, add a little more milk and mix.
- Top with your favorite fresh fruit, nuts, or other toppings, and enjoy chilled.
This recipe is straightforward but flexible, making it an easy addition to your morning routine or a nourishing snack anytime.
5. Apple Crisp
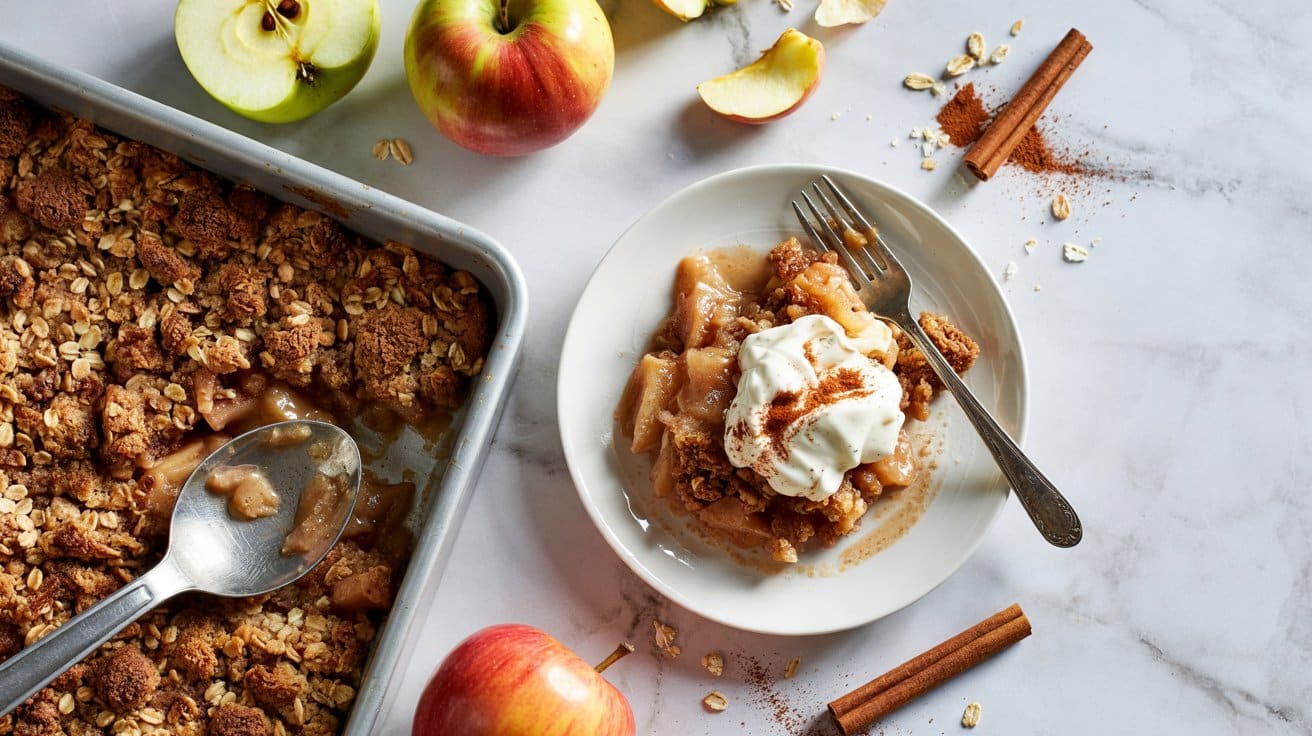
Apple crisp is a comforting dessert that brings warm spices and tender baked apples together under a crunchy, buttery topping. It's a straightforward dish to prepare and can be made ahead, then easily reheated for a quick treat any day of the week.
The mix of sweet, tart apples and the textured crisp topping always feels inviting and satisfying.
This dessert pairs exceptionally well with a scoop of vanilla ice cream, which melts beautifully over the warm fruit and crumbly topping. Whether it's a casual family night or a small gathering, apple crisp offers a nostalgic, cozy way to finish a meal.
Why This Recipe Works
This apple crisp comes together with simple ingredients and minimal fuss, making it a practical choice for busy home cooks. It balances sweet and spiced flavors with a contrasting crisp topping, giving each spoonful a pleasing texture and taste.
- Convenience - Prepare ahead, store, and reheat without losing flavor or texture.
- Flavor balance - Combines tart apples with warm cinnamon and nutmeg for a classic spiced dessert.
- Texture - Offers a tender fruit base beneath a crunchy, buttery oat topping.
- Appeal - Family-friendly and satisfying, suitable for everyday or special occasions.
Ingredient Swap Ideas
Adjusting a few ingredients can help accommodate dietary preferences or what's on hand without changing the essence of this apple crisp.
- Fruit choices - Substitute pears or a mix of berries with the apples for a slightly different fruit flavor.
- Gluten-free option - Use gluten-free rolled oats and all-purpose flour in the topping for those avoiding gluten.
- Sugar alternatives - Replace granulated sugar with coconut sugar or maple syrup to add depth and a natural sweetness.
- Dairy tweaks - Swap butter with coconut oil or a vegan margarine to make the recipe dairy-free.
Ingredients
- 6 cups apples
- ¾ cup rolled oats
- ½ cup all-purpose flour
- ½ cup packed brown sugar
- 1 teaspoon ground cinnamon
- ¼ teaspoon ground nutmeg
- ¼ teaspoon salt
- ½ cup unsalted butter
- 1 tablespoon lemon juice
Instructions
- Preheat your oven to 350°F (175°C). Lightly grease a 9x9-inch baking dish or similar size.
- In a large bowl, toss the sliced apples with lemon juice, half of the cinnamon, nutmeg, and ¼ cup brown sugar. Spread this apple mixture evenly in the prepared baking dish.
- In another bowl, combine rolled oats, flour, remaining cinnamon, salt, and the rest of the brown sugar. Add the chilled butter cubes and use your fingers or a pastry cutter to mix until the mixture resembles coarse crumbs.
- Evenly sprinkle the oat mixture over the apples, covering the fruit completely.
- Bake for 40 to 45 minutes, or until the topping is golden brown and the apples are bubbly and tender. Allow to cool slightly before serving.
Serve warm with vanilla ice cream or whipped cream for a classic finish. You can bake this crisp ahead and gently reheat it, keeping the texture and flavors intact.
6. Peanut Butter Chocolate Bars
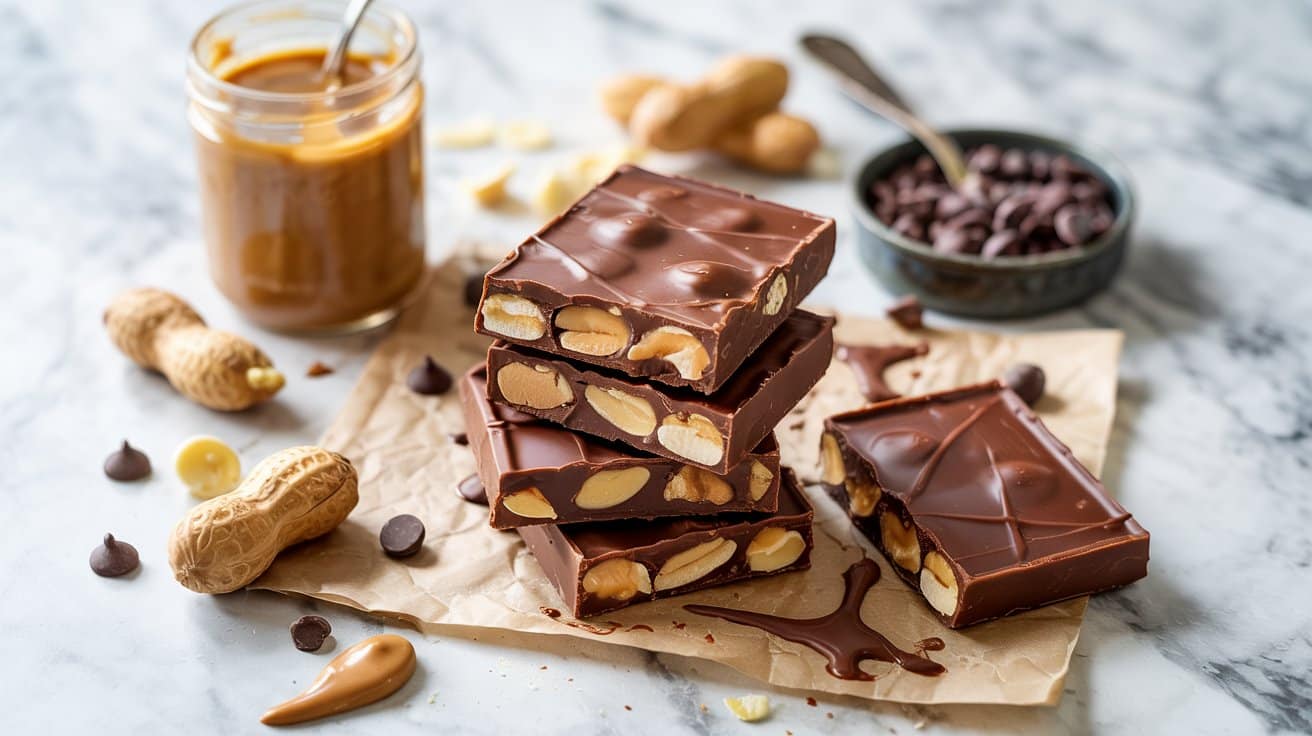
These no-bake peanut butter chocolate bars combine creamy peanut butter with rich chocolate in a simple, delicious treat. They have a satisfying texture that's both smooth and slightly firm, making them ideal for a quick snack or a sweet addition to any day.
Since they don't require baking, you can mix them up in minutes and store them in the fridge for easy grab-and-go enjoyment. These bars fit perfectly for busy days or when you want a homemade dessert without extra fuss.
Why This Recipe Works
This recipe is a great choice for anyone needing a tasty, no-bake dessert that comes together quickly. The blend of peanut butter and chocolate offers a classic flavor pairing loved by many.
- Convenience - No baking needed, just mix, chill, and enjoy.
- Flavor balance - Combines nutty peanut butter with smooth, sweet chocolate.
- Texture - Creamy and firm bars hold together well after chilling.
- Storage - Easy to keep refrigerated for snacks throughout the week.
Ingredient Swap Ideas
Swapping a few ingredients can adjust these bars to fit different preferences or dietary needs without losing their essential character. This flexibility keeps the recipe accessible and enjoyable for many.
- Use almond butter instead of peanut butter for a slightly different nut flavor and creamy texture.
- Choose dark chocolate or semi-sweet chocolate chips to reduce sweetness and add depth.
- Replace honey with maple syrup to keep the bars vegan-friendly.
- Substitute rolled oats with gluten-free oats if avoiding gluten.
Ingredients
- 1 cup creamy peanut butter
- ½ cup unsalted butter
- 1 cup powdered sugar
- 1 ½ cups graham cracker crumbs
- 1 ½ cups semisweet chocolate chips
- 1 tablespoon vegetable oil
Instructions
- In a medium saucepan, melt the peanut butter and unsalted butter together over low heat, stirring until smooth and combined.
- Remove the saucepan from heat and mix in powdered sugar and graham cracker crumbs until a thick dough forms. Press this mixture evenly into a greased 9x9-inch square pan.
- In a microwave-safe bowl, melt the chocolate chips with vegetable oil in 30-second increments, stirring well after each until fully melted and smooth.
- Pour the melted chocolate evenly over the peanut butter layer, spreading gently to cover the surface.
- Refrigerate the bars for at least 2 hours or until firm. Cut into squares and keep refrigerated until serving.
7. Frozen Yogurt Bark with Mixed Berries
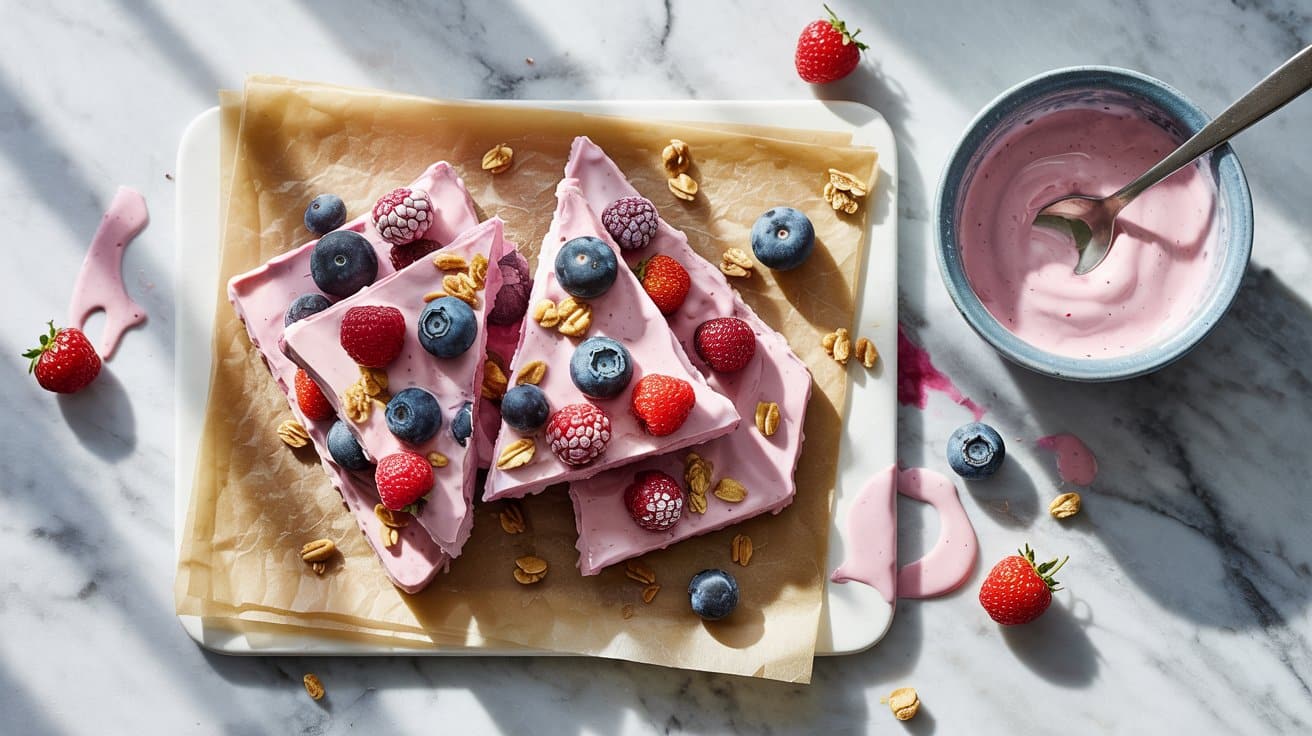
This frozen yogurt bark is a simple, refreshing treat that comes together in minutes. You spread creamy yogurt on a tray, add a scattering of fresh berries and nuts, then freeze it until firm.
The result is a cool snack that's both satisfying and light.
The mix of tangy yogurt and sweet berries creates a bright flavor, while the nuts add a bit of crunch. It's a great option for a healthy snack or a quick dessert that feels indulgent without being heavy.
Why This Recipe Works
This recipe is a go-to for a quick, healthy frozen snack that you can prepare ahead of time. Frozen Yogurt Bark with Mixed Berries combines fresh ingredients and simple steps for a refreshing and visually appealing treat.
- Convenience - Requires minimal prep and freezes quickly for later enjoyment.
- Flavor balance - The creamy tang of yogurt pairs well with the sweet-tart berries.
- Texture - Crunch from nuts contrasts with the smooth, icy yogurt base.
- Appeal - Bright, colorful, and easy to portion for kids and adults.
Ingredient Swap Ideas
Adjusting this recipe is easy, so you can cater to different tastes or dietary preferences while keeping it enjoyable.
- Yogurt substitution - Use non-dairy yogurt like coconut or almond milk yogurt for a dairy-free option.
- Fruit choice - Mix in any seasonal fruit such as sliced kiwi, pineapple chunks, or cherries instead of berries.
- Nut alternatives - Swap almonds or pecans for sunflower seeds or pumpkin seeds to keep it nut-free.
- Sweetener addition - Drizzle a little honey or maple syrup over the yogurt before freezing if you want extra sweetness.
Ingredients
- 2 cups plain Greek yogurt
- 1 cup mixed berries
- ¼ cup chopped nuts
- 1 tablespoon honey or maple syrup
- 1 teaspoon vanilla extract
Instructions
- Line a baking sheet or shallow pan with parchment paper to prevent sticking.
- In a bowl, combine the Greek yogurt with vanilla extract and honey (if using). Stir until smooth.
- Spread the yogurt mixture evenly over the prepared pan to about ¼-inch thickness.
- Sprinkle the mixed berries and chopped nuts evenly over the yogurt layer. Gently press them in so they stick.
- Place the pan in the freezer and freeze for at least 3 hours, or until the yogurt is firm.
- Break the frozen bark into bite-sized pieces. Store in an airtight container in the freezer until ready to serve.
This snack stays frozen and refreshing, making it a great option to grab on warm days or whenever you want something cool and light.
8. Carrot Cake Muffins
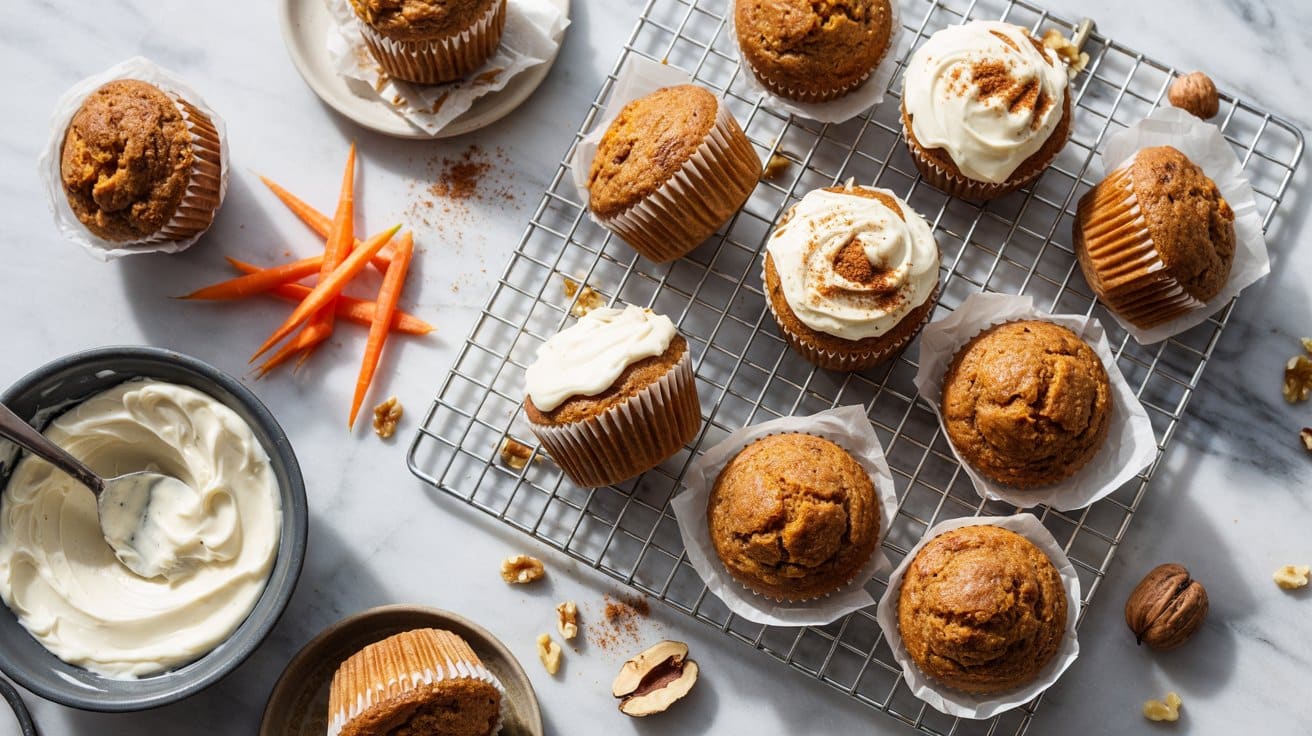
These carrot cake muffins bring together a moist texture with warm spices and a subtle sweetness that feels just right for breakfast, snack time, or a cozy afternoon treat. The grated carrots add natural moisture and a tender crumb, while cinnamon and nutmeg give the muffins a comforting depth of flavor.
Baking them a day before serving lets the flavors fully develop, making each bite even more enjoyable. They're straightforward to prepare, making this recipe approachable for any home cook looking for a satisfying, wholesome baked good.
Why This Recipe Works
This recipe combines practical ease with classic flavor, delivering a wholesome muffin that fits well into busy schedules and family routines.
- Convenience - The muffins are simple to make and store well, so you can prepare them ahead of time.
- Flavor balance - Warm spices blend beautifully with the natural sweetness of the carrots.
- Texture - Moist and tender crumb with a slight crumbly top gives a pleasant mouthfeel.
- Appeal - Family-friendly and great for packing in lunches or sharing at gatherings.
Ingredient Swap Ideas
Adjusting certain ingredients can make these muffins suitable for different diets or flavor preferences without losing their signature taste and texture.
- Whole wheat flour - Use in place of all-purpose flour for a nuttier flavor and to increase fiber content.
- Applesauce - Substitute for part of the oil to reduce fat while keeping the muffins moist.
- Chopped walnuts or pecans - Add for crunch and extra nutrition, or swap out for sunflower seeds if nut allergies are a concern.
- Dairy-free yogurt - Replace regular yogurt to make the muffins suitable for dairy-free diets without sacrificing moisture.
Ingredients
- 1 ½ cups all-purpose flour
- 1 teaspoon baking soda
- ½ teaspoon baking powder
- ½ teaspoon salt
- 1 teaspoon ground cinnamon
- ¼ teaspoon ground nutmeg
- 2 large eggs
- ½ cup vegetable oil
- ½ cup brown sugar
- ½ cup plain yogurt
- 1 teaspoon vanilla extract
- 1 ½ cups finely grated carrots
- Optional: ½ cup chopped walnuts or pecans
Instructions
- Preheat your oven to 350°F (175°C). Line a 12-cup muffin tin with paper liners or lightly grease it.
- In a large bowl, whisk together the flour, baking soda, baking powder, salt, cinnamon, and nutmeg until fully combined.
- In another bowl, beat the eggs with the vegetable oil, brown sugar, yogurt, and vanilla extract until smooth.
- Stir the wet ingredients into the dry ingredients just until combined. Fold in the grated carrots and nuts if using, being careful not to overmix.
- Divide the batter evenly among the muffin cups, filling each about two-thirds full. Bake for 20 to 25 minutes until a toothpick inserted in the center comes out clean. Let the muffins cool in the pan for 5 minutes, then transfer to a wire rack to cool completely.
These muffins can be stored in an airtight container at room temperature for up to 3 days or refrigerated for longer freshness. Enjoy them as a wholesome snack or a lightly sweet start to your day.
9. Banoffee Pie
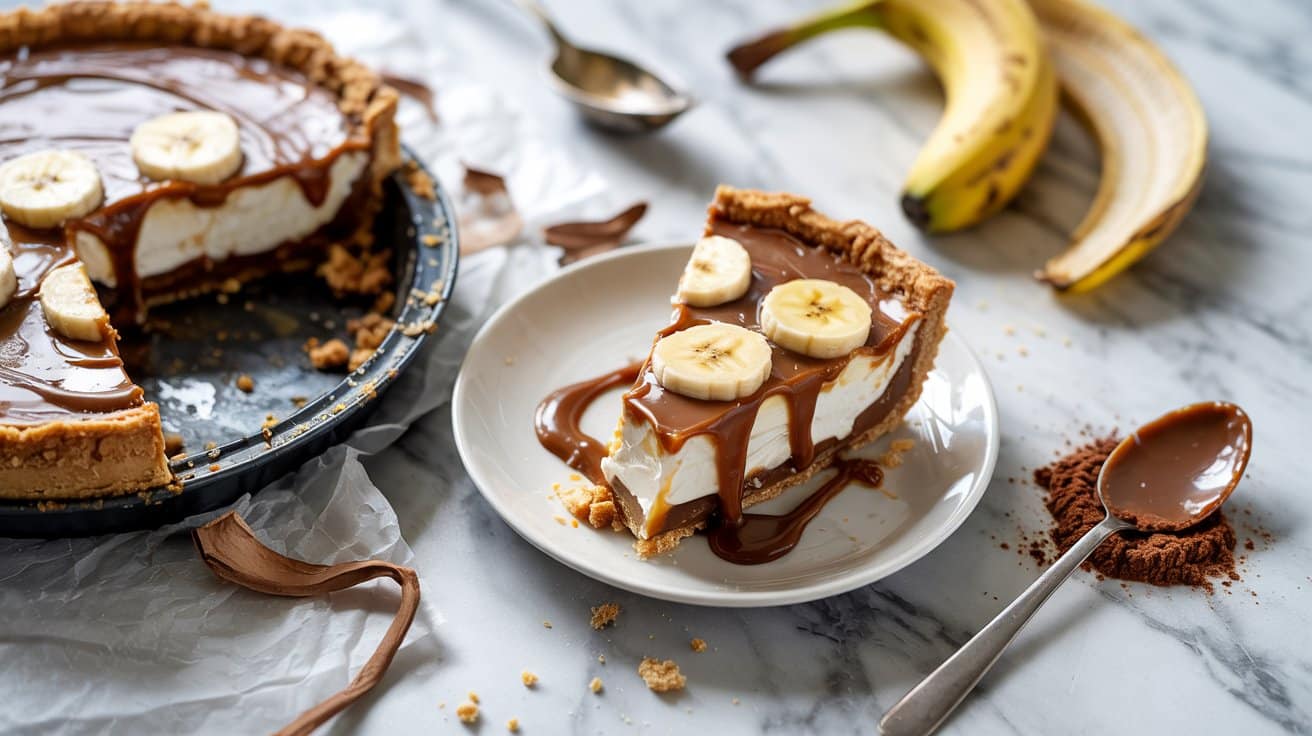
Banoffee Pie is a classic no-bake dessert beloved for its simple ingredients and rich flavors. It combines a crunchy biscuit base with creamy caramel, ripe bananas, and fluffy whipped cream, creating a texture and taste that feels both indulgent and comforting.
This recipe is easy to pull together, making it a great choice for busy days when you want a crowd-pleasing dessert without spending hours in the kitchen. The natural sweetness and smooth layers really come together beautifully.
Why This Recipe Works
This Banoffee Pie recipe delivers on flavor and simplicity, making it a reliable dessert that satisfies sweet cravings without complicated steps.
- Convenience - Requires no baking, and can be prepared ahead of time for stress-free serving.
- Flavor balance - Combines caramel's sweetness with fresh bananas and light cream for a pleasing mix.
- Texture - Crisp biscuit base contrasts nicely with smooth caramel and airy whipped topping.
- Appeal - Family-friendly and familiar flavors that suit a wide range of tastes.
Ingredient Swap Ideas
Swapping ingredients helps customize Banoffee Pie for different dietary needs or flavor preferences without losing its signature appeal.
- Biscuit base - Use gluten-free digestive biscuits if you need a gluten-free option.
- Caramel - Substitute traditional dulce de leche with a homemade caramel sauce made from brown sugar and butter for a fresher taste.
- Cream - Replace heavy cream with coconut cream to make it dairy-free while keeping the luscious texture.
- Bananas - Add sliced strawberries or cooked apples along with bananas for a fruity twist.
Ingredients
- 200 grams digestive biscuits crushed finely
- 100 grams unsalted butter melted
- 400 grams dulce de leche canned or store-bought caramel spread
- 3 medium ripe bananas peeled and sliced
- 300 ml heavy cream chilled
- 2 tablespoons powdered sugar
- 1 teaspoon vanilla extract
- Grated chocolate or cocoa powder for garnish (optional)
Instructions
- Combine the crushed digestive biscuits with the melted butter in a bowl. Mix until all crumbs are evenly coated. Press this mixture firmly into the base of a 9-inch pie dish. Chill for at least 30 minutes.
- Spread the dulce de leche evenly over the chilled biscuit base. Return to fridge.
- Lay sliced bananas over the caramel layer evenly.
- Whip heavy cream with powdered sugar and vanilla extract until soft peaks form. Spread over bananas.
- Garnish with grated chocolate or cocoa powder if desired. Chill for another hour before serving.
10. Classic Tiramisu
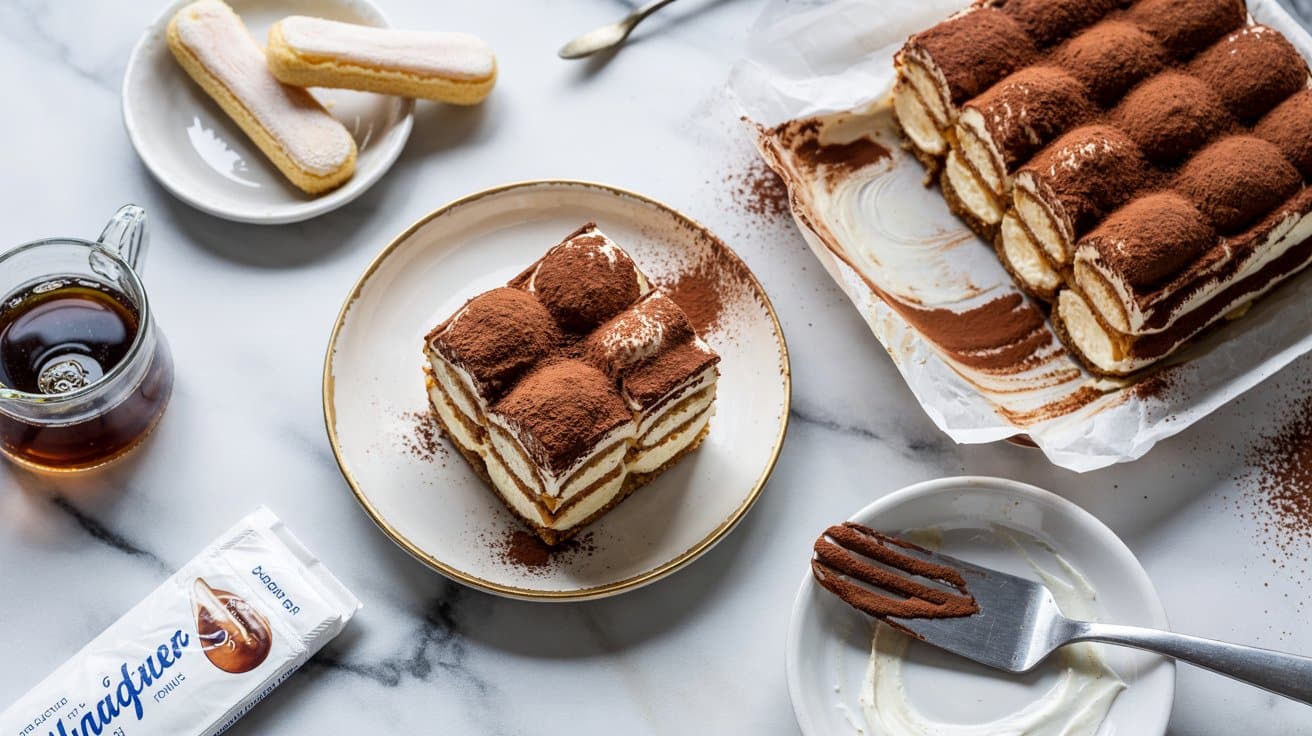
Tiramisu is a timeless dessert known for its rich flavors and silky texture. This classic Italian treat layers coffee-soaked ladyfingers with a smooth mascarpone cream, offering a wonderful balance of bitterness from the coffee and sweetness from the cream.
What makes tiramisu stand out is how simple the ingredients come together with minimal effort to create something memorable. Preparing it a day ahead lets the flavors meld beautifully, making it an ideal dessert to prepare in advance.
Why This Recipe Works
This tiramisu recipe combines convenience and flavor in a way that suits busy home cooks while impressing anyone you serve it to.
- Convenience - It requires no baking and can be made ahead, saving time on the day of serving.
- Flavor balance - The bittersweet espresso contrasts perfectly with the smooth mascarpone, creating a balanced taste.
- Texture - The coffee-dipped ladyfingers soften just right under layers of light, creamy mascarpone mixture.
- Appeal - It's elegant enough for gatherings yet simple enough for a weeknight treat.
Ingredient Swap Ideas
Adjusting ingredients can help tailor tiramisu to different dietary needs or personal preferences without losing its essence.
- Mascarpone cheese - Substitute with a mix of cream cheese and heavy cream for a more accessible option.
- Ladyfingers - Use gluten-free ladyfinger cookies if needed.
- Coffee - Replace brewed espresso with strong decaf coffee for milder caffeine.
- Alcohol - Swap Marsala wine with coffee liqueur or omit alcohol.
Ingredients
- 6 large egg yolks
- ¾ cup granulated sugar
- 1 cup mascarpone cheese
- 1 ½ cups heavy cream
- 1 ½ cups strong brewed espresso cooled
- 2 tablespoons coffee liqueur (optional)
- About 24 ladyfingers
- Unsweetened cocoa powder
Instructions
- Whisk egg yolks and sugar over simmering water until thickened. Let cool.
- Fold mascarpone into the egg mixture until smooth.
- Whip heavy cream to soft peaks and fold into mascarpone mixture.
- Mix espresso and coffee liqueur. Dip ladyfingers quickly.
- Layer ladyfingers and mascarpone cream in a dish.
- Refrigerate at least 6 hours. Dust with cocoa before serving.
11. Chocolate Mousse
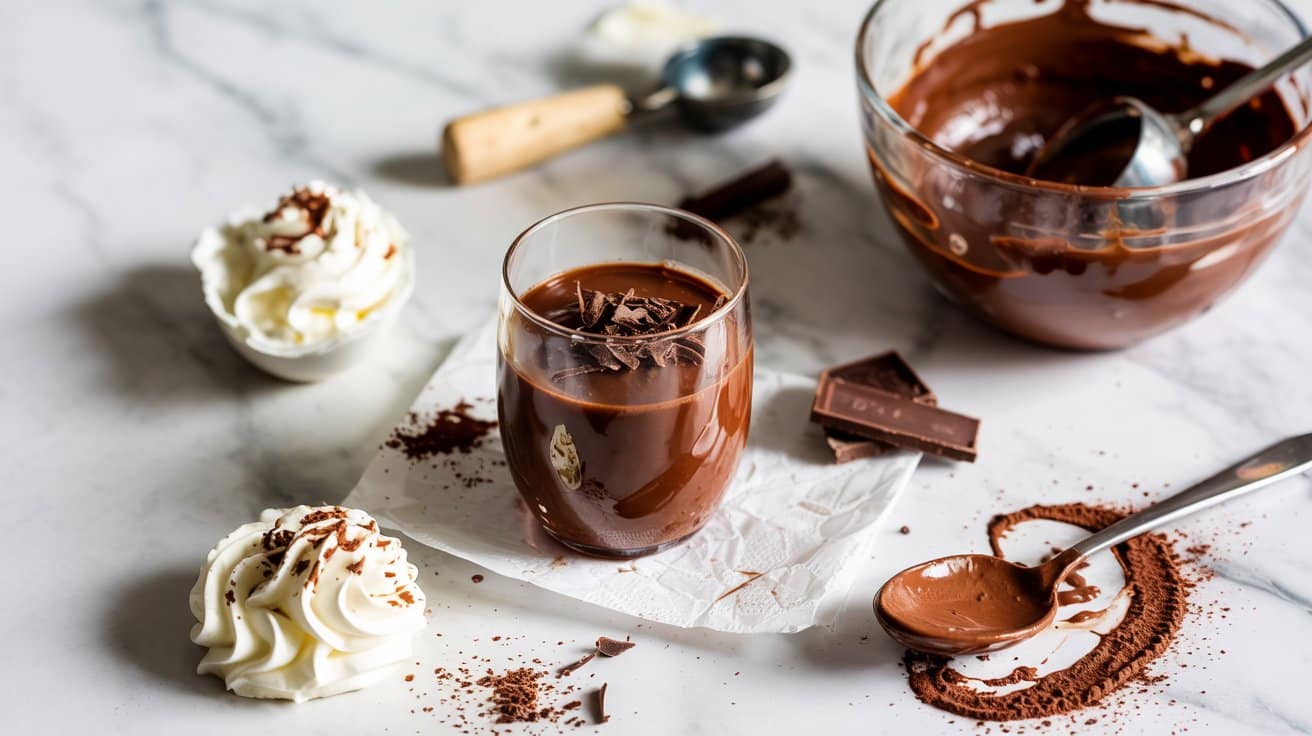
Chocolate mousse is a classic dessert that combines rich chocolate flavor with a light, airy texture. It's wonderfully smooth and creamy, setting up nicely in the fridge to create a luscious treat that's ready whenever you need a special dessert or quick garnish.
This recipe is straightforward to prepare, requiring just a few ingredients and some chilling time. You'll find the balance between decadent chocolate and soft whipped cream very satisfying, whether served on its own or paired with fresh berries.
Why This Recipe Works
This chocolate mousse recipe delivers a delicious taste and simple preparation, making it a versatile choice for busy home cooks.
- Convenience - Requires minimal ingredients and sets in the fridge, allowing you to prepare it ahead of time.
- Flavor balance - Combines intense chocolate richness with a smooth, light texture.
- Texture - Airy and creamy mousse that melts in your mouth.
- Appeal - Elegant enough for guests but simple enough for everyday enjoyment.
Ingredient Swap Ideas
Swapping certain ingredients helps you customize this mousse to suit dietary needs or flavor preferences without losing its signature texture.
- Heavy cream - Use coconut cream for a dairy-free alternative.
- Dark chocolate - Choose milk chocolate for a sweeter mousse.
- Sugar - Replace granulated sugar with maple syrup or honey.
- Flavor extract - Add vanilla or almond extract.
Ingredients
- 6 ounces dark chocolate chopped
- 3 large eggs separated
- ¼ cup granulated sugar
- 1 cup heavy cream chilled
- ½ teaspoon vanilla extract
- Pinch of salt
Instructions
- Melt dark chocolate gently and cool slightly.
- Beat egg yolks with half sugar until pale; whisk in chocolate.
- Whip egg whites with salt and remaining sugar to stiff peaks.
- Whip cream to soft peaks.
- Fold whipped cream and egg whites gently into chocolate mixture.
- Chill mousse at least 2 hours before serving.
12. Peach Cobbler
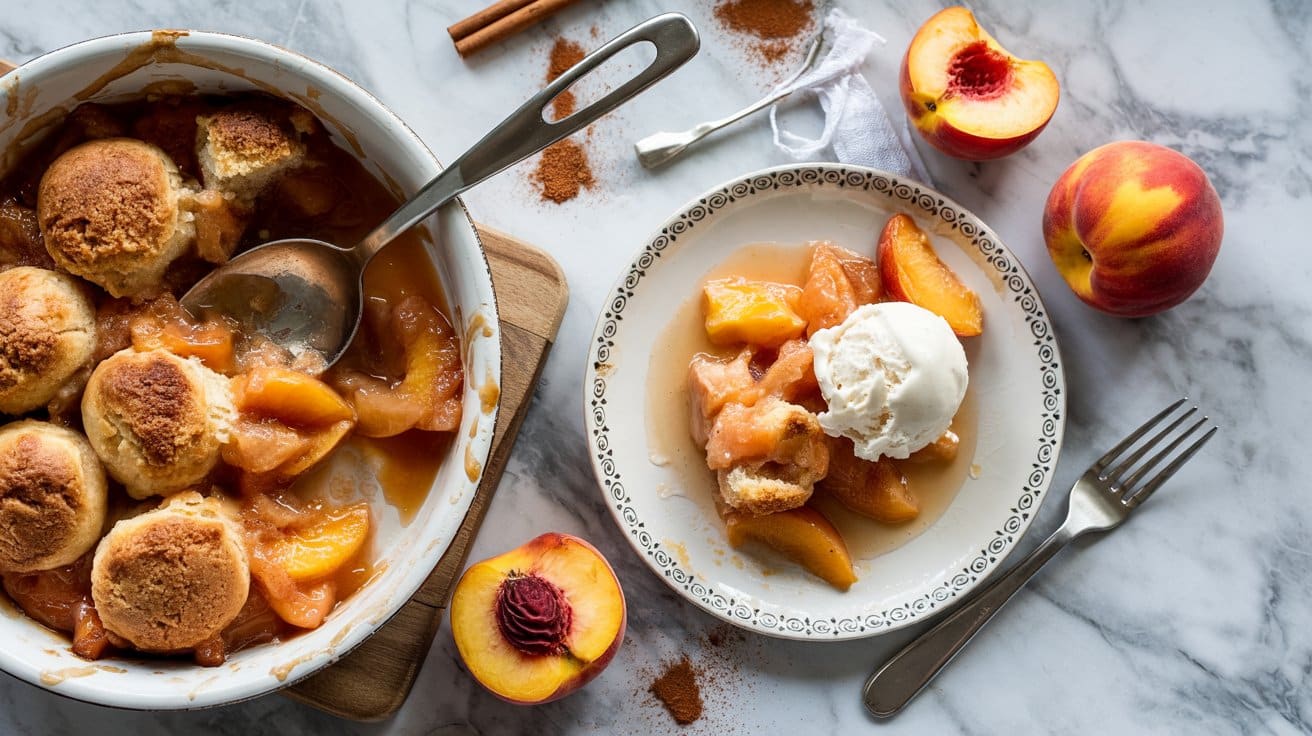
Peach cobbler is a classic summer dessert that captures the juicy sweetness of fresh peaches paired with a golden biscuit topping. It's a comforting dish that's easy to prepare ahead of time and warms beautifully, making it a favorite for family dinners or gatherings.
The combination of tender, syrupy peaches and the slightly crisp, soft crust creates a warm, inviting texture that's hard to resist. This recipe balances simple ingredients to create a dessert you can rely on anytime peaches are in season.
Why This Recipe Works
This peach cobbler recipe stands out for its straightforward preparation, balanced flavors, and versatility. It provides a reliable, crowd-pleasing dessert without complicated steps.
- Convenience - Simple mixing and layering let you assemble quickly and bake when ready.
- Flavor balance - Sweet peaches with a mildly spiced biscuit layer.
- Texture - Soft, buttery topping with juicy peaches underneath.
- Appeal - Family-friendly dessert, great warm or room temperature.
Ingredient Swap Ideas
Swapping ingredients adapts the recipe for different diets or preferences without losing the essence.
- Peaches - Use fresh, frozen, or canned.
- Flour - Substitute gluten-free flour.
- Sweetener - Use maple syrup or honey.
- Butter - Swap for coconut oil.
Ingredients
- 6 cups peeled and sliced fresh peaches
- ¾ cup granulated sugar
- ¼ teaspoon ground cinnamon
- 1 tablespoon lemon juice
- 2 teaspoons cornstarch
- 1 cup all-purpose flour
- ¼ cup granulated sugar
- 1 ½ teaspoons baking powder
- ½ teaspoon salt
- ½ cup unsalted butter melted
- ⅓ cup milk
Instructions
- Preheat oven to 375°F (190°C). Grease a 9x13-inch dish.
- Mix peaches with sugar, cinnamon, lemon juice, cornstarch. Let sit.
- Combine flour, sugar, baking powder, salt. Stir in butter and milk.
- Pour peach mixture into dish. Drop biscuit batter over peaches.
- Bake 40-45 minutes until topping is golden and peaches bubbly. Cool slightly.
Serve warm or with ice cream. Reheat easily.
13. Strawberry Shortcake Jars
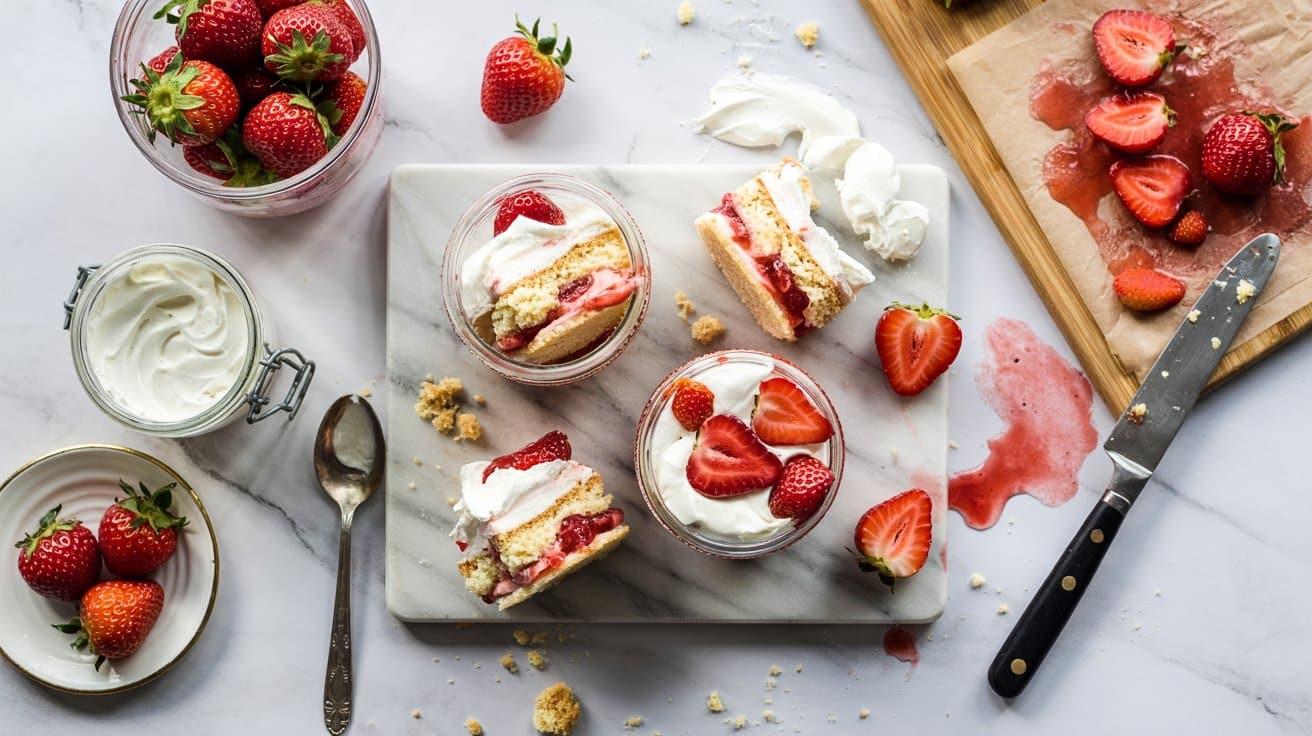
Strawberry Shortcake Jars offer a fresh, portable way to enjoy this classic dessert. Layered with tender cake, juicy strawberries, and creamy whipped topping, these jars make serving easy and stylish.
Since they can be assembled ahead of time, they're great for busy afternoons or gathering with friends.
The combination of sweet berries, soft cake, and smooth cream creates a satisfying texture contrast that keeps every bite enjoyable. These jar desserts are both convenient and inviting, perfect for individual portions that feel special without fuss.
Why This Recipe Works
This Strawberry Shortcake Jars recipe combines freshness and convenience in a neat presentation that anyone can appreciate.
- Make-ahead friendly - Assemble in advance, saving time on serving day.
- Balanced sweetness - Fresh strawberries balanced by sweet cream and vanilla cake.
- Textural contrast - Soft cake with juicy berries and creamy topping.
- Portable and portioned - Jars minimize mess, ideal for gatherings or snacks.
Ingredient Swap Ideas
Adjusting ingredients customizes jars for dietary needs or tastes without sacrificing charm.
- Cake base - Use angel food or gluten-free sponge cake.
- Cream - Swap heavy cream for coconut cream for dairy-free option.
- Sweetener - Use honey or maple syrup for strawberries.
- Berries - Substitute raspberries or blueberries.
Ingredients
- 1 pound fresh strawberries hulled and sliced
- 2 tablespoons granulated sugar
- ½ teaspoon vanilla extract
- 1 cup heavy cream chilled
- 2 tablespoons powdered sugar
- 1 pre-made vanilla sponge or angel food cake cut into 1-inch cubes
- 4 small mason jars or serving glasses
Instructions
- Combine strawberries with sugar; let sit 20 minutes.
- Whip heavy cream with powdered sugar and vanilla until soft peaks. Chill.
- Layer cake pieces at jar bottoms, add strawberries with juice.
- Add whipped cream layer. Repeat layers until jars are nearly full.
- Top with whipped cream and strawberries. Cover and chill at least 1 hour.
These jars provide a fresh, fuss-free way to enjoy strawberry shortcake anytime.
Many freezer-friendly make-ahead desserts keep quality for up to 3 months when stored at 0°F, though texture may gently change over time. Find more recipes that freeze or chill well at freezer dessert ideas for busy weekends and make-ahead icebox cake ideas.

Andrew Gray is a seasoned food writer and blogger with a wealth of experience in the restaurant and catering industries. With a passion for all things delicious, Andrew has honed his culinary expertise through his work as a personal chef and caterer.
His love for food led him to venture into food writing, where he has contributed to various online publications, sharing his knowledge and insights on the culinary world. As the proud owner of CooksCrafter.com, Andrew covers a wide range of topics, including recipes, restaurant reviews, product recommendations, and culinary tips.
Through his website, he aims to inspire and educate fellow food enthusiasts, offering a comprehensive resource for all things food-related.