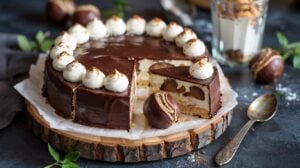
If you're looking to enjoy the rich, nutty flavor of peanut butter, made from ground roasted peanuts, without the distraction of chocolate, this collection of 13 peanut butter dessert recipes without chocolate offers a great selection. These recipes showcase peanut butter's versatility in treats that range from baked goods to no-bake snacks, all celebrating its creamy goodness.
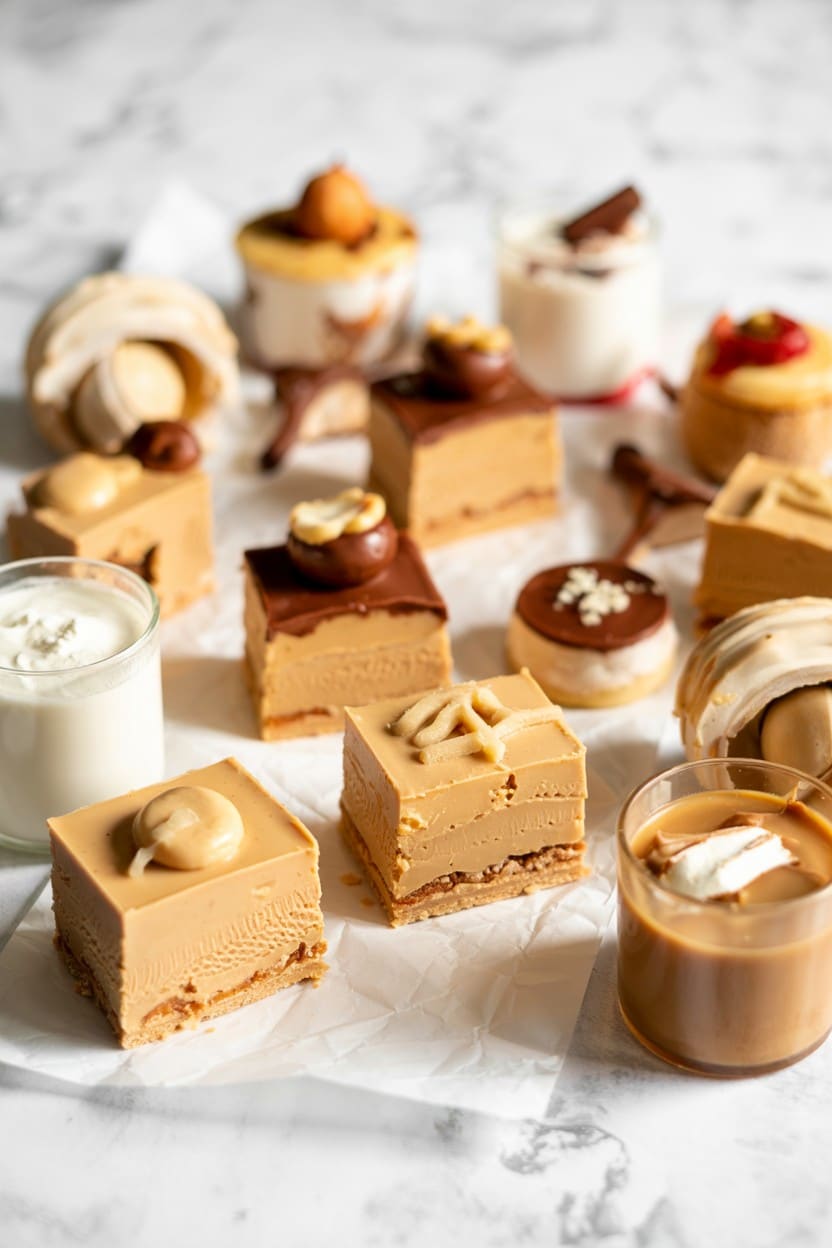
The variety includes classic favorites like chewy cookies and dense blondies, wholesome energy bites, comforting banana bread, and even light mousses and crisps. Each recipe is designed to be approachable and family-friendly, making them ideal for everyday desserts, snack time, or sharing at gatherings.
These recipes come together with simplicity in mind. They require common ingredients and straightforward techniques, often involving minimal cleanup, quick prep times, and adaptable steps that suit busy schedules and different occasions.
1. Classic Peanut Butter Cookies
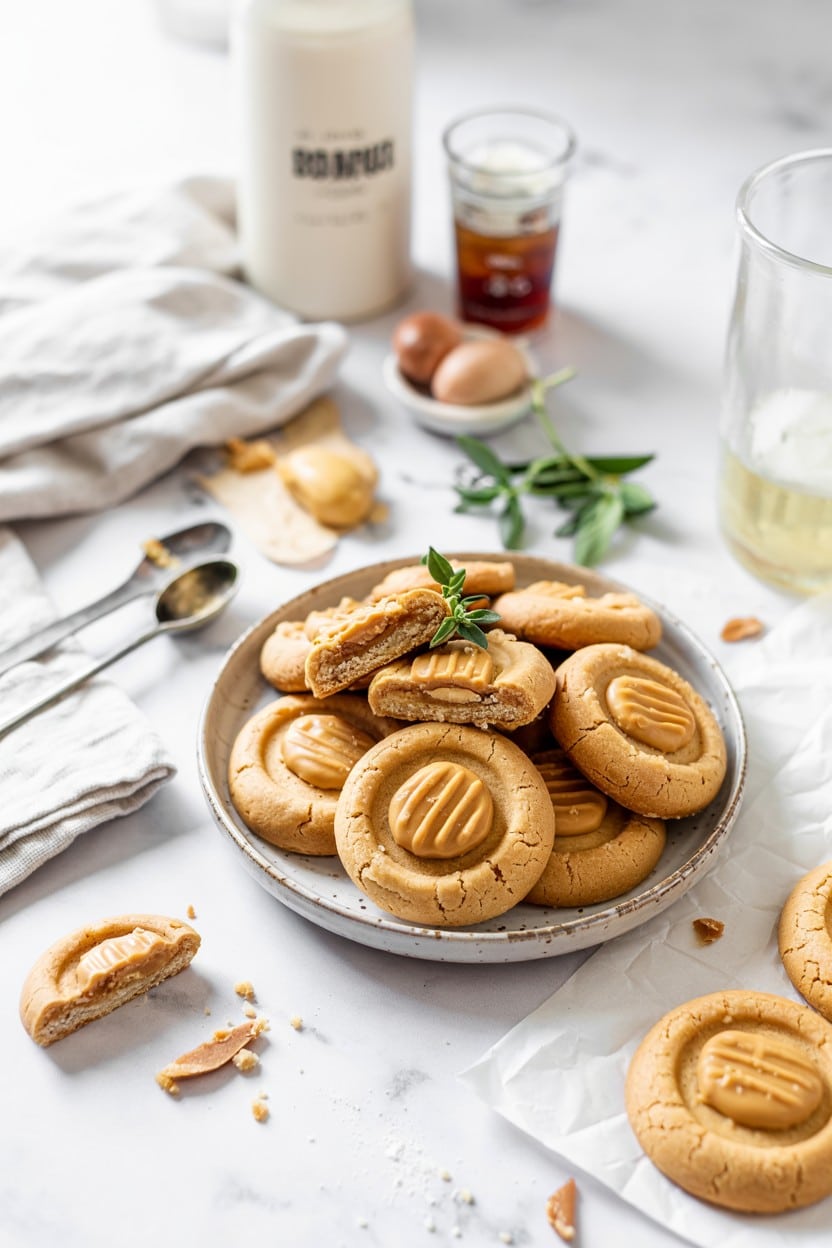
Classic peanut butter cookies, a staple of American home baking since the early 20th century, bring a simple, nostalgic flavor that's both comforting and satisfying, and for alternative spreads see peanut butter substitutes for baking.
They come together quickly using straightforward ingredients, baking at 350°F for 10-12 minutes for soft, chewy centers, so you can bake a batch even on a busy day with an air-fryer cookie alternative for busy days.
Why This Recipe Works
This recipe highlights peanut butter’s natural flavor and offers an easy cookie you can count on to bake up right every time. It’s practical, flavorful, and appeals to different tastes with its familiar profile.- Convenience - Uses simple pantry staples and requires minimal hands-on time.
- Flavor balance - Features the rich, creamy taste of peanut butter with just the right hint of sweetness.
- Texture - Combines a chewy center with lightly crisped edges for a satisfying bite.
- Appeal - Loved by both kids and adults, great as an everyday snack or for gatherings.
Ingredient Swap Ideas
Swapping ingredients here lets you adjust for allergies, dietary preferences, or whatever you have on hand without losing the cookie’s key characteristics.- Peanut butter - Substitute with almond or sunflower seed butter for a nut-free or alternative nut flavor.
- All-purpose flour - Use a gluten-free flour blend to make these safe for gluten sensitivities.
- Sugar - Swap granulated sugar with coconut sugar or a natural sweetener if you want a less refined option.
- Egg - Replace with a flax egg (1 tablespoon ground flaxseed + 3 tablespoons water) for a vegan-friendly cookie.
Ingredients
- 1 cup creamy peanut butter
- 1 cup granulated sugar
- 1 large egg
- 1 teaspoon baking soda
- ½ teaspoon vanilla extract (optional)
- Pinch of salt
Instructions
- Preheat your oven to 350°F (175°C) and line a baking sheet with parchment paper.
- In a mixing bowl, combine peanut butter, sugar, egg, baking soda, vanilla extract, and salt. Stir until the mixture is smooth and well blended.
- Roll the dough into 1-inch balls and place them about 2 inches apart on the prepared baking sheet. Flatten each ball slightly with the back of a fork, creating a criss-cross pattern on top.
- Bake for 8 to 10 minutes until the edges are just beginning to turn golden. Avoid overbaking to keep the cookies chewy.
- Allow the cookies to cool on the baking sheet for 5 minutes before transferring them to a wire rack to cool completely.
2. No-Bake Peanut Butter Oat Bars
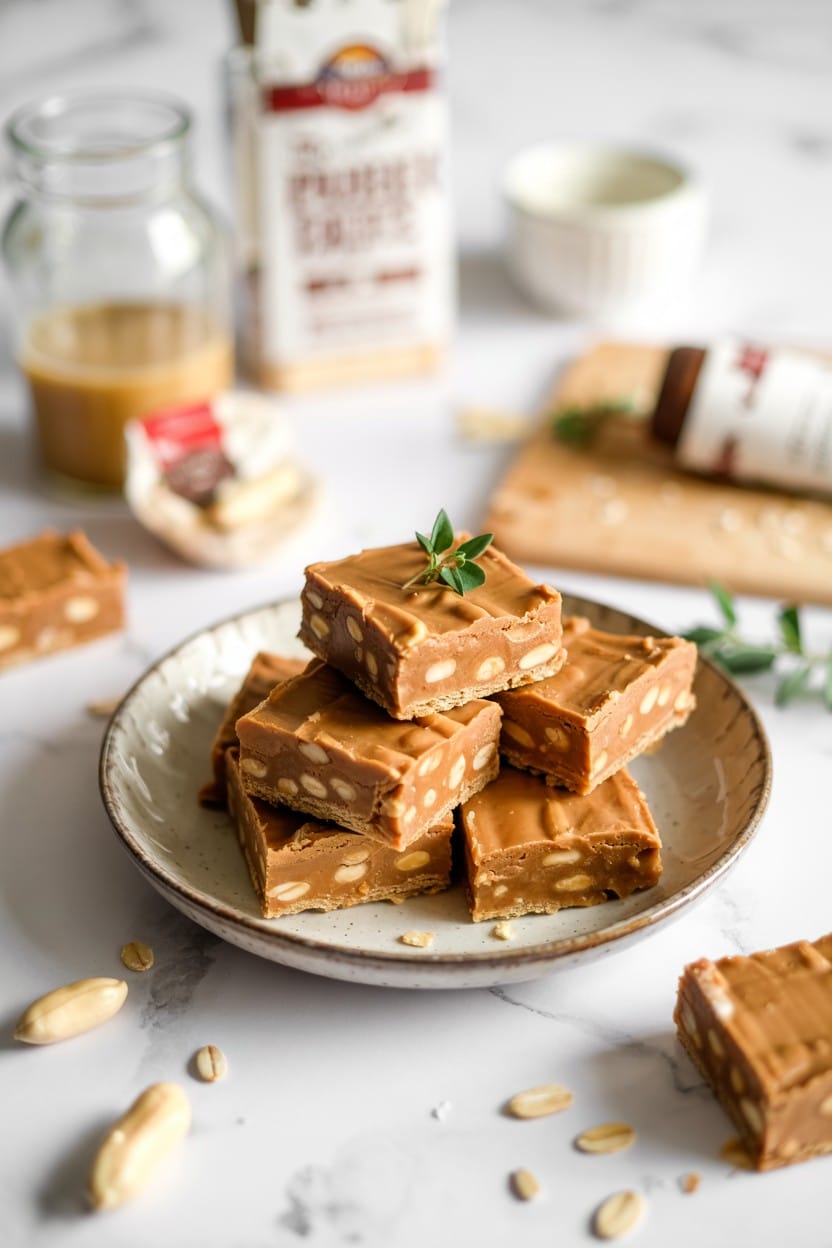
They combine the rich, nutty flavor of peanut butter with the hearty chew of oats, balanced gently by the natural sweetness of honey, or for versions with chocolate contrast see peanut butter desserts with chocolate pairings.
The result is a satisfying bar with a tender, slightly chewy texture that's great for a quick breakfast or an on-the-go snack.
These bars require no baking, so you avoid heating up the oven and face less cleanup, and they firm up after chilling in the refrigerator for about 2 hours. Ready to slice and enjoy after some time in the fridge, they hold together nicely and stay fresh for several days.
If a recipe calls for oil instead of nut butter, consider peanut oil alternatives for home cooks.
Why This Recipe Works
This recipe is straightforward and approachable while delivering satisfying taste and texture.- Convenience - No baking needed, saving time and keeping cleanup simple.
- Flavor balance - Creamy peanut butter blends smoothly with the natural sweetness of honey.
- Texture - Oats offer a chewy bite that contrasts well with the soft, sticky binder.
- Appeal - Healthy enough for a snack but still indulgent, suitable for all ages.
Ingredient Swap Ideas
Swapping ingredients can help you customize these bars to fit various dietary needs or flavor preferences while keeping their basic appeal.- Use almond butter or sunflower seed butter instead of peanut butter for a different nutty flavor or to avoid peanuts.
- Replace honey with maple syrup or agave nectar for a vegan-friendly sweetener.
- Substitute rolled oats with gluten-free oats to accommodate gluten sensitivities.
- Add chia seeds or flaxseed meal to boost fiber and nutrients without changing the overall texture.
Ingredients
- 1 cup creamy peanut butter
- ½ cup honey
- 2 cups rolled oats
- ½ teaspoon vanilla extract
- ¼ teaspoon salt
Instructions
- In a medium mixing bowl, combine the peanut butter and honey. Stir well until fully blended and smooth.
- Add the vanilla extract and salt to the peanut butter mixture, mixing again to combine.
- Gradually fold in the rolled oats, stirring until the oats are evenly coated and the mixture holds together.
- Press the mixture firmly into an 8x8-inch lined baking dish, using the back of a spatula or your hands to smooth the surface evenly.
- Refrigerate the dish for at least 2 hours or until the bars are firm enough to cut into squares. Store the bars in an airtight container in the fridge for up to one week.
3. Peanut Butter Fudge (No Chocolate)
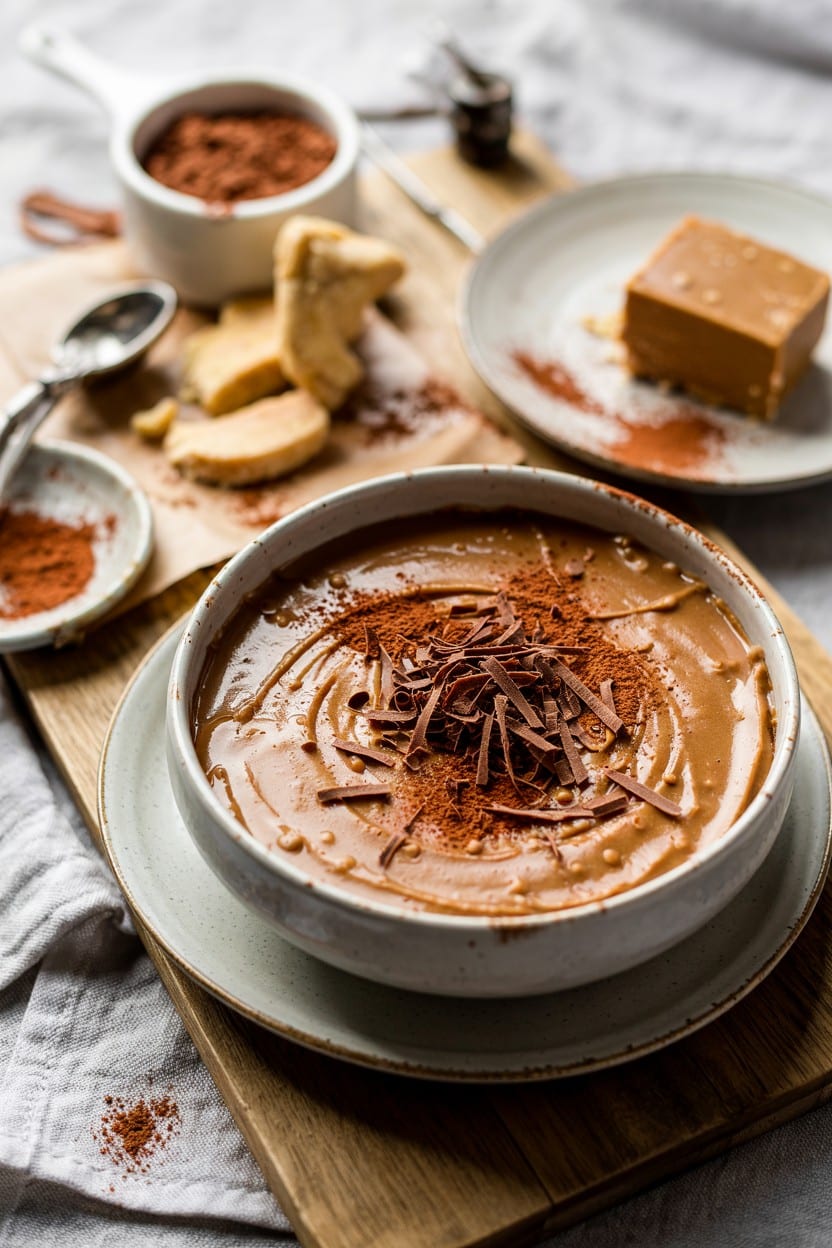
This peanut butter fudge recipe is a straightforward way to enjoy a creamy, rich treat without any chocolate involved, typically chilled for 1-2 hours to set. It combines simple ingredients into a smooth, melt-in-your-mouth fudge that's both satisfying and nostalgic.
The texture is soft and velvety, with a deep peanut butter flavor that carries through every bite. It's an easy recipe to make and requires only a handful of pantry staples, making it great for those quick sweet fixes or gifts.
When a recipe calls for peanut flour, try quick peanut flour alternatives for baking.
Why This Recipe Works
This peanut butter fudge is a reliable classic that delivers on flavor and texture with minimal effort.- Convenience - Quick to prepare and sets in the fridge, no special equipment needed.
- Flavor balance - Rich peanut butter taste that's sweet but not overpowering.
- Texture - Smooth and creamy with a tender bite, not grainy or overly dense.
- Appeal - A family-friendly treat that works well for holidays, parties, or simple indulgence.
Ingredient Swap Ideas
Adjusting ingredients can help accommodate dietary preferences or switch up the flavor while keeping the essence of this fudge intact.- Peanut butter - Substitute with almond or cashew butter for a milder nut flavor.
- Butter - Use coconut oil or dairy-free margarine to make the fudge dairy-free.
- Powdered sugar - Replace with a sugar substitute like erythritol powder for a lower-sugar version.
- Vanilla extract - Add almond extract instead for a subtle twist on the traditional flavor.
Ingredients
- 1 cup creamy peanut butter
- ½ cup unsalted butter
- 2 ½ cups powdered sugar
- 1 teaspoon vanilla extract
Instructions
- Line an 8-inch square pan with parchment paper or lightly grease it. This will make removing the fudge easier once set.
- In a medium saucepan, melt the butter over low heat until fully melted and warm. Stir in the peanut butter until the mixture is smooth and well combined.
- Remove from heat and stir in the vanilla extract. Gradually add the powdered sugar, mixing well until the mixture is thick and creamy.
- Transfer the fudge into the prepared pan and smooth the top with a spatula for an even surface.
- Refrigerate for at least 2 hours until the fudge is firm. Once set, cut into small squares and serve. Store leftovers in an airtight container in the fridge.
4. Peanut Butter Banana Bread
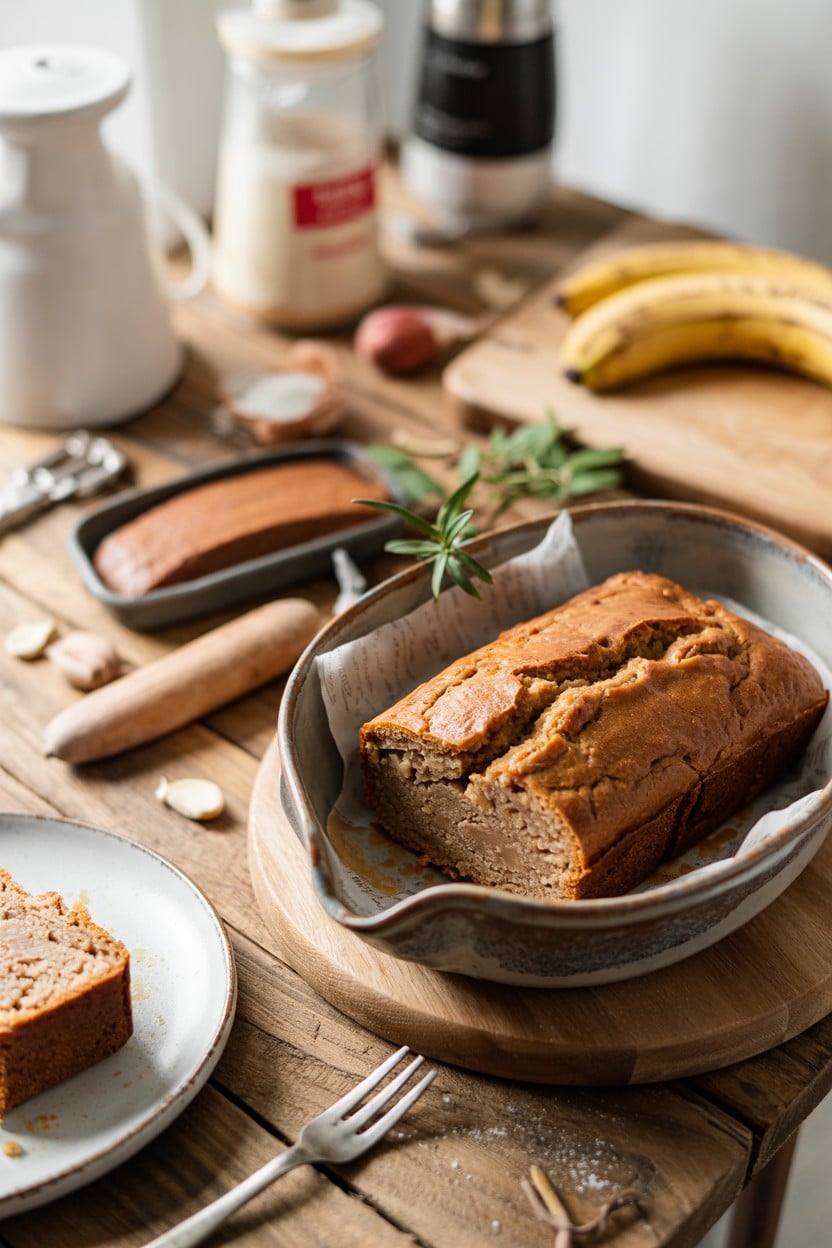
This Peanut Butter Banana Bread blends ripe bananas with creamy peanut butter to create a loaf that's moist and full of flavor. It's a satisfying option that works well for breakfast or a simple dessert.
The combination delivers a rich yet balanced taste, and the bread comes together with straightforward ingredients and easy steps-ideal for busy home cooks looking for something tasty and nourishing.
Why This Recipe Works
Peanut Butter Banana Bread is a reliable, crowd-pleasing recipe that pairs familiar flavors in a comforting way. It stands out for its easy preparation and the rich, moist texture it achieves.- Convenience - Uses basic pantry ingredients with simple mixing, no special equipment needed.
- Flavor balance - Combines sweet bananas with the nutty richness of peanut butter.
- Texture - Moist interior with a slightly crisp crust for a pleasant bite.
- Appeal - A family-friendly choice perfect for breakfast, snacks, or dessert.
Ingredient Swap Ideas
Adjusting a few ingredients can help fit dietary needs or flavor preferences while preserving the essence of this bread.- Flour substitution - Use whole wheat flour or a gluten-free blend to change texture and add nutrients.
- Nut butter alternatives - Swap peanut butter with almond butter or sunflower seed butter to avoid peanuts or try a different flavor.
- Sweetener options - Replace brown sugar with maple syrup or honey, adjusting liquid amounts slightly.
- Milk alternatives - Use almond milk, oat milk, or soy milk instead of cow's milk for dairy-free baking.
Ingredients
- 1 ½ cups all-purpose flour
- 1 teaspoon baking soda
- ½ teaspoon salt
- 3 ripe bananas, mashed
- ½ cup peanut butter
- ¾ cup brown sugar, packed
- 1 large egg
- ⅓ cup milk
- 1 teaspoon vanilla extract
Instructions
- Preheat the oven to 350°F (175°C). Grease a 9x5-inch loaf pan or line it with parchment paper.
- In a medium bowl, whisk together the flour, baking soda, and salt. Set aside.
- In a large bowl, combine the mashed bananas, peanut butter, brown sugar, egg, milk, and vanilla extract. Mix until smooth and well blended.
- Gradually add the dry ingredients to the wet mixture, stirring gently until just combined. Avoid overmixing.
- Pour the batter into the prepared loaf pan and smooth the top. Bake for 55-65 minutes, or until a toothpick inserted in the center comes out clean.
- Let the bread cool in the pan for 10 minutes, then transfer to a wire rack to cool completely before slicing.
5. Peanut Butter Mousse Pie
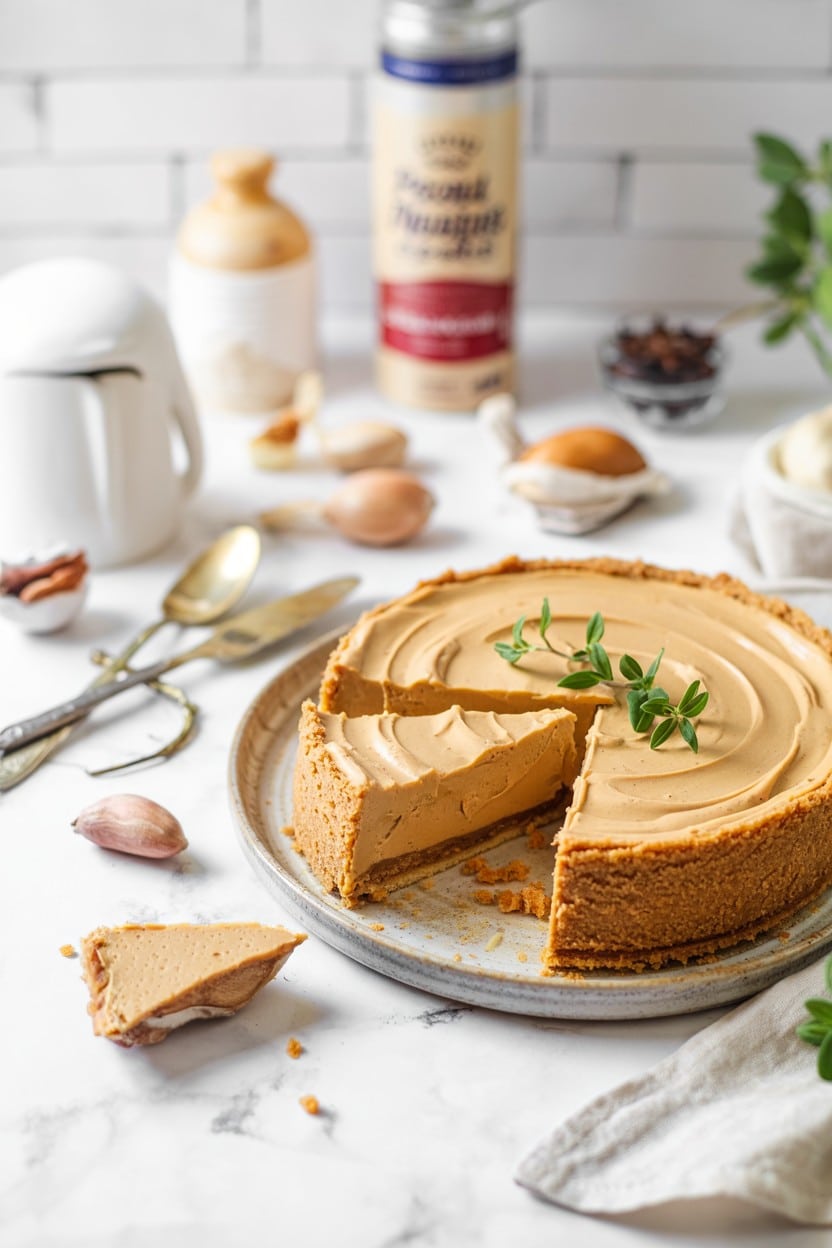
This Peanut Butter Mousse Pie brings together light, airy mousse and a buttery graham cracker crust for a creamy and satisfying dessert. Its smooth texture and rich peanut butter flavor make it a simple treat that feels indulgent without much fuss.
It's a wonderful choice when you want a delicious pie that's easy to prepare and share with family or friends.
The mousse is whipped to silky perfection, balancing the richness of peanut butter with the lightness of whipped cream. This pie is versatile enough to enjoy for casual gatherings or as a sweet finish to a special meal without spending too much time in the kitchen.
Why This Recipe Works
This recipe offers a straightforward way to create a delicious dessert that suits a busy lifestyle while impressing with flavor and texture.- Convenience - Requires no baking, making it quick to prepare and ideal for make-ahead dessert plans.
- Flavor balance - Combines creamy peanut butter with the light sweetness of whipped cream for a harmonious taste.
- Texture - Features a smooth, airy mousse contrasted by a crisp and crumbly graham cracker crust.
- Appeal - Family-friendly and versatile, perfect for gatherings or a sweet treat any day.
Ingredient Swap Ideas
Adjusting this pie to fit different dietary preferences or ingredient availability is simple and keeps the core flavors intact.- Crust alternatives - Use gluten-free graham crackers or crushed digestive biscuits for dietary needs or different flavors.
- Nut butter variations - Substitute peanut butter with almond or cashew butter for a new twist.
- Dairy swaps - Replace heavy cream with coconut cream to make a dairy-free version while keeping the mousse creamy.
- Sweetener changes - Use honey or maple syrup instead of granulated sugar for a more natural sweetness.
Ingredients
- 1 ½ cups graham cracker crumbs
- 6 tablespoons unsalted butter, melted
- 8 ounces cream cheese, softened
- 1 cup powdered sugar
- 1 cup creamy peanut butter
- 1 ½ cups heavy whipping cream, chilled
- 1 teaspoon vanilla extract
- Pinch of salt
Instructions
- Combine the graham cracker crumbs and melted butter in a bowl, mixing until the crumbs are evenly coated. Press this mixture firmly into the bottom and up the sides of a 9-inch pie pan. Chill in the refrigerator while you prepare the filling.
- In a large bowl, beat the softened cream cheese and powdered sugar until smooth and creamy. Stir in the peanut butter and vanilla extract until fully combined.
- In a separate chilled bowl, whip the heavy cream with a pinch of salt until stiff peaks form. Gently fold the whipped cream into the peanut butter mixture, keeping the texture light and airy.
- Pour the mousse into the prepared crust, spreading it evenly with a spatula. Cover the pie with plastic wrap and refrigerate for at least 4 hours, or until firm.
- Once set, slice and serve chilled. Garnish optionally with chopped peanuts, chocolate shavings, or a drizzle of melted chocolate to add texture and extra flavor.
6. Peanut Butter Blondies
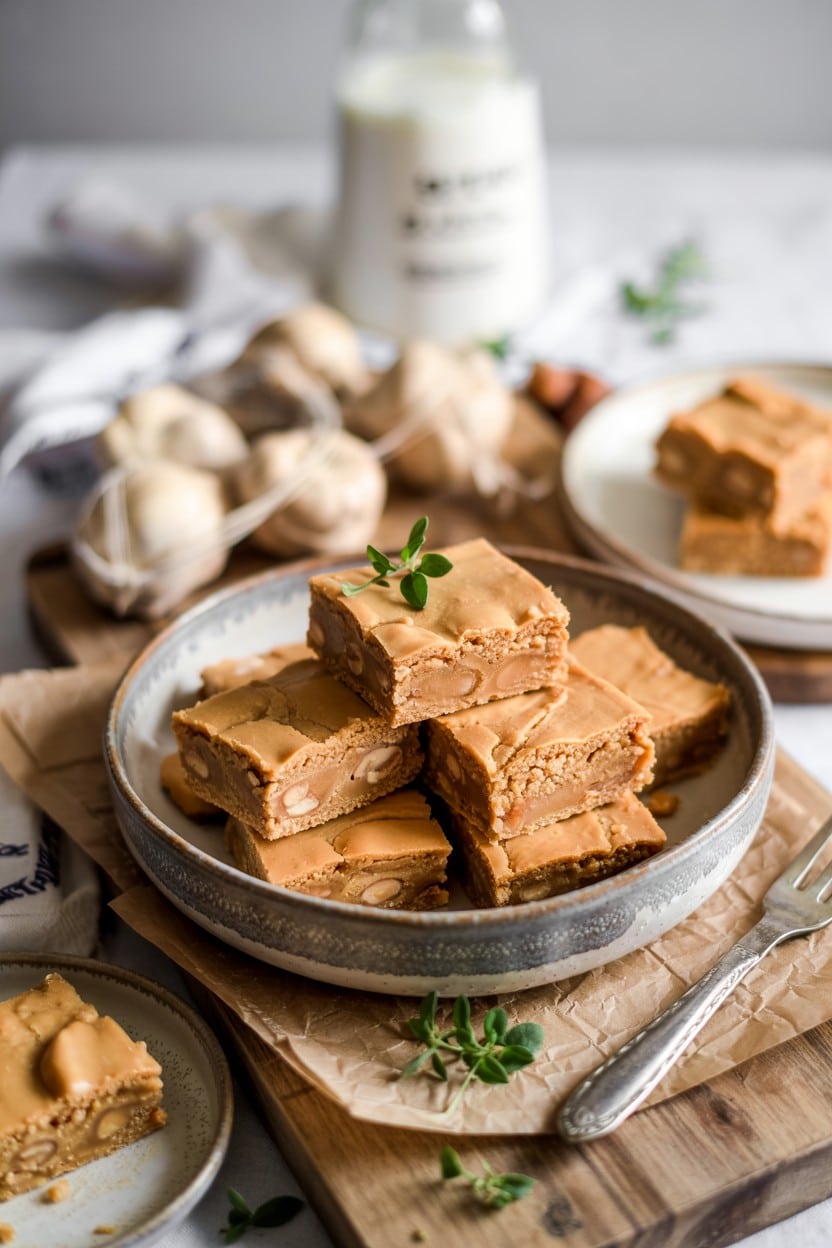
Peanut butter blondies offer a dense, chewy treat that feels like a cozy cousin to the classic brownie. They combine the nutty richness of peanut butter with a mellow sweetness and a hint of vanilla, making each bite comforting without being overly chocolatey.
These bars come together with minimal fuss, blending simple ingredients in one bowl. They bake up with a lightly crisp edge and a soft, fudgy center, making them an easy option for a quick snack or a casual dessert to share.
Why This Recipe Works
This peanut butter blondie recipe is straightforward and delivers a satisfying bar with balanced sweetness and texture.- Convenience - Uses simple pantry staples and requires only one mixing bowl.
- Flavor balance - Highlights creamy peanut butter with subtle vanilla notes and brown sugar sweetness.
- Texture - Dense and chewy with a slightly crisp top edge, offering a pleasant contrast.
- Family-friendly - Appeals to all ages with its familiar nutty flavor and easy portion size.
Ingredient Swap Ideas
Swapping ingredients can help tailor these bars to meet dietary preferences or vary the flavor while keeping the core appeal intact.- Peanut butter - Substitute with almond butter or sunflower seed butter for a different nutty profile or to avoid peanuts.
- All-purpose flour - Use a gluten-free blend to make the recipe suitable for gluten sensitivities.
- Brown sugar - Swap for coconut sugar to add a mild caramel note and slightly lower the glycemic index.
- Egg - Replace with a flax egg for a vegan or egg-free alternative, keeping the binding power intact.
Ingredients
- ½ cup unsalted butter, melted
- 1 cup creamy peanut butter
- ¾ cup packed light brown sugar
- 1 large egg
- 1 teaspoon pure vanilla extract
- 1 cup all-purpose flour
- ½ teaspoon baking powder
- ¼ teaspoon salt
Instructions
- Preheat your oven to 350°F (175°C) and line an 8-inch square baking pan with parchment paper or lightly grease it.
- In a large bowl, mix the melted butter, peanut butter, and brown sugar together until smooth and creamy.
- Beat in the egg and vanilla extract until fully combined.
- In a separate bowl, whisk the flour, baking powder, and salt together, then gradually fold this into the peanut butter mixture until just incorporated.
- Spread the batter evenly in the prepared pan and bake for 20 to 25 minutes, or until the edges are set and the center is barely firm to the touch.
- Allow the blondies to cool completely before cutting into squares for clean slices.
7. Peanut Butter and Jelly Thumbprint Cookies
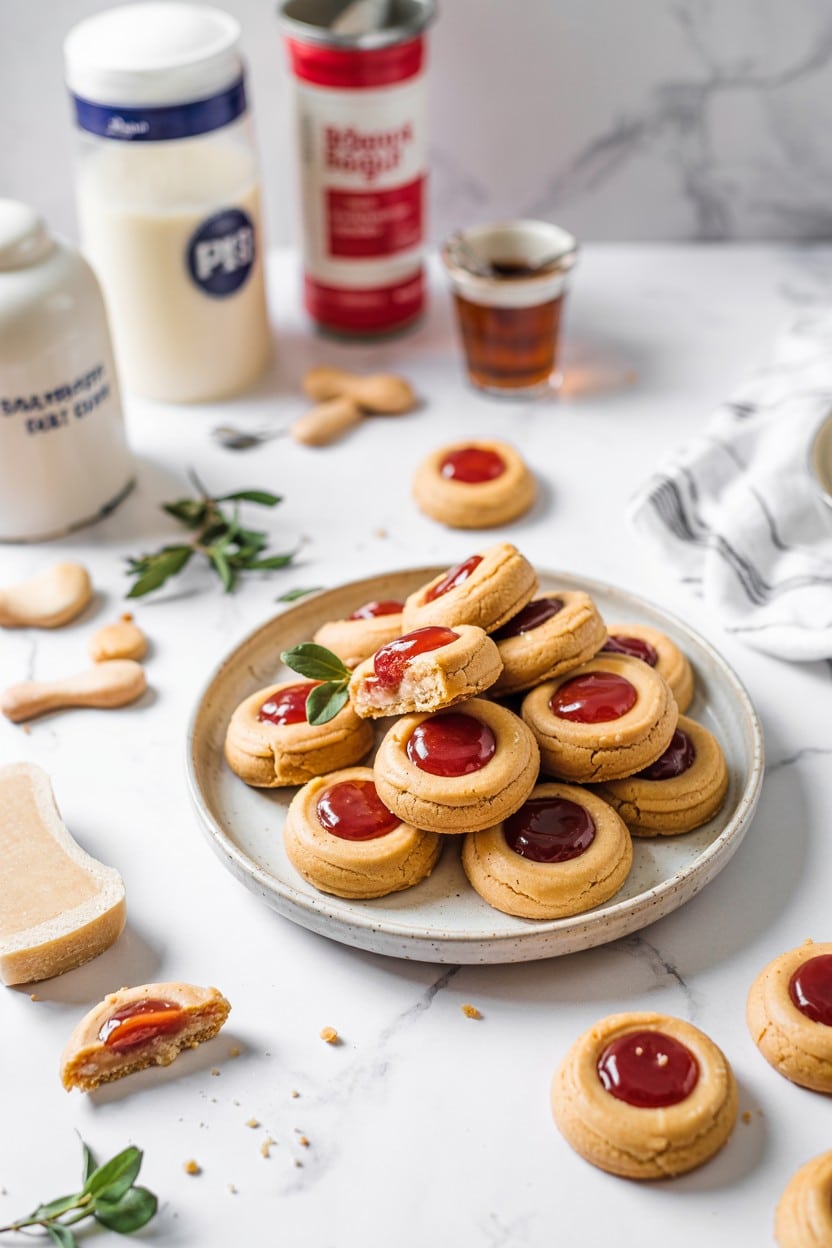
Peanut Butter and Jelly Thumbprint Cookies bring back the familiar and satisfying flavors of a classic sandwich in a fun, bite-sized cookie. These sweet peanut butter cookies are soft yet slightly crumbly, with a little well pressed in the center to hold vibrant fruit jam.
The combination is simple, straightforward, and perfect for a quick treat or packing into lunchboxes.
The recipe requires minimal ingredients and straightforward steps, making it a great option for a busy day or baking with kids. You get a nostalgic taste and a lovely mix of textures-creamy peanut butter notes with sweet, fruity bursts from the jelly.
Why This Recipe Works
This recipe marries ease and taste in a way that appeals to all ages and occasions. It delivers dependable results without complicated steps, and the classic flavors hold broad appeal.- Convenience - Uses common pantry ingredients and quick assembly.
- Flavor balance - Combines nutty richness with bright, sweet fruit.
- Texture - Soft cookie base with a chewy jam center creates contrast.
- Family-friendly - A nostalgic favorite that kids and adults enjoy.
Ingredient Swap Ideas
Swapping ingredients can help tailor these cookies to personal preferences or dietary requirements without losing their essence.- Peanut butter - Use almond or cashew butter for a milder or different nutty flavor.
- Jam - Substitute with seedless raspberry, strawberry, or apricot preserves for varied fruit tastes.
- Sugar - Replace white sugar with coconut sugar or cane sugar for a less refined option.
- Gluten-free flour - Use a gluten-free all-purpose blend to make these cookies suitable for gluten sensitivities.
Ingredients
- 1 cup creamy peanut butter
- ¾ cup granulated sugar
- 1 large egg
- 1 teaspoon vanilla extract
- ½ teaspoon baking soda
- ¼ teaspoon salt
- ½ cup fruit jam
Instructions
- Preheat your oven to 350°F (175°C). Line a baking sheet with parchment paper for easy cleanup.
- In a large bowl, mix together the peanut butter and sugar until smooth and creamy. Beat in the egg and vanilla extract until fully combined.
- Add the baking soda and salt, stirring just until incorporated. The dough will be soft but hold its shape.
- Scoop tablespoon-sized portions of dough and roll into balls. Place them spaced apart on the prepared baking sheet.
- Gently press your thumb or the back of a spoon into the center of each cookie to create a small well. Fill each well with about ½ teaspoon of jam.
- Bake for 10 to 12 minutes until the edges look set but the cookies remain soft. Remove from the oven and let them cool on the baking sheet for several minutes before transferring to a wire rack.
8. Peanut Butter Rice Krispies Treats
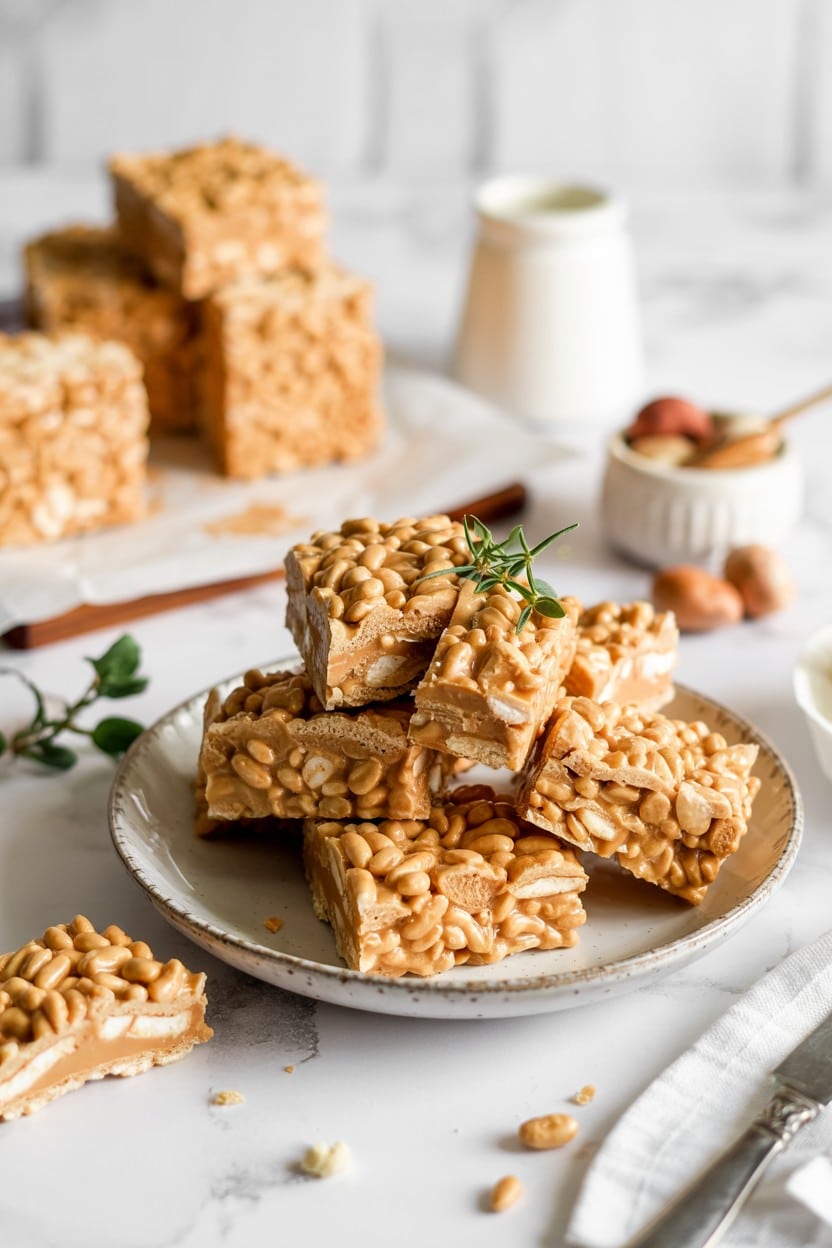
This twist on the classic Rice Krispies treats brings peanut butter into the mix, adding a rich, nutty flavor that complements the marshmallow sweetness perfectly. The treats stay light and chewy while gaining a satisfying depth from the peanut butter, making them a great snack for any time of day.
They're quick to put together with just a few simple ingredients and no baking required. These bars are a fun, crowd-pleasing option for lunches, after-school snacks, or casual gatherings.
Why This Recipe Works
This recipe combines familiar ingredients in a way that adds flavor and texture, without complicating the preparation. It balances creamy peanut butter with marshmallow sweetness and crispy cereal for a satisfying treat.- Convenience - Made quickly with no oven needed and minimal cleanup.
- Flavor balance - The richness of peanut butter pairs well with light, sweet marshmallows.
- Texture - Crisp cereal contrasts nicely with chewy, soft marshmallow and peanut butter blend.
- Appeal - Loved by kids and adults alike, great for sharing or packing in snacks.
Ingredient Swap Ideas
Swapping a few ingredients can help customize this recipe to fit allergies, dietary preferences, or taste profiles without losing the overall treat feel.- Peanut butter - Use almond or sunflower seed butter to change the nut flavor or accommodate allergies.
- Rice Krispies cereal - Choose a gluten-free crispy rice cereal if gluten is a concern.
- Marshmallows - Substitute with vegan marshmallows for a plant-based version.
- Butter - Swap with coconut oil for a dairy-free alternative that still adds richness.
Ingredients
- 3 tablespoons butter, unsalted
- 4 cups mini marshmallows
- ½ cup creamy peanut butter
- 6 cups Rice Krispies cereal
Instructions
- In a large saucepan, melt the butter over low heat. Once melted, add the mini marshmallows and stir continuously until smooth and fully melted.
- Remove the pan from heat and stir in the peanut butter until well combined and smooth.
- Quickly add the Rice Krispies cereal to the marshmallow mixture. Use a spatula to fold the cereal in evenly, coating all pieces without crushing them.
- Transfer the mixture to a greased 9x13 inch pan. Press it down gently and evenly with a spatula or clean hands to compact the treats.
- Let the pan sit at room temperature for about 1 hour to set. Once firm, cut into squares and serve.
9. Peanut Butter Apple Crisp
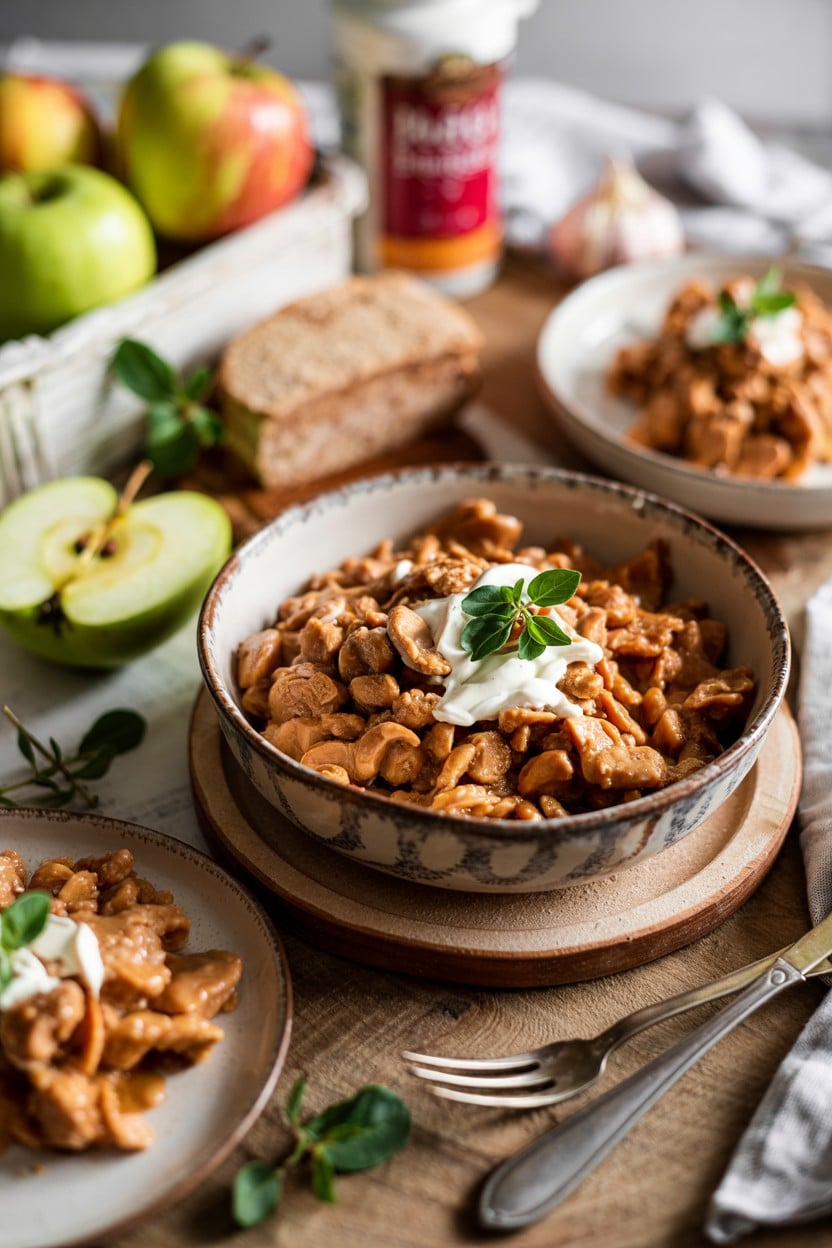
This Peanut Butter Apple Crisp combines the comforting warmth of baked apples with a nutty, crunchy peanut butter oat topping. It's a fresh take on classic apple crisp, introducing a rich, creamy element from peanut butter that blends well with the natural sweetness and slight tartness of the apples.
You'll find the textures particularly appealing-the tender, cinnamon-spiced apples underneath a crisp and chewy oat layer. Plus, this recipe comes together simply and doesn't require complicated steps or hard-to-find ingredients, making it a great choice for a wholesome dessert you can whip up any day.
Why This Recipe Works
This apple crisp stands out for bringing a familiar dessert into a new flavor range that feels both cozy and satisfying. It’s practical for busy cooks and enjoyable for a variety of palates.- Convenience - Uses pantry staples with straightforward mixing and baking, ideal for quick assembly.
- Flavor balance - Combines sweet, tart apples with the creamy earthiness of peanut butter and warm spices.
- Texture - Offers a crisp oat topping contrasting with softly baked fruit beneath.
- Appeal - Family-friendly and suitable as a dessert or sweet snack, easy to portion and serve.
Ingredient Swap Ideas
Adjusting this recipe to suit different dietary preferences or ingredient availability is easy with a few simple substitutions. These swaps maintain the core character of the dish while accommodating tastes or restrictions.- Peanut butter swap - Use almond or cashew butter for a milder nut flavor or sunflower seed butter if avoiding nuts.
- Oat option - Replace rolled oats with gluten-free oats for gluten sensitivity without changing texture much.
- Sweetener choice - Substitute brown sugar with coconut sugar or maple syrup for a different sweetness profile.
- Apple variety - Choose tart apples like Granny Smith for more acidity, or use sweeter varieties like Fuji or Gala based on preference.
Ingredients
- 4 large apples peeled, cored, and sliced
- 2 tablespoons lemon juice
- ¼ cup granulated sugar
- 1 teaspoon ground cinnamon
- ½ teaspoon ground nutmeg
- ¼ teaspoon salt
- 1 cup rolled oats
- ½ cup all-purpose flour
- ½ cup brown sugar, packed
- ½ cup peanut butter
- ¼ cup unsalted butter, melted
Instructions
- Preheat your oven to 350°F (175°C). Toss the sliced apples with lemon juice, granulated sugar, cinnamon, nutmeg, and salt in a mixing bowl until coated evenly. Transfer this mixture into a greased 8-inch square baking dish.
- In a separate bowl, combine the rolled oats, flour, and brown sugar. Stir in the peanut butter and melted butter, mixing until crumbs form and everything holds together when pressed.
- Sprinkle the oat topping evenly over the apples, spreading it out gently to cover the fruit layer.
- Bake uncovered for 35 to 40 minutes, or until the topping is golden brown and the apples are bubbling and tender when pierced with a fork.
- Remove from the oven and let cool slightly before serving. This crisp is delicious on its own or served with vanilla ice cream or Greek yogurt for extra creaminess.
10. Peanut Butter Energy Bites
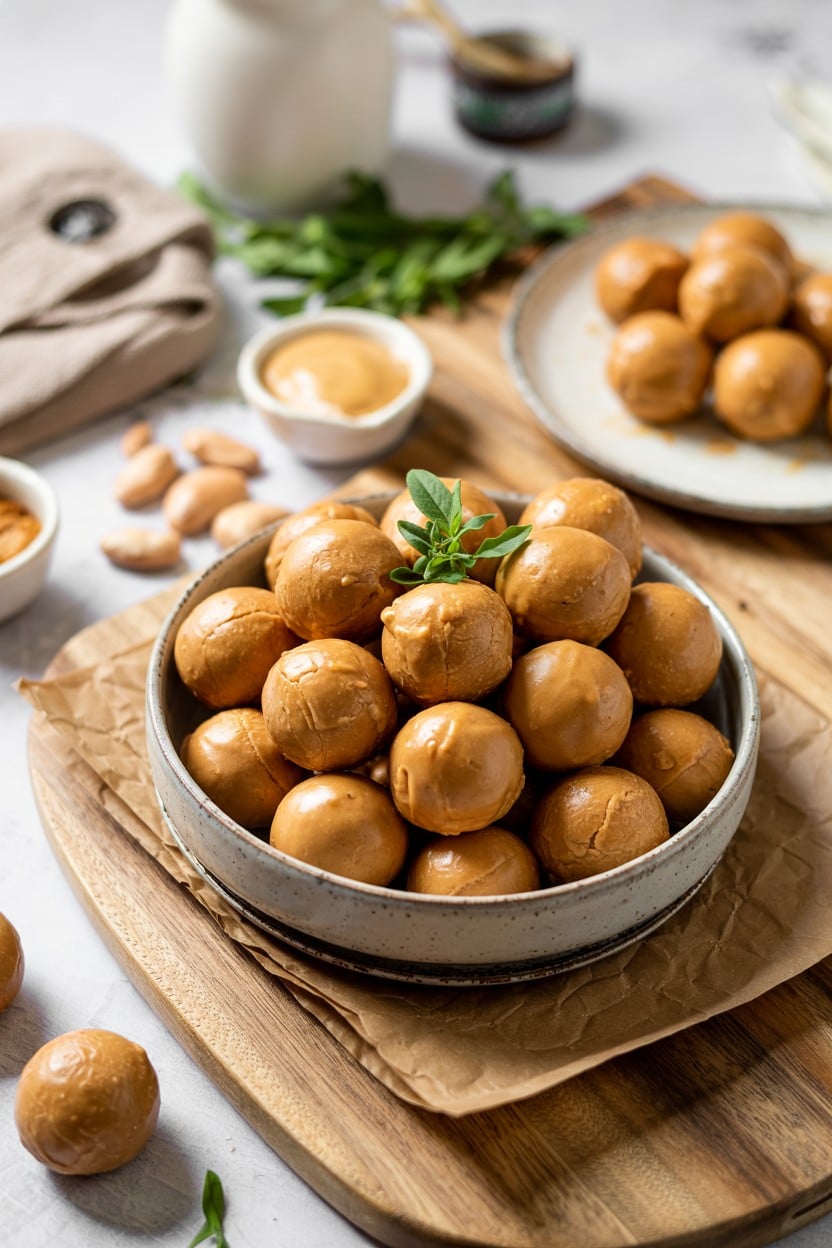
Peanut Butter Energy Bites are a simple and wholesome snack that fits perfectly into a busy day. These no-bake bites combine creamy peanut butter with hearty oats and seeds, offering a satisfying texture and natural sweetness without relying on added sugars.
They're an excellent choice for quick energy, whether you need a pre-workout boost or a mid-afternoon pick-me-up. Plus, they come together quickly with just a few ingredients, making them an easy addition to any snack routine.
Why This Recipe Works
This recipe offers a balanced mix of flavors and nutrients that keep you feeling energized and satisfied. The combination of peanut butter and seeds creates a rich texture while providing protein and healthy fats.- Convenience - These energy bites require no baking and can be prepared in under 15 minutes.
- Flavor balance - The natural nuttiness of peanut butter blends well with the mild sweetness from honey and the earthiness of oats.
- Texture - Chewy oats combined with crunchy seeds make for a pleasant bite every time.
- Appeal - This snack is family-friendly and easy to customize for different tastes or dietary needs.
Ingredient Swap Ideas
Swapping ingredients can help tailor these bites to suit allergies, dietary preferences, or simply mix up the flavors. Here are some options to consider:- Almond or cashew butter instead of peanut butter for a different nutty flavor and to accommodate peanut allergies.
- Replace honey with maple syrup or agave to make the recipe vegan-friendly.
- Substitute rolled oats with gluten-free oats to avoid gluten.
- Add chia seeds or flaxseeds in place of sesame or sunflower seeds for a variation in texture and nutrition.
Ingredients
- 1 cup rolled oats
- ½ cup creamy peanut butter
- ⅓ cup honey
- ¼ cup sunflower seeds
- 2 tablespoons chia seeds
- ½ teaspoon vanilla extract
- ¼ teaspoon salt
Instructions
- In a large mixing bowl, combine the rolled oats, sunflower seeds, and chia seeds. Stir to distribute evenly.
- Add the peanut butter, honey, vanilla extract, and salt to the dry ingredients. Mix well until the mixture is sticky and holds together when pressed.
- Using your hands or a small cookie scoop, form the mixture into bite-sized balls, about 1 inch in diameter.
- Place the energy bites on a parchment-lined tray or plate and refrigerate for at least 30 minutes to firm up.
- Store the energy bites in an airtight container in the refrigerator for up to one week.
11. Peanut Butter Banana Ice Cream (No-Churn)
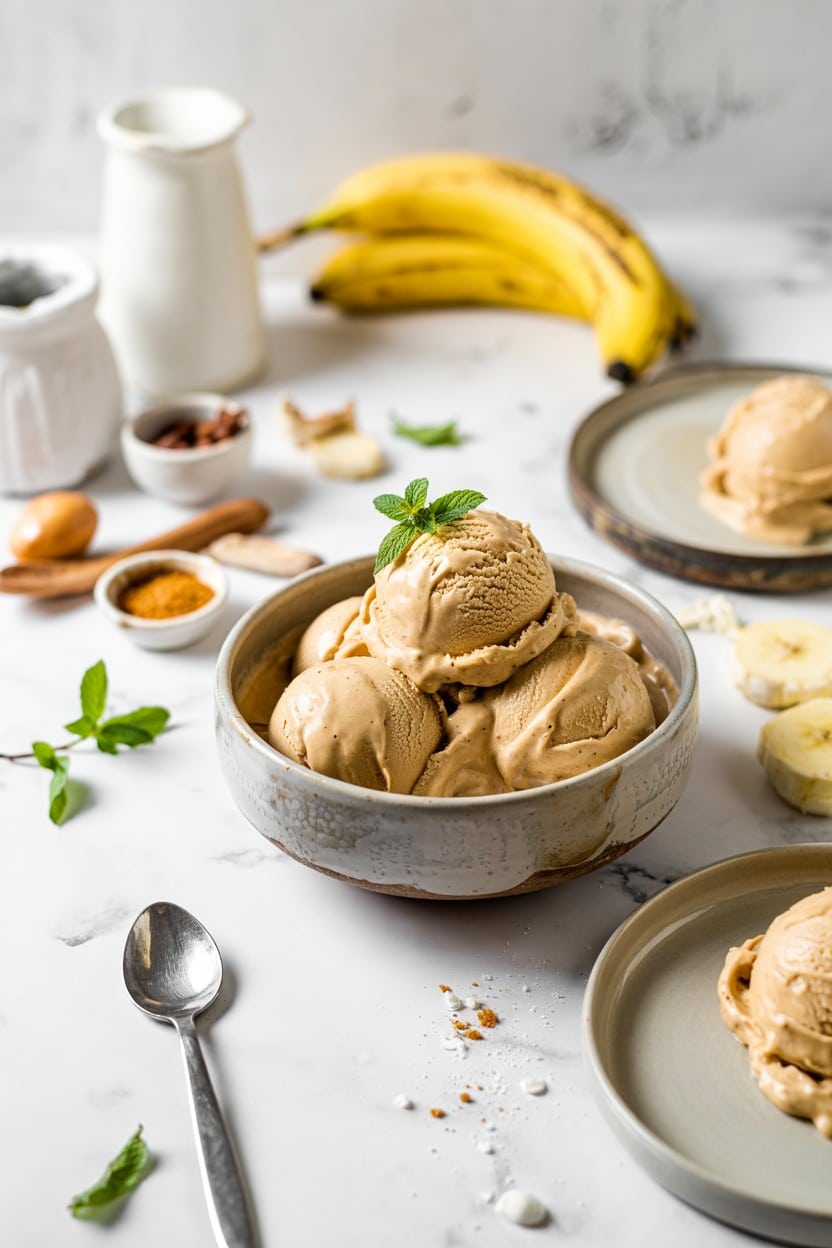
This peanut butter banana ice cream is a simple, creamy treat you can whip up quickly without any special equipment. Using just frozen bananas and peanut butter, it creates a smooth, rich texture that feels indulgent but stays healthy and dairy-free.
The natural sweetness of ripe bananas pairs perfectly with the nutty flavor of peanut butter, making this dessert satisfying and refreshing. It's a great option for a quick snack or a light dessert you can feel good about serving the whole family.
Why This Recipe Works
This recipe combines convenience and wholesome ingredients to create a tasty, fuss-free dessert. It delivers satisfying flavor and texture without the need for an ice cream maker.- Convenience - Uses frozen bananas and a blender; no churning or special tools needed.
- Health-conscious - Dairy-free, naturally sweetened with fruit, and packed with protein from peanut butter.
- Flavor balance - Creamy banana sweetness paired with savory peanut butter for a rich, well-rounded taste.
- Family-friendly - Appeals to both kids and adults as a guilt-free treat.
Ingredient Swap Ideas
Adjusting ingredients makes this recipe flexible for different preferences or dietary requirements without losing its core appeal.- Peanut Butter - Swap for almond or cashew butter to change the nutty flavor and cater to allergies.
- Bananas - Use frozen plantains for a firmer texture and slightly different sweetness profile.
- Add-ins - Mix in dark chocolate chips or chopped nuts for extra texture and flavor.
- Sweetener - If you want it sweeter, add a drizzle of honey or maple syrup before blending.
Ingredients
- 3 large ripe bananas, peeled, sliced, and frozen
- ⅓ cup creamy peanut butter
- ½ teaspoon vanilla extract
- Pinch of salt
Instructions
- Place the frozen banana slices in a high-powered blender or food processor. Pulse until they begin to break down and look creamy.
- Add the peanut butter, vanilla extract, and a pinch of salt to the blender. Blend until the mixture is smooth and creamy, scraping down the sides as needed.
- Taste the ice cream and adjust by adding a bit more peanut butter or a small drizzle of sweetener if desired. Blend again briefly to combine.
- Transfer the ice cream to a container and freeze for 30 minutes to firm up slightly before serving.
- Scoop into bowls and enjoy immediately, or store in the freezer for later use. Let it soften a few minutes at room temperature before scooping if it's too firm.
12. Peanut Butter Cinnamon Rolls (Sweet Roll Variant)
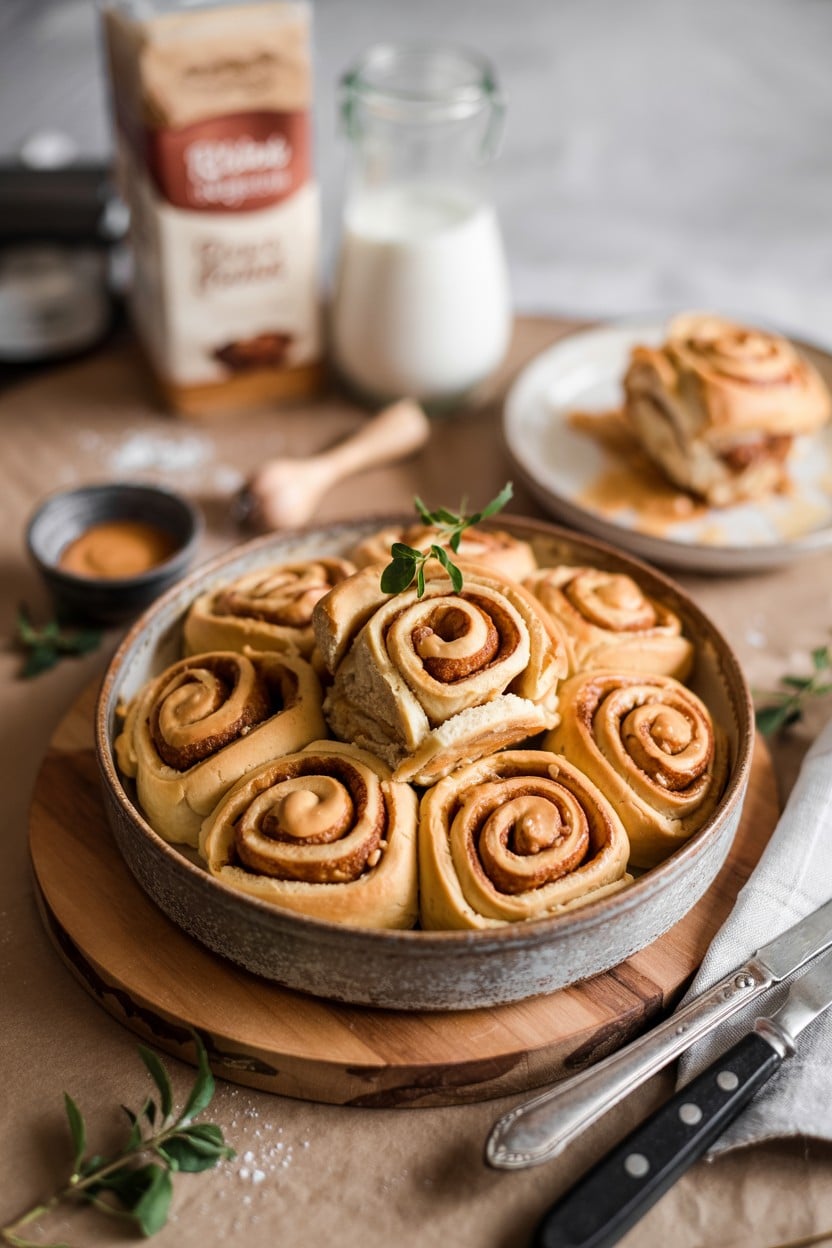
Peanut butter and cinnamon bring a warm, cozy feeling to these soft cinnamon rolls. This sweet roll variant combines the familiar, comforting flavors of peanut butter and cinnamon swirls, wrapped in tender dough that's easy to work with.
The glaze on top adds a delicate, sweet finish that keeps these rolls moist and inviting.
The recipe is straightforward enough for a busy day when you want a homemade treat that tastes special but doesn't require complex techniques. These rolls appeal to anyone who enjoys a twist on classic cinnamon rolls and appreciate rich, nutty flavors paired with a familiar spice.
Why This Recipe Works
This recipe balances rich, creamy peanut butter with fragrant cinnamon in a soft dough that’s both tender and fluffy. It’s a delicious way to enjoy a familiar pastry with a nutty upgrade.- Convenience - The dough comes together quickly and doesn't require extensive shaping or filling.
- Flavor balance - The peanut butter pairs naturally with cinnamon for a luscious and aromatic filling.
- Texture - Soft, pillowy rolls with a smooth, sweet glaze enhance every bite.
- Appeal - These rolls are family-friendly and suited for breakfast, brunch, or a sweet snack.
Ingredient Swap Ideas
Swapping ingredients helps you adjust the recipe to suit dietary needs or different flavor preferences without losing the essence of these peanut butter cinnamon rolls.- Peanut butter - Use almond or cashew butter if you want a different nut flavor or a milder taste.
- Flour - Substitute with whole wheat pastry flour for a slightly nutty note and added fiber.
- Milk - Use any plant-based milk such as oat or almond milk to make the dough dairy-free.
- Sweetener - Replace granulated sugar with coconut sugar or honey for a different kind of sweetness.
Ingredients
- 2 ¼ teaspoons active dry yeast
- 1 cup warm milk (around 110°F)
- ½ cup granulated sugar
- ⅓ cup unsalted butter, melted
- 1 teaspoon salt
- 2 large eggs
- 3 to 3 ½ cups all-purpose flour
- ¾ cup creamy peanut butter
- 1 tablespoon ground cinnamon
- ¼ cup brown sugar
- 1 cup powdered sugar
- 2 tablespoons milk or cream
- ½ teaspoon vanilla extract
Instructions
- In a large bowl, combine warm milk, yeast, and a teaspoon of sugar. Let it sit for 5 minutes until frothy.
- Stir in the melted butter, remaining sugar, salt, eggs, and gradually add the flour until a soft dough forms. Knead on a lightly floured surface for about 5 minutes until smooth and elastic.
- Place the dough in a greased bowl, cover it, and let it rise in a warm place for 1 to 1 ½ hours until doubled in size.
- Punch down the dough and roll it into a 12x15-inch rectangle on a floured surface. Spread the peanut butter evenly over the dough. Mix cinnamon and brown sugar, then sprinkle it on top. Roll the dough tightly from the long side into a log and cut into 12 equal pieces.
- Arrange the rolls in a greased 9x13-inch pan, cover, and let rise for 30 minutes. Preheat the oven to 350°F (175°C). Bake the rolls for 25 to 30 minutes until golden and cooked through.
- Mix powdered sugar, milk, and vanilla to make the glaze. Drizzle over the warm rolls before serving.
13. Peanut Butter Yogurt Parfait with Honey and Nuts
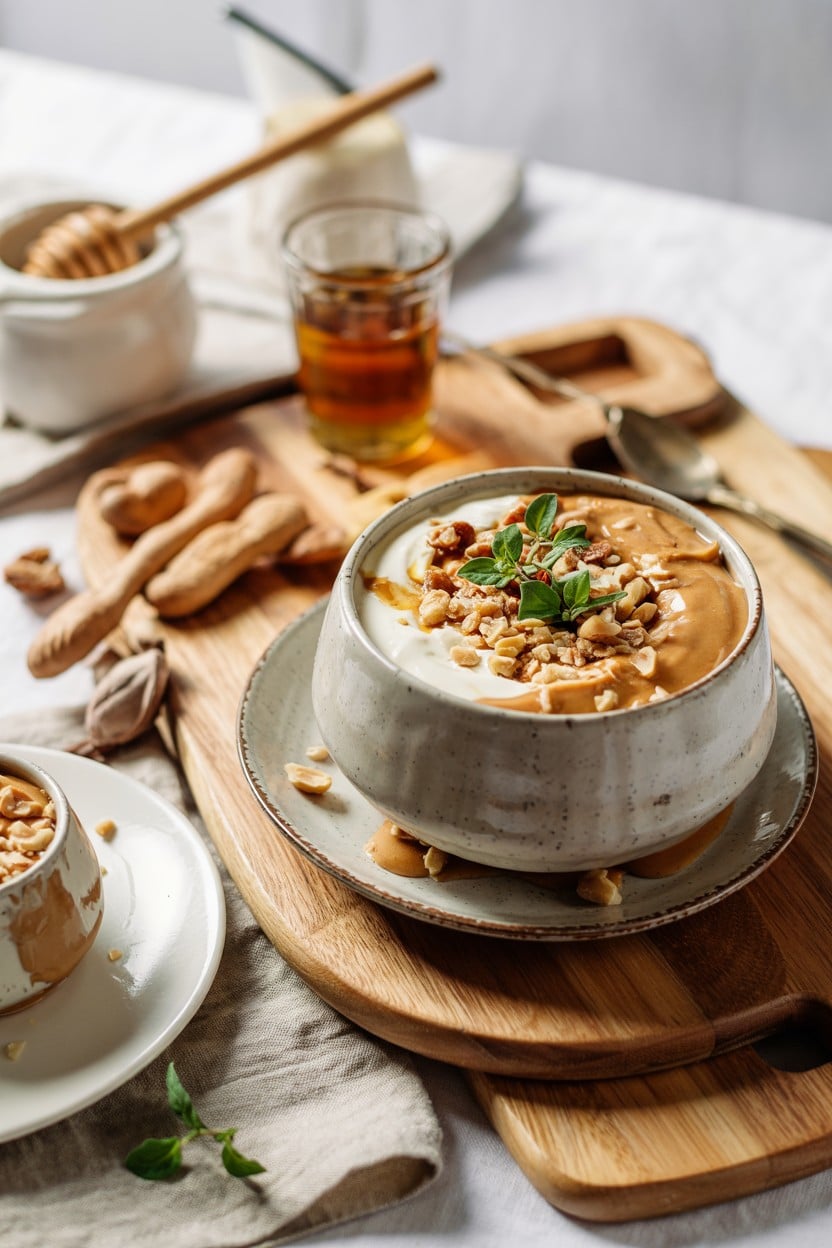
This Peanut Butter Yogurt Parfait combines creamy Greek yogurt with the rich, nutty flavor of peanut butter. Sweet honey and crunchy nuts add natural sweetness and texture, making it a satisfying treat that works well for breakfast or a mid-day snack.
The layered presentation is simple yet inviting, and it comes together quickly with minimal ingredients. You'll appreciate how the flavors blend smoothly, offering a mix of creaminess, sweetness, and crunch that feels both indulgent and nourishing.
Why This Recipe Works
This parfait delivers a balanced mix of flavors and textures with easy preparation that fits a busy routine. It offers a wholesome option that still feels like a little treat in your day.- Convenience - Ready in minutes with no cooking required, ideal for quick assembly.
- Flavor balance - Creamy and tangy yogurt pairs beautifully with nutty peanut butter and sweet honey.
- Texture - Crunchy nuts add a satisfying bite that contrasts the smooth yogurt and spread.
- Appeal - Versatile enough for breakfast, snack time, or even a light dessert.
Ingredient Swap Ideas
Adjusting the ingredients can make this parfait fit different dietary preferences or help you use what you have on hand without losing the core taste and texture.- Peanut butter - Substitute almond or cashew butter for a different nutty flavor or for those with peanut allergies.
- Greek yogurt - Use coconut or almond milk yogurt to make it dairy-free and vegan-friendly.
- Honey - Replace with maple syrup or agave nectar for a vegan sweetener alternative.
- Nuts - Swap walnuts or pecans for almonds, pistachios, or even granola for varied crunch.
Ingredients
- 1 cup Greek yogurt
- 2 tablespoons peanut butter
- 1 tablespoon honey
- ¼ cup mixed nuts
- Optional: fresh fruit slices
Instructions
- In a small bowl, stir the peanut butter into the Greek yogurt until well combined and smooth.
- Spoon half of the yogurt-peanut butter mixture into a serving glass or bowl.
- Drizzle half of the honey over the yogurt layer, spreading it lightly.
- Sprinkle half of the chopped nuts on top of the honey layer.
- Repeat the layers with the remaining yogurt mixture, honey, and nuts. Add fresh fruit on top if using.
- Serve immediately or chill for 10-15 minutes to let the flavors meld slightly before enjoying.
Mug cakes are quick single-serving desserts typically cooked in a microwave in under two minutes, with recipes that emphasize moist texture like moist mug cake recipes in minutes. One-bowl desserts reduce cleanup by combining all ingredients in a single mixing bowl, a technique showcased in easy one-bowl dessert recipes for baking.

Andrew Gray is a seasoned food writer and blogger with a wealth of experience in the restaurant and catering industries. With a passion for all things delicious, Andrew has honed his culinary expertise through his work as a personal chef and caterer.
His love for food led him to venture into food writing, where he has contributed to various online publications, sharing his knowledge and insights on the culinary world. As the proud owner of CooksCrafter.com, Andrew covers a wide range of topics, including recipes, restaurant reviews, product recommendations, and culinary tips.
Through his website, he aims to inspire and educate fellow food enthusiasts, offering a comprehensive resource for all things food-related.